Blog, California, Destinations, North America, United States
How to Hike the Stunning Rubicon Trail in Lake Tahoe, California
Last updated on October 7th, 2023 at 02:45 pm
The Rubicon Trail in Lake Tahoe is a picturesque 16 mile out and back hiking trail located along the shores of Emerald Bay in South Lake Tahoe. The Rubicon hiking trail encompasses two beautiful state parks: Emerald Bay State Park and DL Bliss State Park.
Not to be confused with the 4×4 Rubicon Trail also located in the Lake Tahoe vicinity. While an off-roading adventure sounds fun too, that’s not what this post is about.
This post is about what to expect if you’re planning to hike the stunning Rubicon Trail during your visit to South Lake Tahoe. Which you should most definitely do!
There is no need to hike the entire trail on the same day unless you’re feeling particularly ambitious. Instead pick a portion of it and you will not be disappointed.
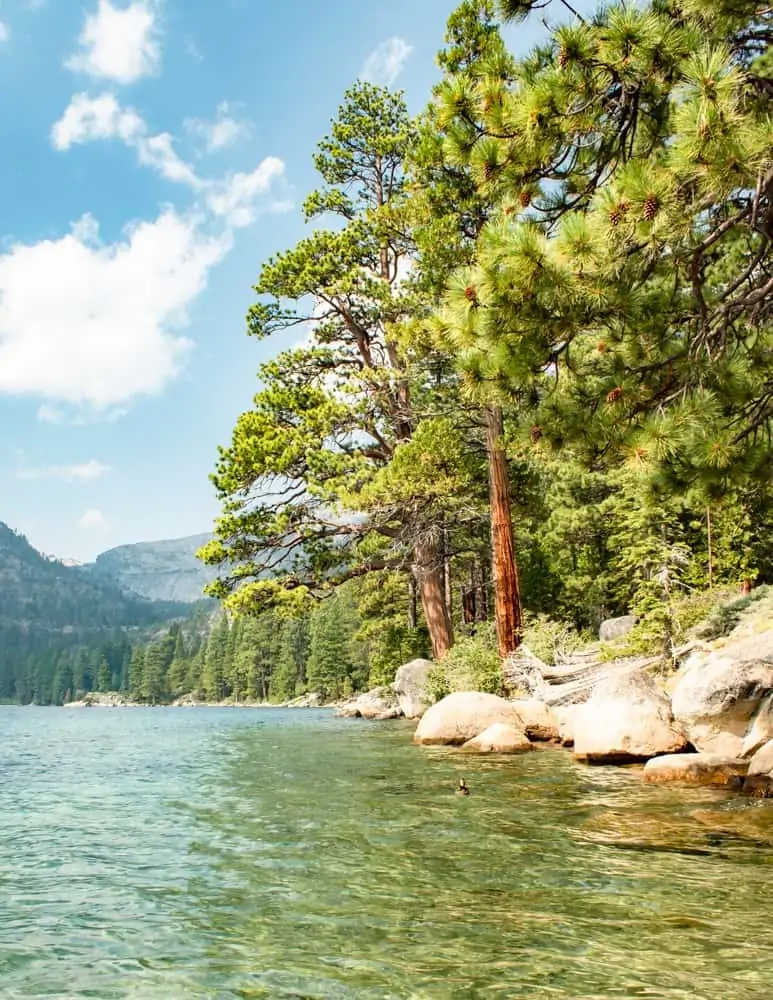
The trail can be steep in some sections, but it never feels like you’re climbing up a seemingly endless incline. Most of it is like walking a rolling hill, covered of course by towering pine trees.
Depending on the section you choose, you could pass by a waterfall, a Scandinavian mansion, sandy beaches, and/or large boulders.
Now that I’ve thoroughly convinced you to add the Rubicon hiking trail to your South Lake Tahoe hiking bucket list, let’s dive into the logistics of completing this hike!
This post contains affiliate links, which means that, at no additional cost to you, I will earn a tiny bit of income if you decide to make a purchase or booking. For more, check out my disclosure.
My Favorite hiking Resources
- Find cool hiking trails with the AllTrails app
- Stay blister free with Darn Tough socks
- All of my favorite hiking gear (boots, backpacks, water bladders etc)
- Check out my day hike packing list
An Overview of the Rubicon Trail in South Lake Tahoe
- Length: 8 miles one way, for a total of 16 miles round trip
- Cost: $10 to park in any of the below parking lots
- Terrain: Mostly dirt with granite rocks and boulders
- Difficulty: Moderate, mostly due to the length
- Crowd level: heavily trafficked
Where is the Rubicon Trail Located?
The Rubicon Trail is located on 8 miles of South Lake Tahoe’s shoreline. There are multiple access points to start this hike and while you could hike the entire trail in a day, I recommend selecting a section of the hike to focus on. This way you can take your time and hop in the lake for a swim!
All of the parking lots cost $10/day to park. Below are the three main parking locations to start the Rubicon Trail.
Rubicon Trail Map
Rubicon Trailhead: Vikingsholm
The main access point is from the Vikingsholm parking lot of Emerald Bay State Park. To reach the Rubicon Trailhead from this parking lot you’ll hike 1 mile along a paved path down to a small beach area. From here you’ll find the Rubicon trailhead that you can hike either towards DL Bliss State Park or Eagle Point Campground.
This parking lot is incredibly popular as this is a jumping-off point for multiple activities in the area, such as the Eagle Lake hike. It’s important to arrive early, I recommend no later than 9:00 am to secure your parking spot!
Rubicon Trailhead: Eagle Point Campground
The second access point is from the Eagle Point Campground parking lot directly next to the Rubicon Trailhead. The parking lot is quite large compared to the other two so if you aren’t an early riser you may want to try your luck with this lot. This is where I started the hike from and highly recommend it as the starting point.
Rubicon Trailhead: DL Bliss State Park
The third access point is from the Calawee Cove Beach parking lot in DL Bliss State Park. The Rubicon Trailhead starts directly from this parking lot. I didn’t make it this far for my hike, but supposedly this is a smaller parking lot so it’s important to arrive early to secure your spot.
If you’re traveling with someone (and have two cars) you could use the shuttle method to complete the entire trail in one day. Park one car at DL Bliss and the other at Eagle Point. While it will cost you $20 in parking to accomplish this, it will also allow you to complete the entire 8-mile trail in one day and still allow for a swim or two along the way.
Hiking the Rubicon Trail from Eagle Point to Emerald Point
During my late August camping trip in Emerald Bay, I hiked a portion of the Rubicon Trail. I started the day with grand ambitions of hiking its entirety, only to realize halfway through that I’d had enough walking for the day and preferred to relax at the beach for the rest of the afternoon.
Below I’ll break down the section of the trail I was able to complete.
Rubicon Trail: Eagle Point Campground to Vikingsholm Mansion
I started the Rubicon trail from the trailhead in Eagle Point Campground as that’s where I was camping. I still drove and parked my car at the trailhead as walking from my campsite would’ve added another mile.
At 8:00 am I pulled into the empty parking lot, made sure I had everything I needed for this hike and started the trail.
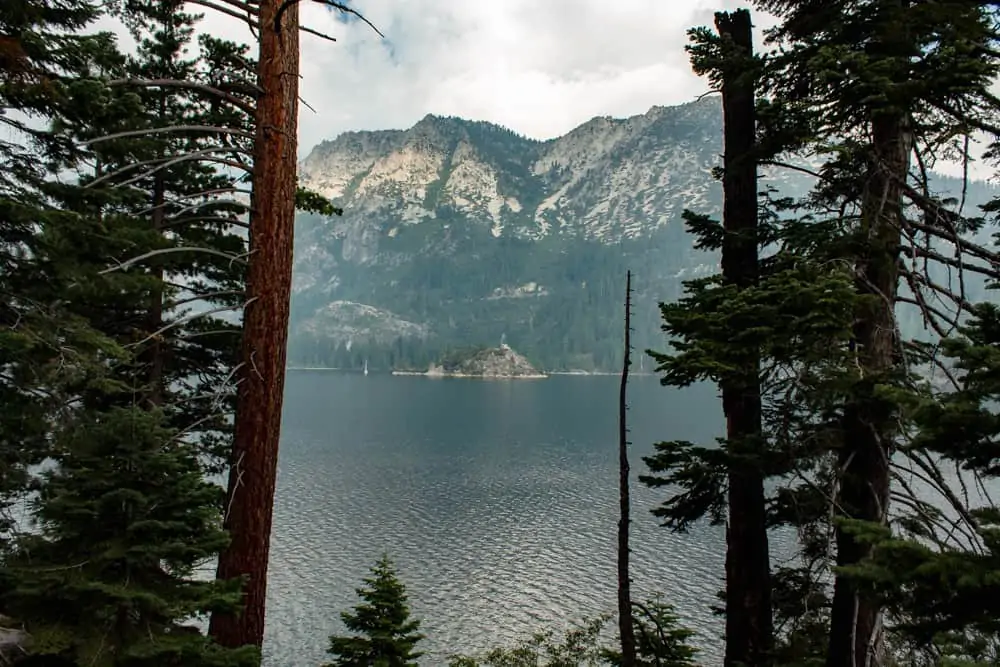
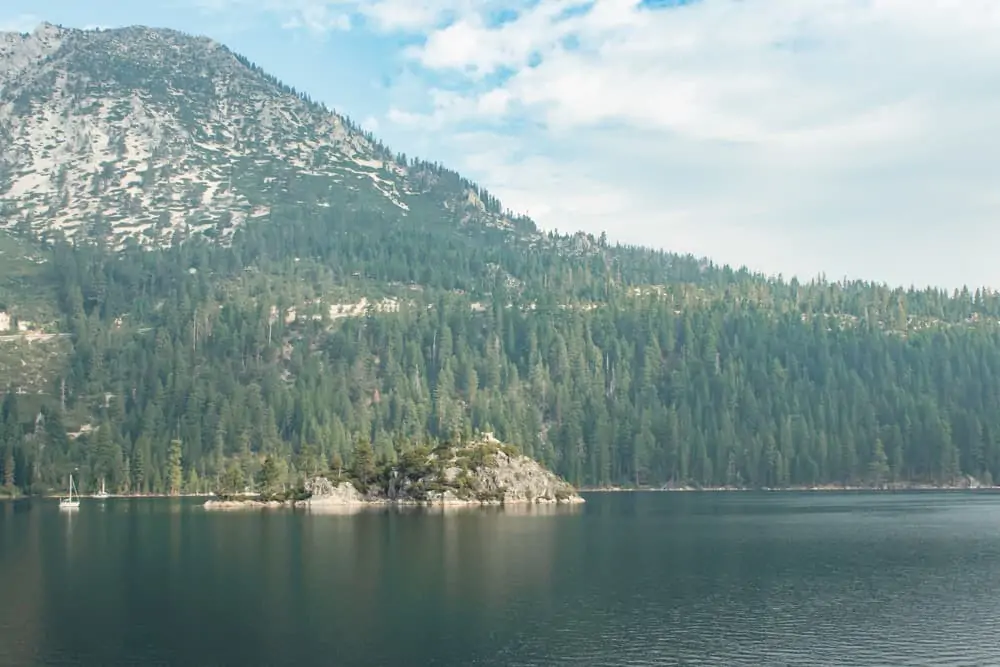
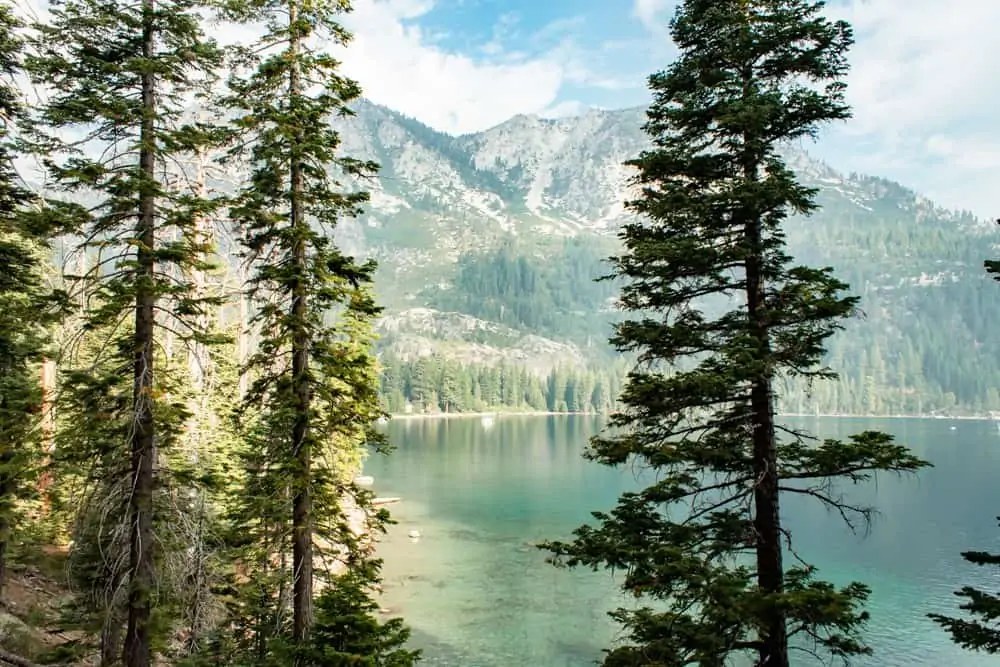
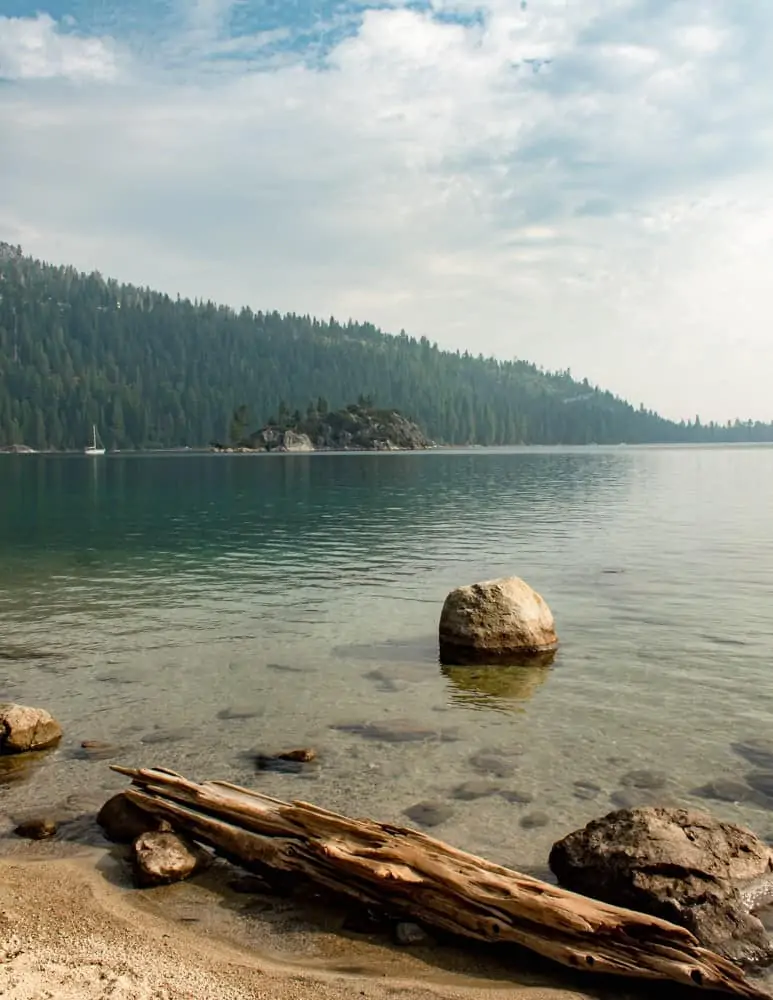
The first mile of the hike declines towards the center point of Emerald Bay. But from this height, you’ll have gorgeous views across the bay including Fannette Island.
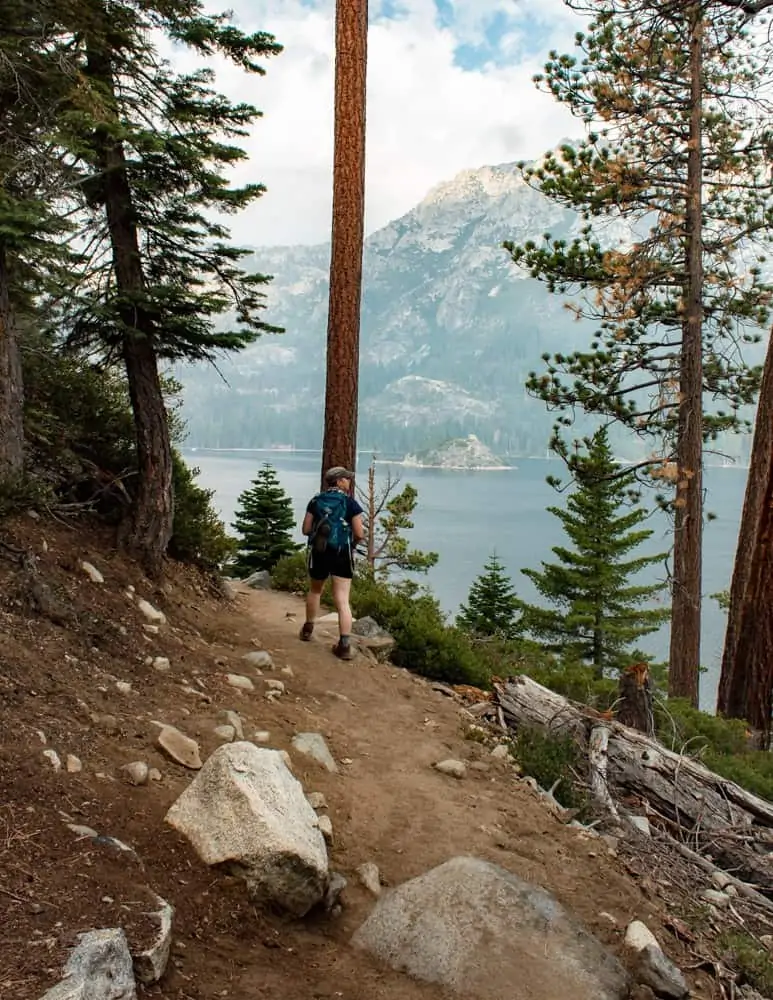
As the trail begins to level out because you’re now near water level, you’ll notice some trails leading to the water. If you follow them, you may just find a small bit of sand without anyone else around! Even though it’s still early in the hike, you may want to take a break here to enjoy the early morning sounds of Emerald Bay because, in a few short hours, it’ll get busier!
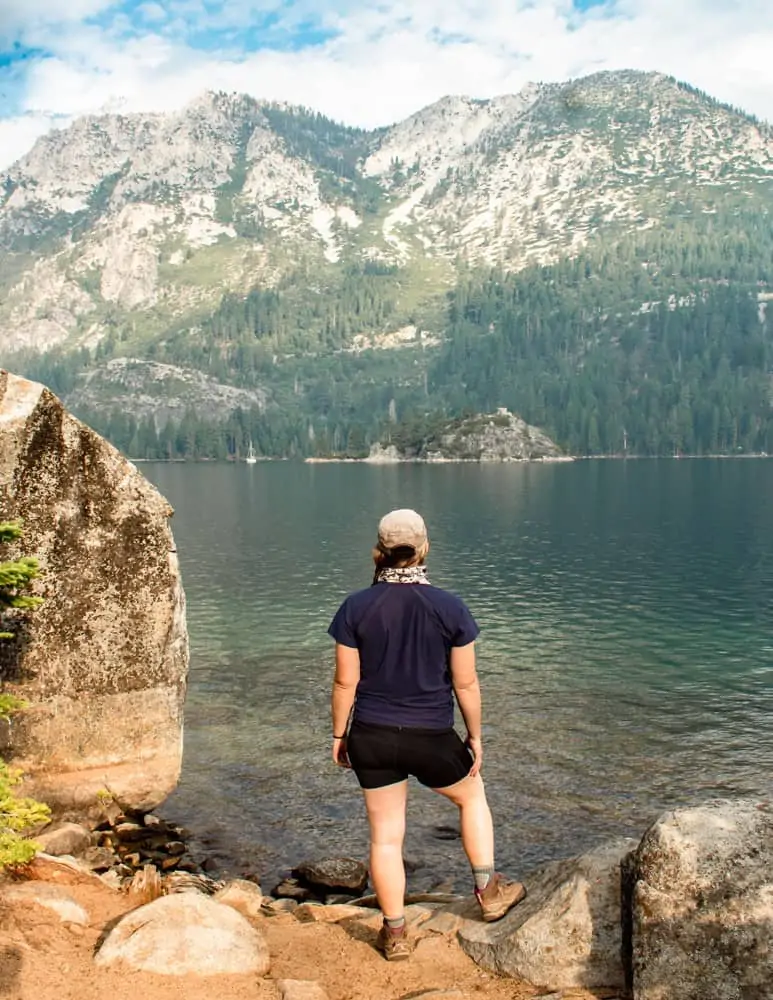
Rubicon Trail: Lower Eagle Falls
After these small trail offshoots, return to the main trail. It will bend away from the coastline and meander through lush greenery and granite rock. You’ll cross a bridge and notice a trail for Lower Eagle Falls. It’s only about .25 miles off the Rubicon Trail and I highly encourage you to take the diversion.
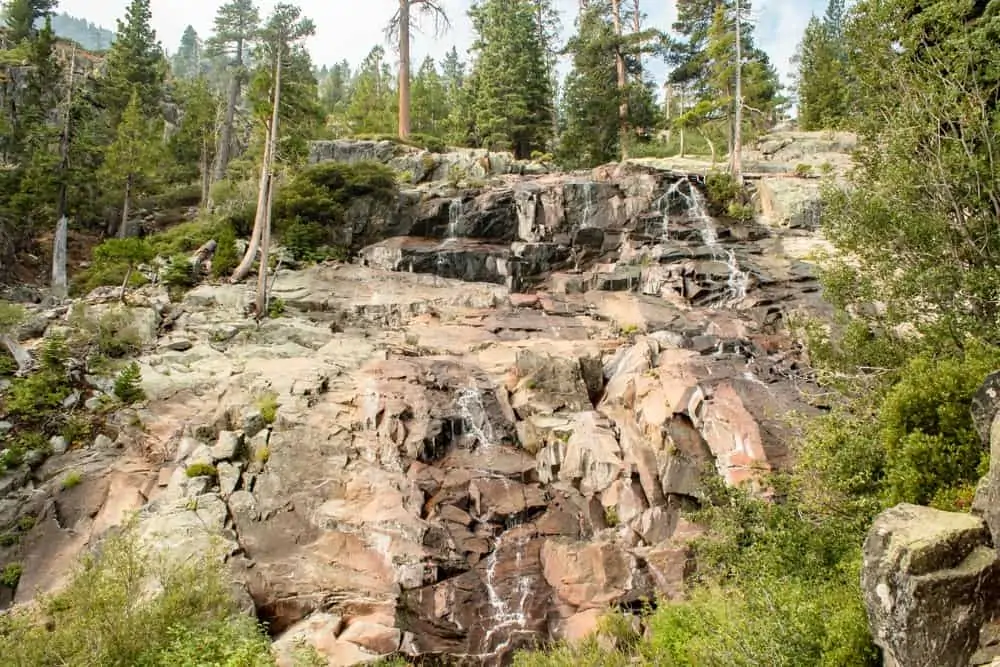
You’ll climb up granite stairs until you’re below Eagle Falls, the only waterfall that flows directly into Lake Tahoe. As I visited in August, the falls were small, however, I can imagine that in the Spring the snowmelt increases their power.
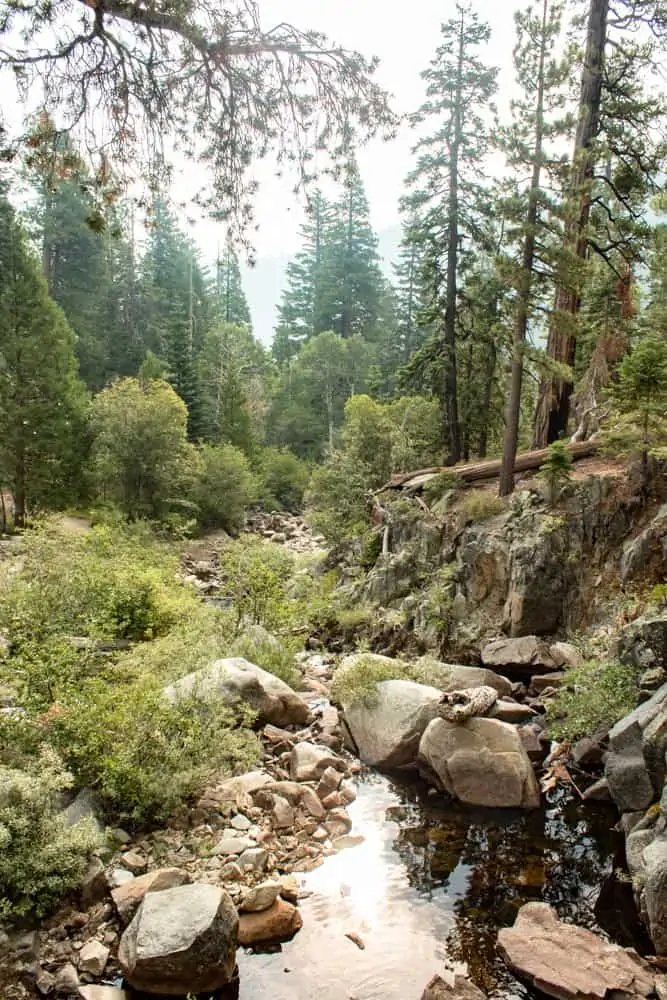
Rubicon Trail: Vikingsholm Mansion
Double back after the falls and head towards Vikingsholm Mansion. Here you’ll find a visitor center, toilets, and water to refill your supply, which I highly recommend doing!
At the time of my visit, tours to the mansion were not operating due to COVID. However, this may change when you plan your trip.
If you do want to add a tour to your hike, it will cost $15.00 per adult.
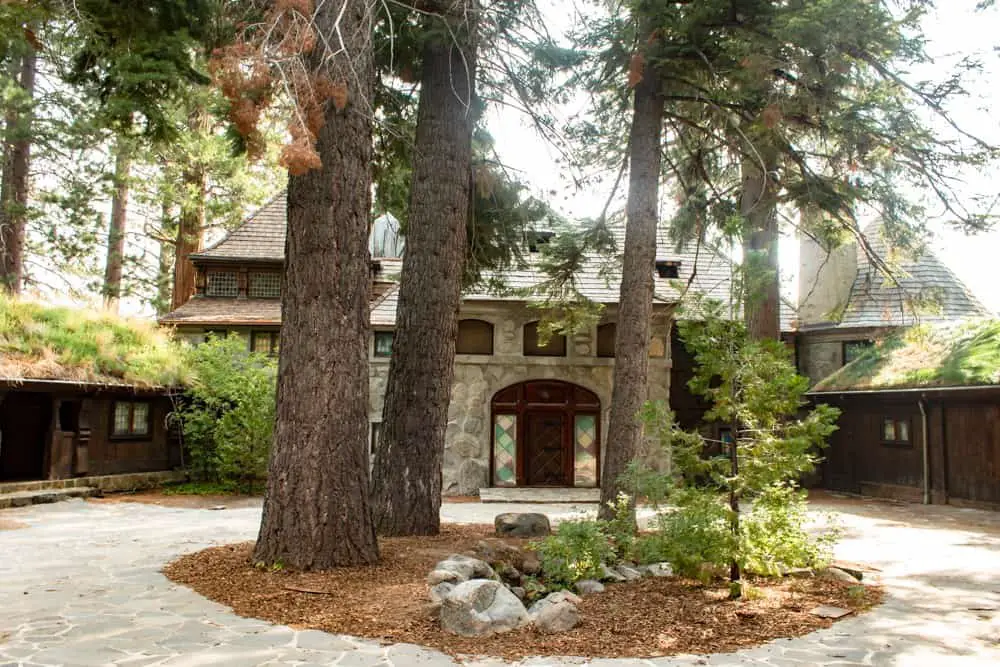
In this area, you’ll also find a pier, picnic benches, and a sandy beach.
This may be a good stopping point for you. If so, you’ll simply follow the trail back up to Eagle Point Campground for a roughly 4-mile hike.
Rubicon Trail: Vikingsholm to Emerald Point
If you want to keep going, you’ll see a small sign for the Rubicon Trail off of the beach. Follow that for the other side of Emerald Bay.
Note: If you’ve parked at the main parking lot, this is where your hike will begin. Choose which direction you’d like to hike from here. It will be either towards Emerald Point Campground or DL Bliss State Park
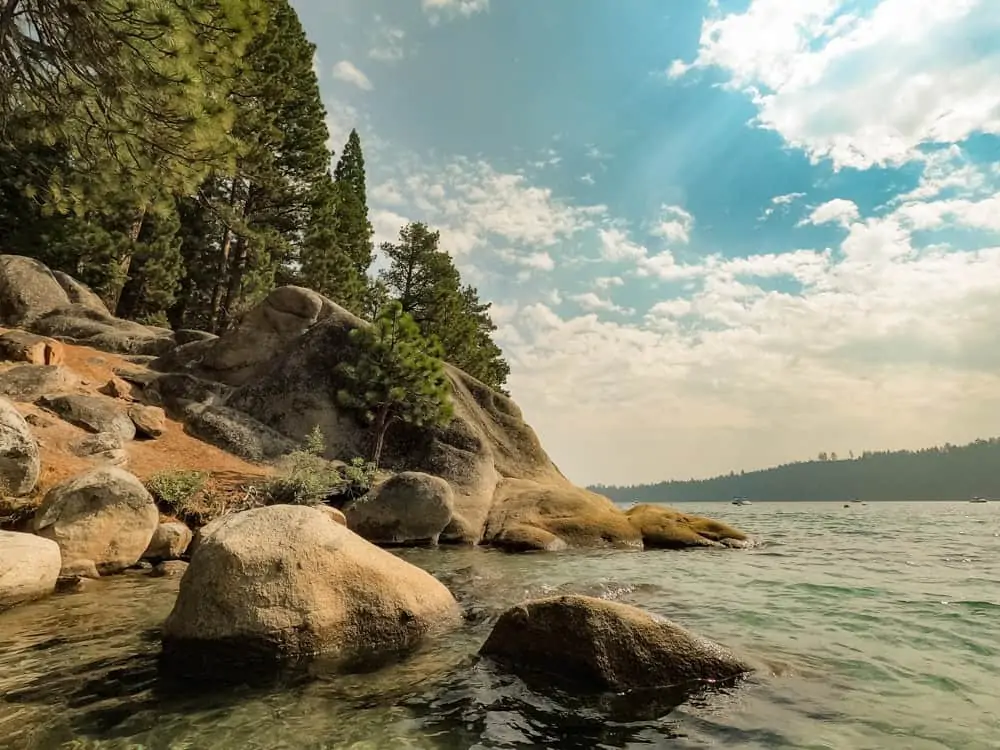
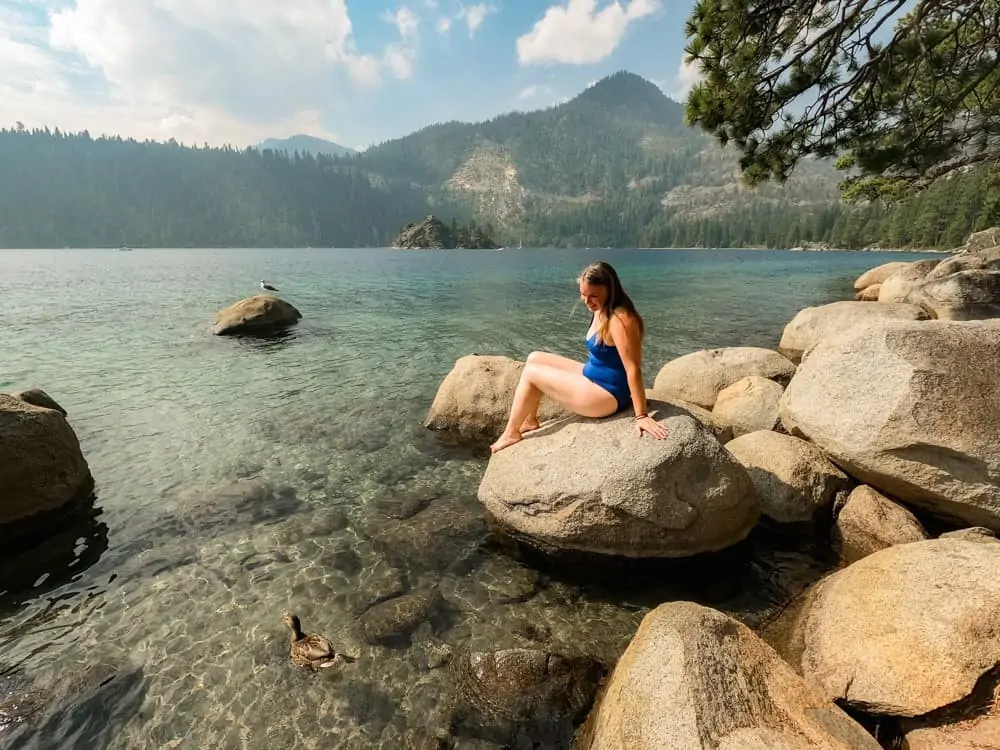
On this side, there are many more access points to the water and large boulders that are a great place to eat lunch or work on your tan.
You’ll pass through a boat-in campground in DL Bliss State Park that has water spigots and a bathroom if needed.
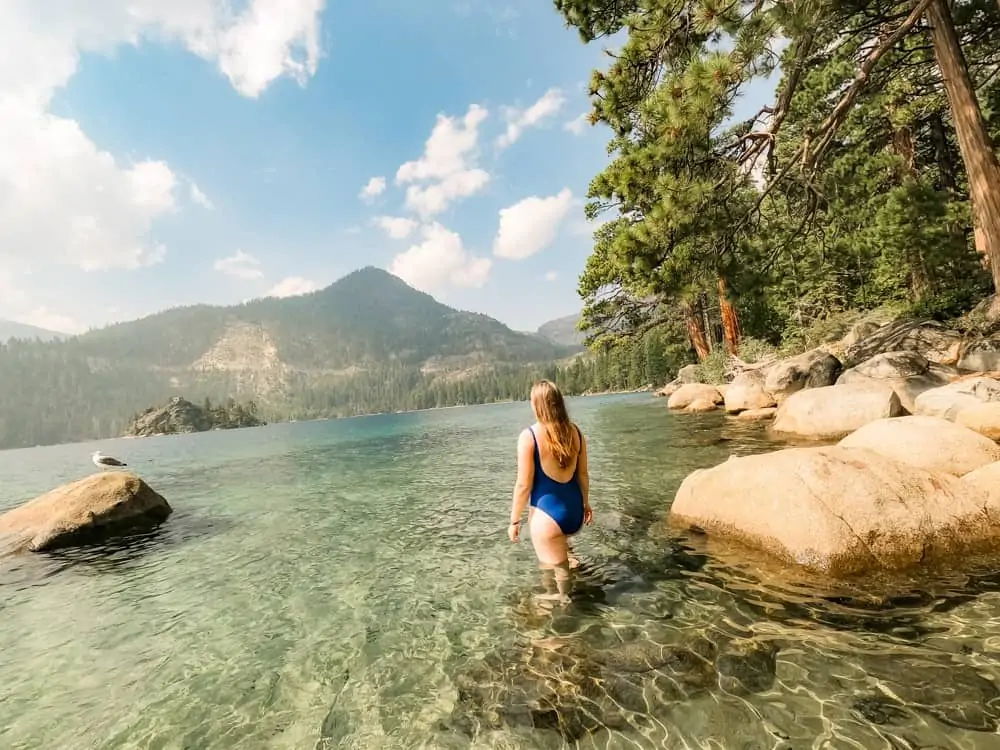
I followed this path for 2 miles until I decided that I was done for the day and turned back for Eagle Point Campground by way of a couple of swims in the bay.
On my way back I noticed that the number of people around the Vikingsholm mansion greatly increased from when I passed it a few hours earlier. This is another reason why it’s important to start your hike early if you want to experience it in relative peace, as this is a very popular area.
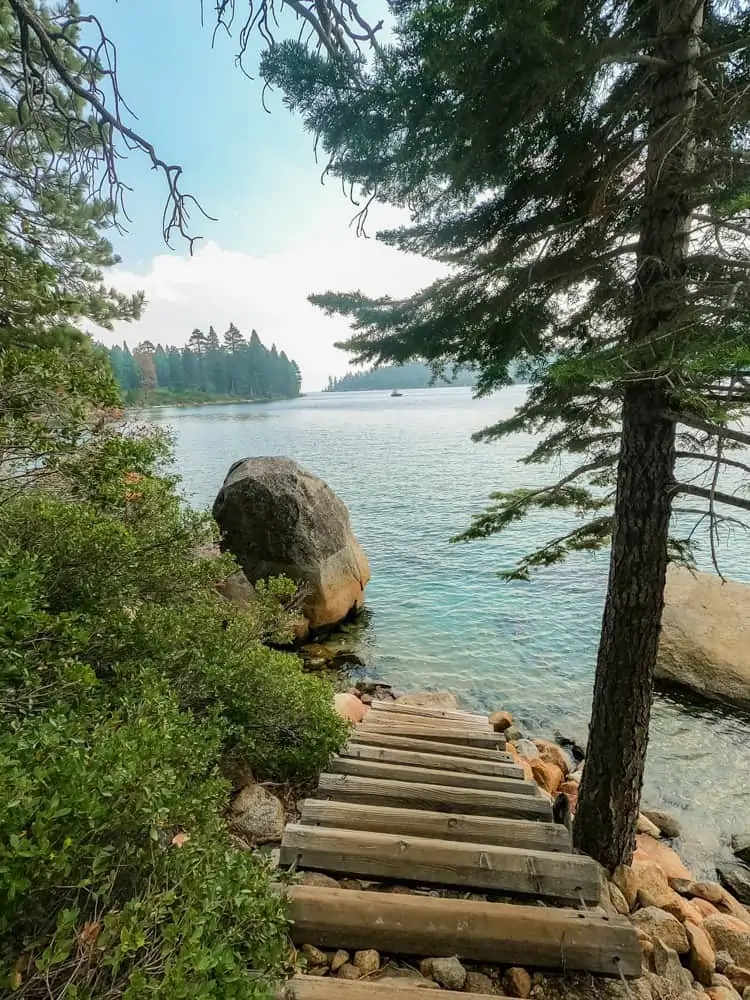
If you’re doing the shuttle method with your cars, or are well prepared for a much longer hike, you’ll continue along lighthouse trail through DL Bliss State Park until you reach Rubicon Point. Once there pat yourself on the back for completing the Rubicon Trail!
Take a breath, perhaps a swim, have a snack and if you have to, begin your hike back!
Considerations for the Rubicon Trail Hike
The Difficulty Level of the Rubicon Trail
I saw people of all different ages, shapes, and sizes on this portion of the Rubicon Trail. While there are some steep sections, mainly at the beginning/end as you near Eagle Point Campground, most of it is flat.
If you are ending the hike at the Emerald Bay parking lot, there is a very steep incline back up to the lot.
Additionally, keep an eye out for tripping hazards that come in the form of tree roots, rocks, and pine cones.
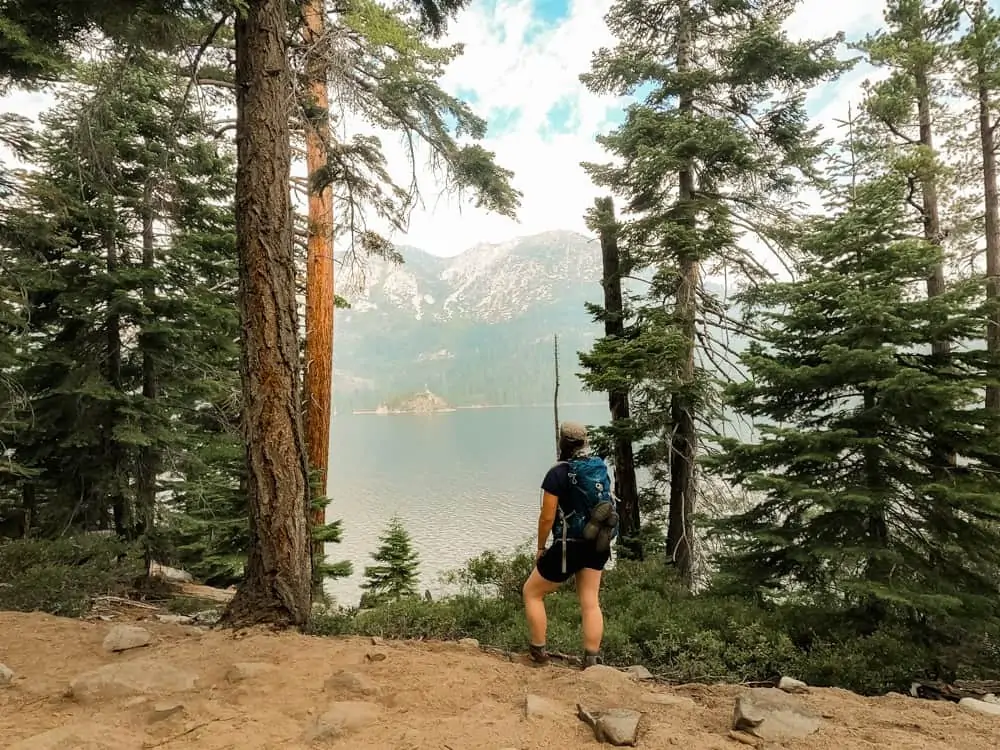
Emerald Bay Altitude
Emerald Bay is just over 6,000ft above sea level which means you might notice difficulty breathing, a slight headache, and perhaps some digestive issues if you’re not used to the altitude.
Take it slow, stay well hydrated, and take breaks often.
Use a Navigation System
While this trail is well marked and well-trafficked (meaning you can easily ask someone for directions) I suggest bringing a navigation system.
I used the AllTrails App and pay for the Pro version. This upgrade allows you to download any trail map offline and track the hike. You could also use Google Maps offline. Whichever option you choose, make sure to download the map when you have good WiFi otherwise it’s not going to work.
If you’re planning to use your phone as your navigation system, be sure to bring a portable power bank and cord to keep the battery charged because you’ll also probably be taking a ton of photos of this beautiful hike!
I love this portable charger – it can charge my phone at least 5 times with one full charge.
What to Wear on this Hike
What you wear on this hike will depend on the time of year you plan to hike it and the weather on the day of your hike.
I hiked the trail in late August when the high was 80*. I wore these awesome shorts from Athleta (no chafing) and this lightweight shirt also from Athleta.
Underneath I wore a swimsuit because I knew I’d want to take swim breaks. Since I knew I’d be swimming I also packed this lightweight towel to help dry off.
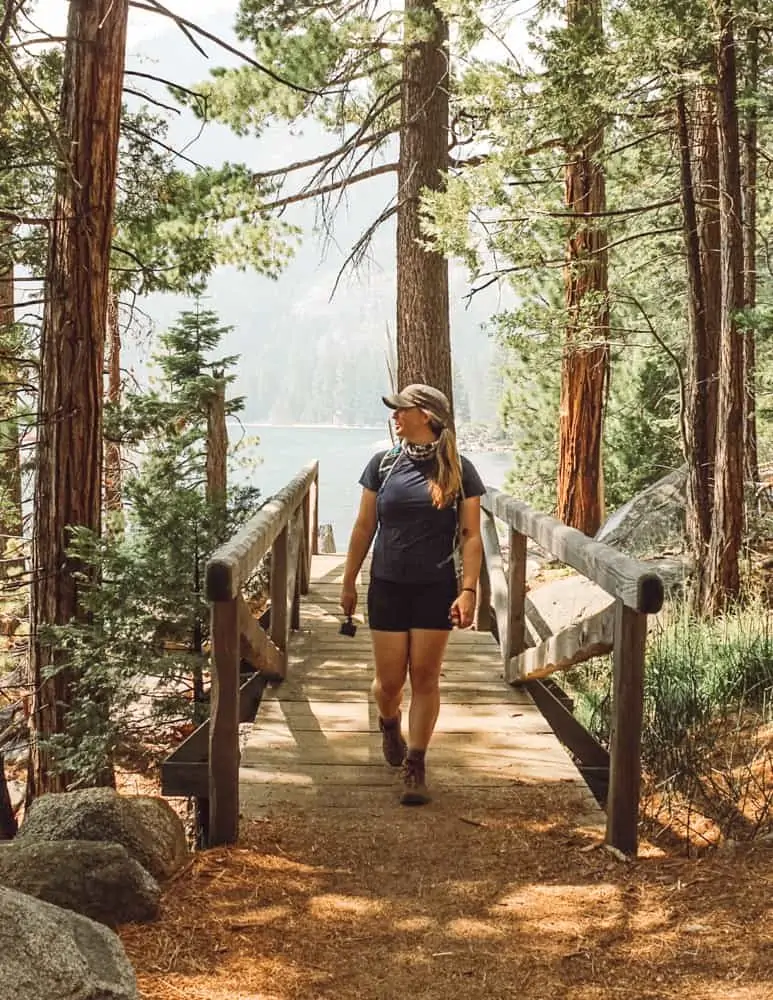
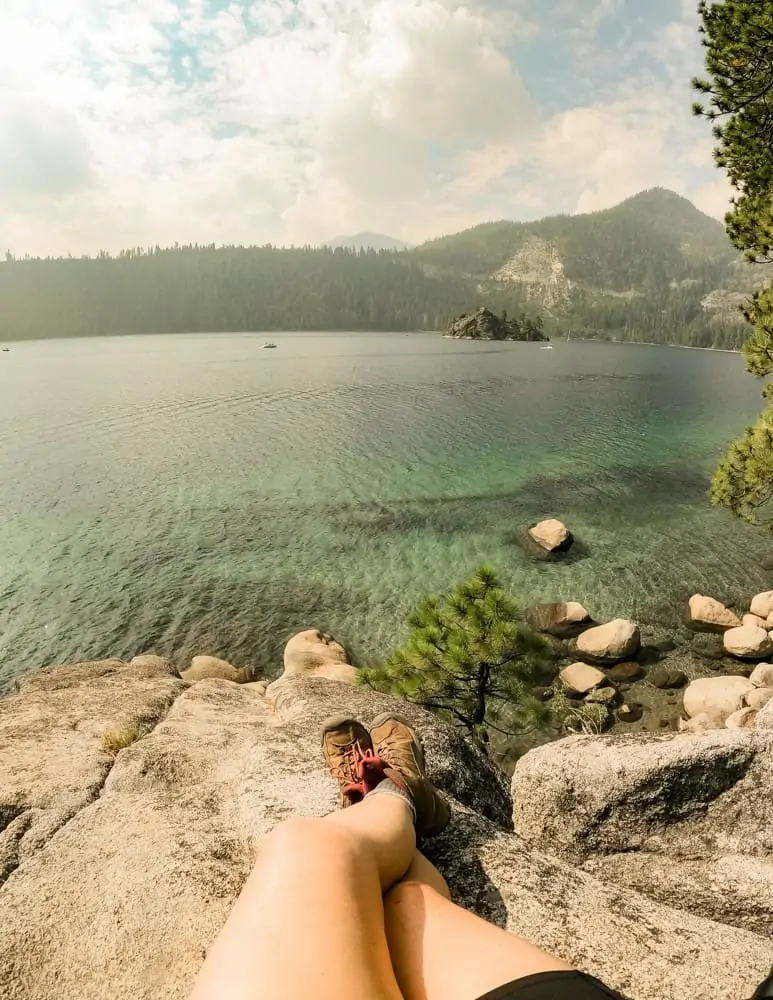
On my feet were my tried and true Darn Tough hiking socks, which NEVER give me a blister, and my Keen waterproof hiking boots.
I recommend a hiking boot or trail runners for this hike.
I also carried my Teva water sandals to help with any rocky entries into the water – but ended up not needing them.
I wore a buff for sun and COVID protection, a hat, and plenty of sunscreen.
What to Pack for the Rubicon Trail Hike
I carried my Osprey Talon 22L day hiking backpack and found that it fit everything that I needed. Here’s what I brought:
- Lunch: My favorite hiking lunch is pre-packed tuna packets and crackers. It’s lightweight and easy to carry
- Snacks: A granola bar, trail mix, and dried mango (always a treat)
- Water: I carried my 2L Hydrapak and re-filled with water at campsites I passed
- Water filter: Carrying a water filter is also a good idea just in case you need in and aren’t near a clean water source. Use this Katadyn bottle filter to easily filter the Lake Tahoe water.
- Navigation: As mentioned above, I used the AllTrails App to follow the route – although it’s pretty straightforward
- Camera: You may be happy with your phone as a camera. I was still using my Canon Rebel at the time so I brought that along as well as the GoPro 8 which I was trying to learn how to use.
Animals on the Rubicon Trail
This is bear territory, so make sure that you take any food out that you brought with you so that they don’t come looking for snacks. If you need to throw anything away while you’re on the trail, wait until you get to Vikingsholm or a campground as they’ll have trash cans made especially so bears can not access them.
There are also lots of ducks and chipmunks, please do not feed them.
Leave No Trace
In the same respect, follow the seven leave no trace principles.
- Plan Ahead & Prepare: you’re doing that by reading this and downloading maps offline
- Travel & Camp on Durable Surfaces: if you’re camping nearby, camp in you designated site
- Dispose of Waste Properly: anything that you brought with you on the hike, take with you as you go.
- Leave What You Find: Leave the pinecones, leaves, and flowers alone
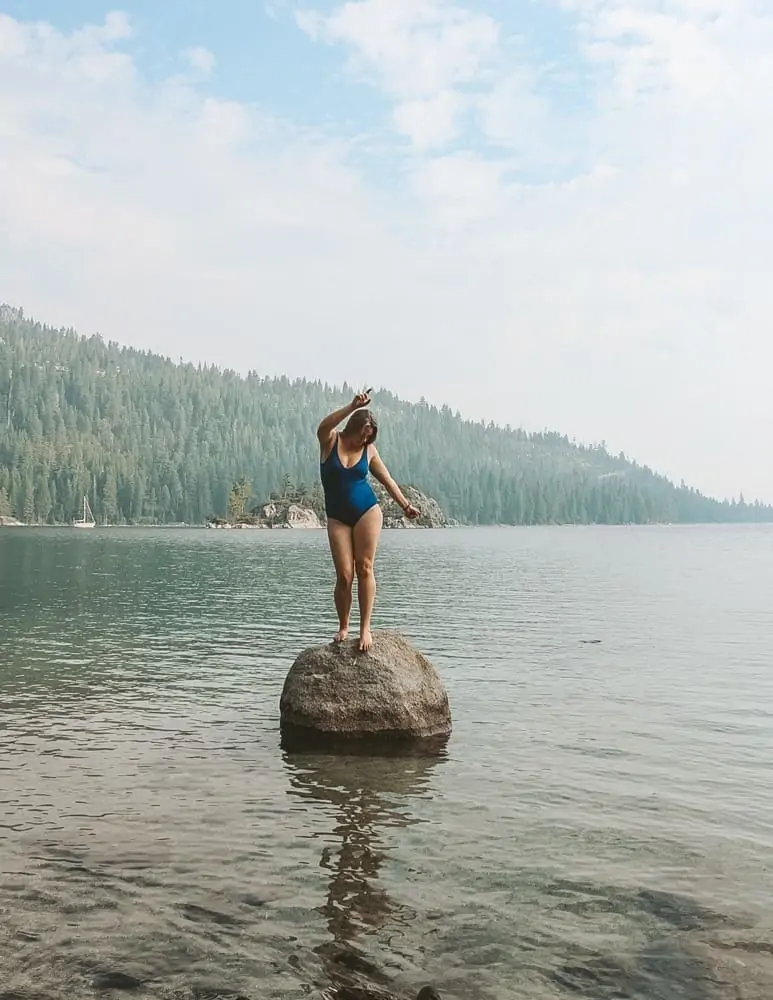
- Minimize Campfire Impacts: Not really applicable here – but note in the photos there’s a haze. That’s smoke from the Wildfires that ravaged California in 2020. Do not create a campfire when fire risk is high!
- Respect Wildlife: Again, leave everything from the ducks to the bears alone.
- Be Considerate of other Visitors: This is a heavily trafficked area so be aware of other hikers on the trail
Basically – leave the trail better than you found it!
You’re awesome!
I seriously hope that you add the Rubicon Trail to your Lake Tahoe bucket list. It’s definitely one of my favorite hikes I’ve done this summer and I can’t wait until I can complete the second half of it! Let me know in the comments which portion of the Rubicon Trail you’re going to hike.
If you’re looking for other hikes in California, check out these posts!
Stunning San Francisco Bay Area Hikes to Add To Your Northern California Hiking Bucket List
Awesome Hikes in Half Moon Bay California for Coastal Views and Redwood Forests
The Best Ocean View Hikes in Pacifica, California
The Best Hikes in Pinnacles National Park
3 of the Best Hikes in Joshua Tree National Park for Casual Hikers
Hiking to Alamere Falls in Point Reyes Seashore

I just want to thank you for this blog about the Rubicon Trail. I was researching trails in Lake Tahoe and stumbled upon this. Your post helped make our hike fantastic! We did exactly what you did and it was by far our best hiking trip! You are so detailed that even though I had never been there, I felt like I had a good idea of what it was going to be like. We have 3 boys ages 12, 10, and 7. This trail was perfect for our family of 5! The best advice was to park at the Eagle Point campground. It was a perfect starting point and plenty of available parking! I noticed cars parked on the side of the road as we left the campground because they couldn’t find spots. We were so thankful for that advice! Also I should mention that we started early like you suggested (around 9am) and beat the crowd! We stayed 5 hours hiking, swimming, and admiring God’s beautiful creation! Total success thanks to you!
I’m so glad you had a great hike! It’s awesome that the boys enjoyed it too – such a beautiful place!
Wow, your description of the Rubicon Trail has me so excited to explore! The tips on what to pack and the best times to hike are super helpful. I can’t wait to chase those stunning sunsets you mentioned—thanks for sharing your experience!
Have so much fun in this beautiful place!