Blog, California, Destinations, North America, United States
The Seven Best Hikes in South Lake Tahoe, California
Last updated on February 29th, 2024 at 09:23 am
Nestled in the Sierra Nevada Mountains, South Lake Tahoe is a playground for adventurers from near and far with its pristine alpine lakes, towering pine forests, and an abundance of hiking trails that promise awe-inspiring views. As a California native, I’ve spent the last few years exploring the stunning hiking trails in and around South Lake Tahoe. In this post, I share seven of the best hikes in South Lake Tahoe that are perfect for a half-day adventure.
Plus, I share where to eat and drink to fuel up for your hikes and where to stay so you can get a good night’s rest for your adventure.
If you’re ready to lace up your hiking boots and explore these stunning trails, read on for everything you need to know to plan an epic hiking trip in South Lake Tahoe.
This post contains affiliate links, which means that, at no additional cost to you, I will earn a tiny bit of income if you decide to make a purchase or booking. For more, check out my disclosure.
My Favorite hiking Resources
- Find cool hiking trails with the AllTrails app
- Stay blister free with Darn Tough socks
- All of my favorite hiking gear (boots, backpacks, water bladders etc)
- Check out my day hike packing list
How to Get to Lake Tahoe
Lake Tahoe is well located for weekend getaways from San Francisco, Reno, and beyond. Lake Tahoe is most accessible with a car, so no matter where you start, you’ll need a car to access all of these hikes at some point.
The closest airport to Lake Tahoe is the Reno-Tahoe International Airport. From here, rent a car to make the 1.5-hour drive from Reno to South Lake Tahoe via US-395 South and US-50 West.
The drive from San Francisco takes approximately 3.5 to 4.5 hours, depending on traffic and road conditions. Start by heading east on Interstate 80 (I-80) and then merge onto US-50 East toward Sacramento/South Lake Tahoe. Along the way, you’ll pass through historic Gold Rush towns like Placerville before arriving at your destination.
Sacramento is conveniently located just a two-hour drive away from South Lake Tahoe. Head east on US-50, and you’ll find yourself in the heart of Tahoe in no time. This route is ideal for a quick weekend getaway or a spontaneous day trip to the mountains.
Best Time of Year to Go Hiking in Lake Tahoe
Spring (March-May)
Spring is a great time to hit Lake Tahoe’s hiking trails. The snow will begin to melt, powering the waterfalls, and the meadows will bloom with wildflowers. Lower-elevation trails should be accessible, while higher elevations may still be packed with snow. Make sure to check trail conditions before setting out.
Summer (June – August)
Summer is peak hiking season in South Lake Tahoe. The weather is warm and dry, and nearly all the trails are accessible. Whether you’re looking for a leisurely lakeside stroll or a challenging mountain summit, you’ll find plenty of options. Be prepared for more crowds during this time, especially on popular trails, so start early to beat the rush.
Fall (September – November)
The best time to visit South Lake Tahoe is during the fall, and I absolutely love hiking there this time of year. The temperatures are mild, and the fall colors paint the landscape with stunning shades of red, orange, and yellow. The summer crowds have dwindled, allowing for a quieter and more peaceful hiking experience. It’s an ideal time for capturing those Instagram-worthy shots and enjoying the tranquility of the trails.
Winter (December – February)
Winter is definitely the most challenging and potentially dangerous time to go hiking in South Lake Tahoe. The winter of 2022-2023 saw record snowfall in Lake Tahoe. If you’re planning a winter trip to Lake Tahoe, it’s better to plan a skiing adventure or a cozy cabin getaway.
Short Hike Packing List
All the hikes shared here are relatively short and can be completed in about 3 hours (shorter for some). Ensure you have everything on this short hike packing list, including these ten hiking essentials.
- A Map or GPS: I recommend downloading Google Maps offline and the trail map from All Trails (you need the pro version). Service could be better on some of these hikes, so it’s best to be prepared.
- Water: Even if you think it will be a quick 1-mile hike, bring more water than you think you’ll need. I use a 3L hydration bladder and bring this water filter if I run out. Consider adding electrolyte packets to your water on challenging hikes or hotter days.
- Food/Snacks: Hiking generally makes you quite hungry, but the altitude seems to increase the hunger! Bring trail snacks to enjoy midhike. I love these adult lunchables, dried mango, and a protein bar.
- Sunscreen: No matter what time of the year you go hiking in Lake Tahoe, always wear sunscreen. Remember the backs of your hands, neck, and ears! I’m a huge SunBum sunscreen fan.
- Layers: The types of layers you pack will, of course, depend on the season. Ensure you wear the appropriate attire for the hike and have an extra layer in your backpack, just in case.
- Portable Charger: You’re likely using your phone for photos and navigation. Bring a portable charger to ensure you have enough battery for your entire hike. I’ve been using this one for years, and one of its charges recharges my devices three times.
- First Aid Kit: Always keep a pre-made first aid kit in your backpack. I use this one and restock it as needed.
- Swiss Army Knife: Even if you just need it to open a summit beer, a Swiss Army knife can be handy!
- Communication: As these hikes are very popular, a cell phone should be sufficient for communication purposes should you need it. Consider using a satellite phone like this one for more isolated hikes or those without good service.
- Headlamp: Some of these hikes are great for sunset or sunrise. Have a headlamp with you in case you’re out after dark.
Top Tips for Hiking in South Lake Tahoe
- Start Early: Start more popular hikes early in the day (especially during peak season) to make sure you get parking and quieter trails.
- Follow Leave No Trace: Always follow Leave No Trace principles. Take anything out that you bring in, stay on the trails, and don’t feed the wildlife.
- Have Space on Your Phone: Make sure you have plenty of space on your camera or phone because you’ll want to take many photos.
- Take Your Time: You will have gorgeous views on just about these hikes. Take a moment to soak it all in.
The Best Hikes in South Lake Tahoe
Now that we’ve covered all the basics let’s get into the most popular hikes in South Lake Tahoe.
Rubicon Trail
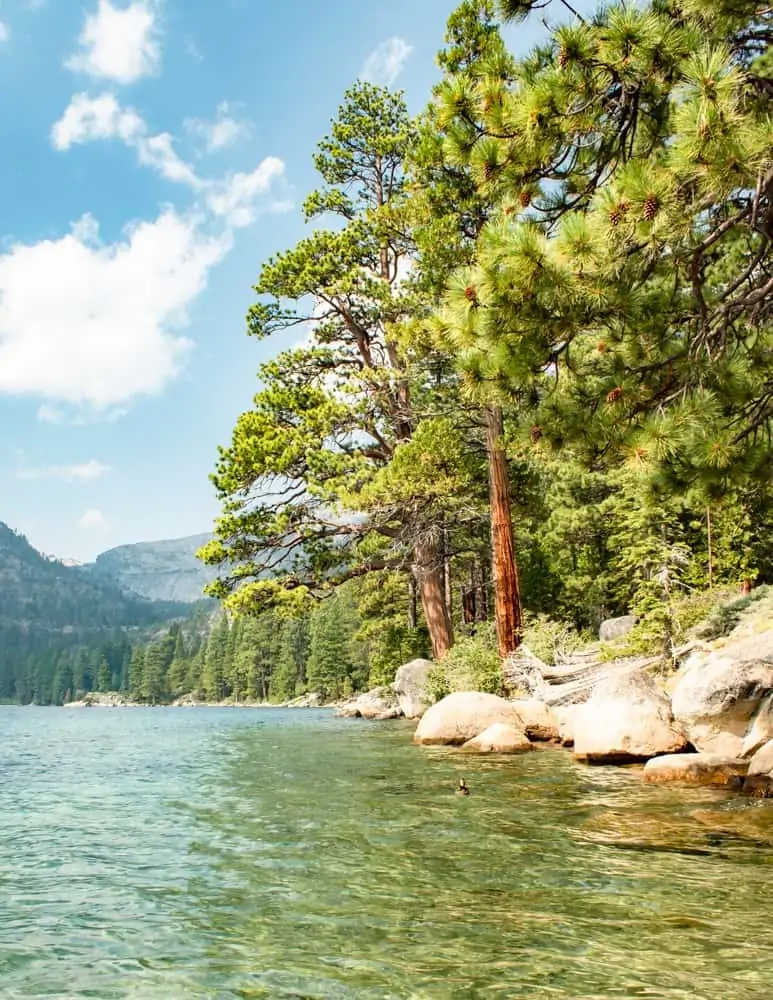
The Rubicon Trail is a stunning 16.4 mile out and back trail that hugs the coast of Emerald Bay and includes two beautiful state parks: Emerald Bay State Park and D.L Bliss State Park.
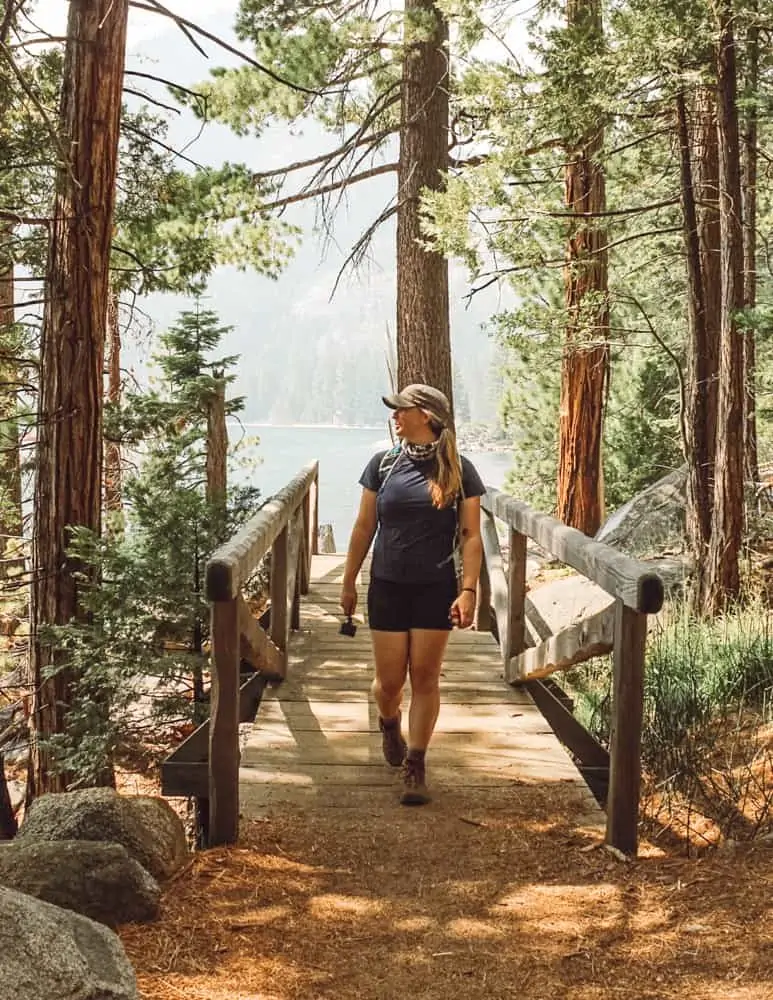
The trail can be steep in some sections, but it never feels like you’re climbing up a seemingly endless incline. Most of it is like walking a rolling hill covered, of course, by towering pine trees.
While you can hike this trail in one day, I recommend picking a section of it so that you can take your time and even enjoy a mid-hike swim in one of the coves along the way.
Depending on the section you choose, you could pass by a waterfall, a Scandinavian mansion, sandy beaches, and large boulders. You’ll have views of the unique Fannette Island and ample photo opportunities.
There are multiple trailheads for the Rubicon Trail, but the four main ones are Eagle Point Campground, DL Bliss State Park, Rubicon Trailhead North, and Vikingsholm Mansion. The Vikingsholm Mansion parking lot fills up quickly as there are multiple trailheads in this area (some mentioned in this post!). The parking lot for Rubicon Trailhead North is also quite small. Get to these two early!
I recommend starting this hike from Eagle Point Campground, checking out Lower Eagle Falls, circling Emerald Bay to DL Bliss Campground, and then evaluating if you’d like to continue along the lighthouse trail to Rubicon Point or turn back.
If you’re traveling with friends, I recommend using the shuttle method with your cars. Park one car at each state park ($10 each), and when you reach the end, shuttle back to the car, so it’s only an 8.2-mile hike!
Quick Stats About the Rubicon Trail
- Length: 8.2 miles one way, for a total of 16.4 miles round trip
- Cost: $10 to park in the parking lots mentioned above
- Terrain: Mostly dirt with granite rocks and boulders
- Difficulty: Moderate, primarily due to the length
- Crowd level: heavily trafficked
Eagle Lake Trail
The Eagle Lake hike is an incredibly popular 4-mile out-and-back trail near Emerald Bay and DL Bliss State Parks in South Shore Lake Tahoe. On this trail, your physical efforts will be handsomely rewarded with mountainous peaks, a waterfall, pines, and a peaceful alpine lake (if you get there early).
The Eagle Lake Trailhead is located on Highway 89 across from Emerald Bay. There are three parking options for this hike. The first is at the trailhead, which has about 15 parking spots and costs $5; the second is right near the trailhead parking lot or across the highway in the Emerald Bay parking lot ($10).
Once you park your car, head to the Eagle Falls trailhead.
If you arrive before the ranger, it’s an honor system to pay your parking fee and collect your Desolation Wilderness permit ($10)
At the beginning of the hike, you’ll pass Upper Eagle Falls, which, after the record-breaking levels of snow Tahoe saw in the winter of 2022-2023, is quite powerful. I went during a drought, and it was a small trickle.
Once you pass Eagle Falls, you’ll enter a forested area and begin climbing up stairs that have been cut into the rock. After a bit of a climb, you’ll walk onto a vast expanse of granite rock.
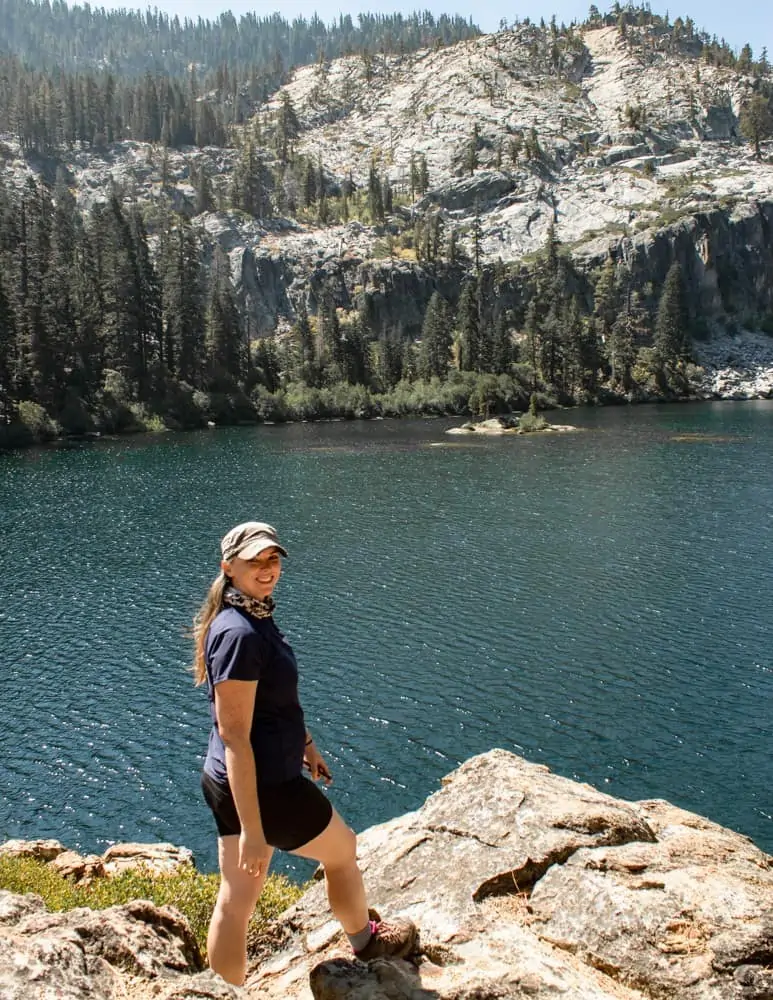
The trail will continue uphill for about 2 miles before you see a sign for Eagle Lake. Follow it to the right. You’ll climb over a couple of boulders, and the stunning Eagle Lake will come into view. It’s an awe-inspiring moment – take it in!
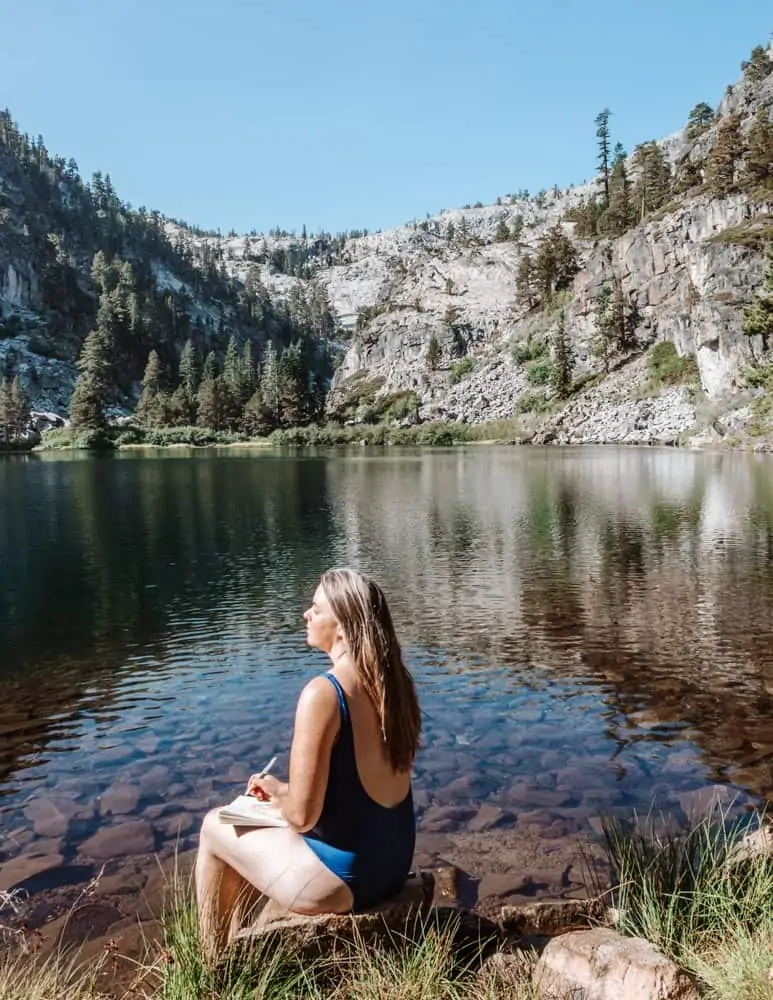
From here, follow the trail around to the right of the lake. There will be plenty of places to sit and enjoy a snack or go for a swim. Fair warning: in the early mornings, many people like skinny dipping in the lake!
Once you’re done, begin walking back towards the entrance, but before you cross the creek, you’ll notice a trail that climbs up the side of the mountain. Follow this for an overlook of Eagle Lake.
Quick Facts About the Eagle Lake Trail
- Length: 2 miles one way, for a total of 4 miles round trip
- Cost: It is $5 to park in the lot directly next to the trailhead, it’s free on the side of Highway 89, and it costs $10 to park across the street at the Emerald Bay parking lot
- Permit: You need a permit as this hike is in Desolation Wilderness.
- Terrain: Rock stairs, granite overlooks, a bridge, shaded in some locations, completely exposed in others
- Difficulty: Moderate. The hike to the lake is all an incline, with a 400 ft elevation gain.
- Crowd level: heavily trafficked
Fallen Leaf Lake Trail
If you want a pleasant, meandering walk through the woods alongside a creek that leads to a stunning lake, head to Fallen Leaf Lake.
You can walk on either side of the lake, but I recommend the western shore of the lake. You can park in Fallen Leaf Campground ($10) or on Cathedral Rd near Washoe Sno Park for free to access the trailhead.
This easy hike is on a narrow trail that follows Taylor Creek until it meets Fallen Leaf Lake. The trail will then hug the rocky shoreline, and there are a few spots with picnic tables if you’d like to bring a light lunch or snack.
Eventually, the trail will lead to cabins and back to Cathedral Rd. You can turn around here. And head back to your car!
Multiple hiking trails lead off of Cathedral Rd., such as Mount Tallac Trail, which leads to the tallest mountain in the Tahoe Basin.
Quick Facts About the Fallen Leaf Lake Trail
- Length: 2-5 miles out and back (depending on how far you go)
- Cost: Free
- Permit: None needed.
- Terrain: Narrow forest path.
- Difficulty: Moderate.
- Crowd level: Lightly trafficked
Echo Lakes Trail
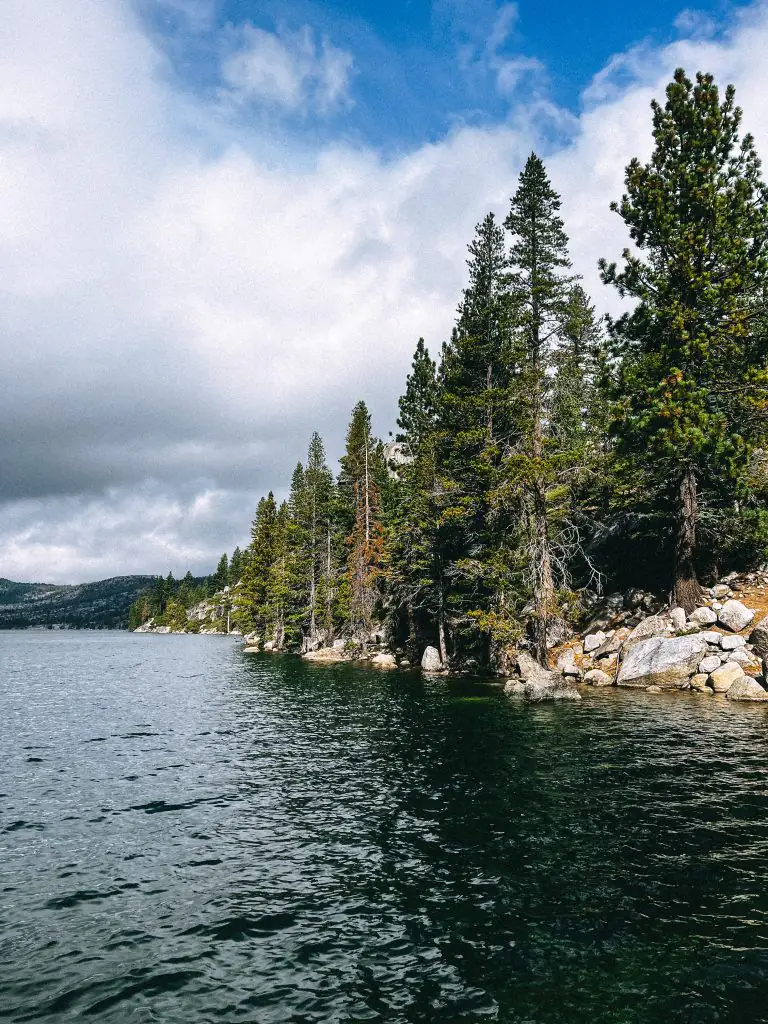
Want to hike a portion of the Pacific Crest Trail? Head to the incredibly picturesque Echo Lake. The Echo Lake Trailhead is a starting point to explore much more of the backcountry, but the hike I’m recommending is just for Lower Echo Lake.
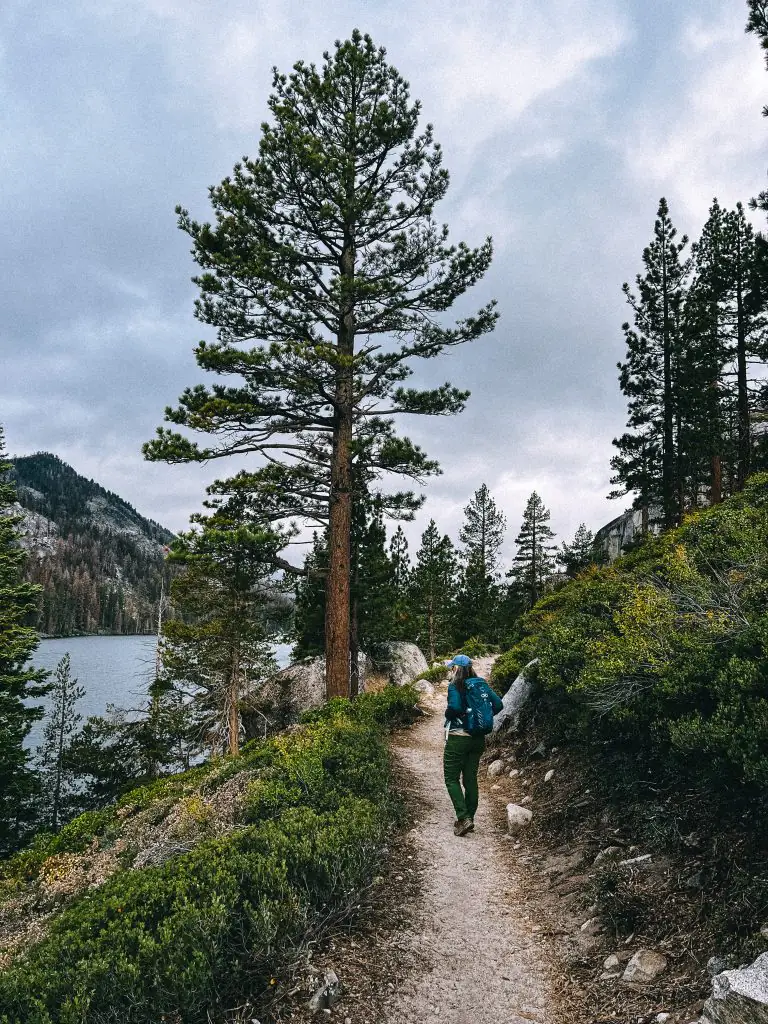
This 4-mile out-and-back trail follows a narrow dirt path above Lower Echo Lake. You’ll have breathtaking views of the lake the entire way and pass cozy cabins that add to the atmosphere of this hike.
You can continue the hike to Upper Echo Lake for another 0.5 miles on your hike. In the summer, a water taxi is available to bring you back to the Lower Echo Lake Trailhead, or you can turn around and follow the same path back. From Upper Echo Lake, many people continue the hike to Tamarac Lake.
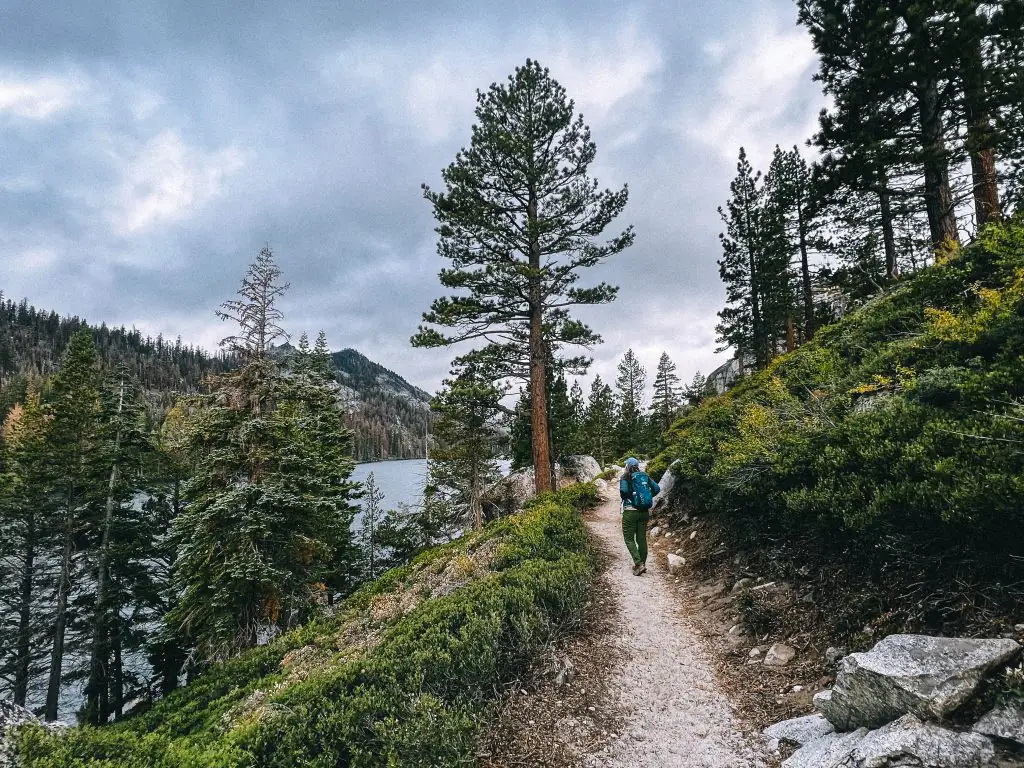
I hiked this trail the first weekend in October of 2023 and had rain all morning. I made it to the end of Lower Echo Lake and turned back as the rain was coming down hard at that point! It did let up when I got closer to the trailhead and allowed for a snack on a boulder while enjoying the view.
About 20 parking spots are at the lake near Echo Chalet, and a bigger parking lot is just up the road near the Tahoe Rim Trail.
Quick Facts About the Echo Lake Trail
- Length: 4 miles out and back
- Cost: Free
- Permit: None needed for day use.
- Terrain: A sandy path through trees with roots. Some granite boulders along the way.
- Difficulty: Moderate. There is one incline (you’ll hit it both ways), but it’s manageable, with a 500 ft elevation gain.
- Crowd level: moderately trafficked
Cave Rock Trail
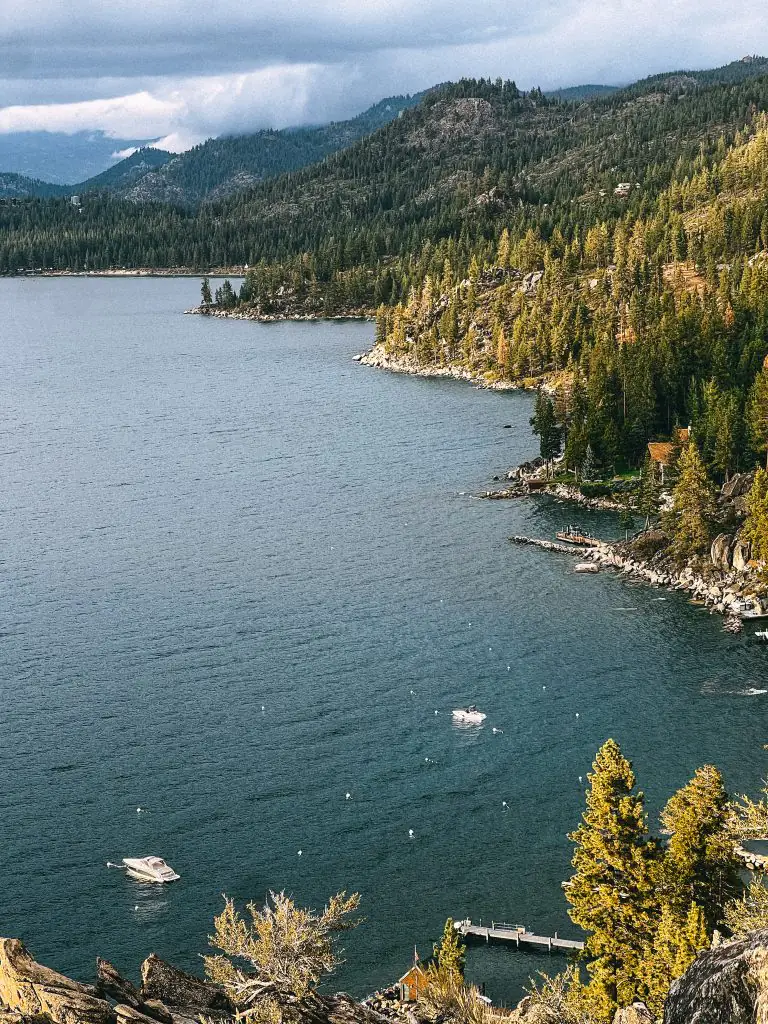
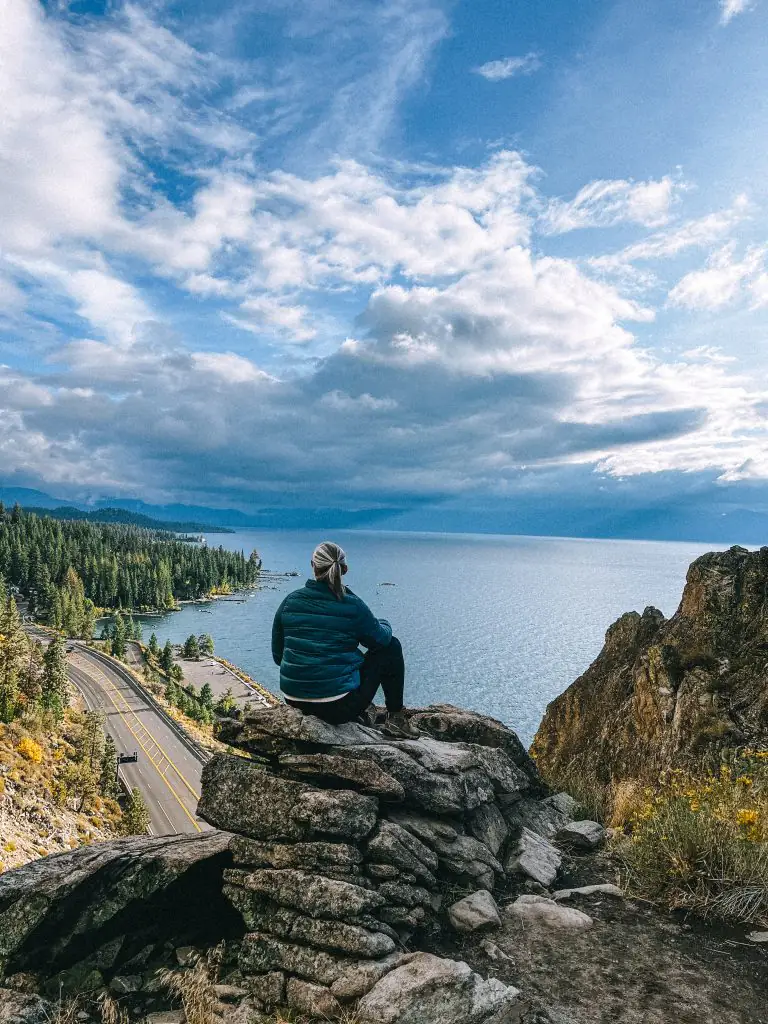
Cave Rock Trail is an awesome and short trail on the Nevada side of Lake Tahoe, just 15 minutes up the road from downtown South Lake Tahoe. The trail is less than a mile out and back but requires a bit of scrambling over some rocks to get to the top of the viewpoint of Cave Rock. Just take your time, and you’ll be rewarded with one of the best views of Lake Tahoe.
This is a fantastic hike to do at sunset, as you can see the entirety of Lake Tahoe from the top of the rock. However, if it’s windy or raining, I’d advise against it.
There is a tiny parking lot with three official parking spots at the trailhead, but there are some spots up the road. The trailhead is in a neighborhood, so be respectful of parking and follow posted no parking signs.
Quick Facts About the Cave Rock Trail
- Length: 0.8 miles out and back
- Cost: Free
- Permit: None needed.
- Terrain: Dirt path with rock scrambling to the top of the rock
- Difficulty: Easy until the rock
- Crowd level: Heavily trafficked
Cascade Falls Trail
I feel like All Trails lied with the difficulty of this hike, or maybe it’s just that it was my second of the day and fifth of the weekend. I’m not sure, but I found it quite challenging as it includes quite a bit of boulder maneuvering as you make your way up the incline to the waterfall.
All Trails claims this is a 1.3 out-and-back trail that will take 35 minutes to complete. I mapped it on All Trails as I did the hike, and it’s closer to 1.9 miles and took me 1.5 hours to complete, with 30 minutes spent enjoying the view from the waterfall.
All that to say, wear good shoes, bring hiking poles to help on the rocky portion, and bring plenty of water.
Finding a parking spot for this hike took a bit of work. It is located across the Highway from Inspiration Point and near the Bayview Campground, which is currently closed. You will have to park at the Inspiration Point parking area or get lucky on the side of the highway.
From there, the hiking trail is clearly marked. You will have stunning views of Cascade Lake throughout the entire hike. Once you reach Cascade Falls, it becomes a choose-your-own-adventure for getting close to the waterfall. Be careful navigating the wet rocks!
There are many areas to sit and soak in the stunning lake views while listening to the rushing waterfall.
I did notice the way back down was much quicker than the way up!
Quick Facts About the Cascade Falls Trail
- Length: 1.9 miles out and back
- Cost: Free
- Permit: None needed.
- Terrain: Sandy path and boulder stairs and scrambling
- Difficulty: Moderate
- Crowd level: Heavily trafficked
Cal-Neva Loop Trail
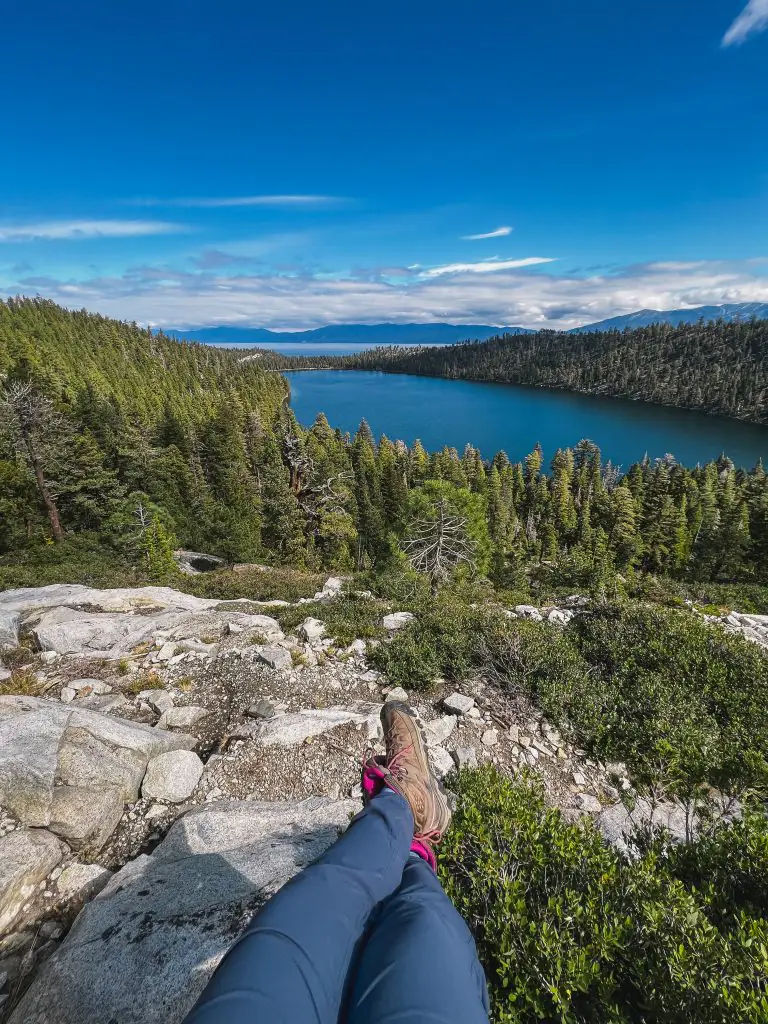
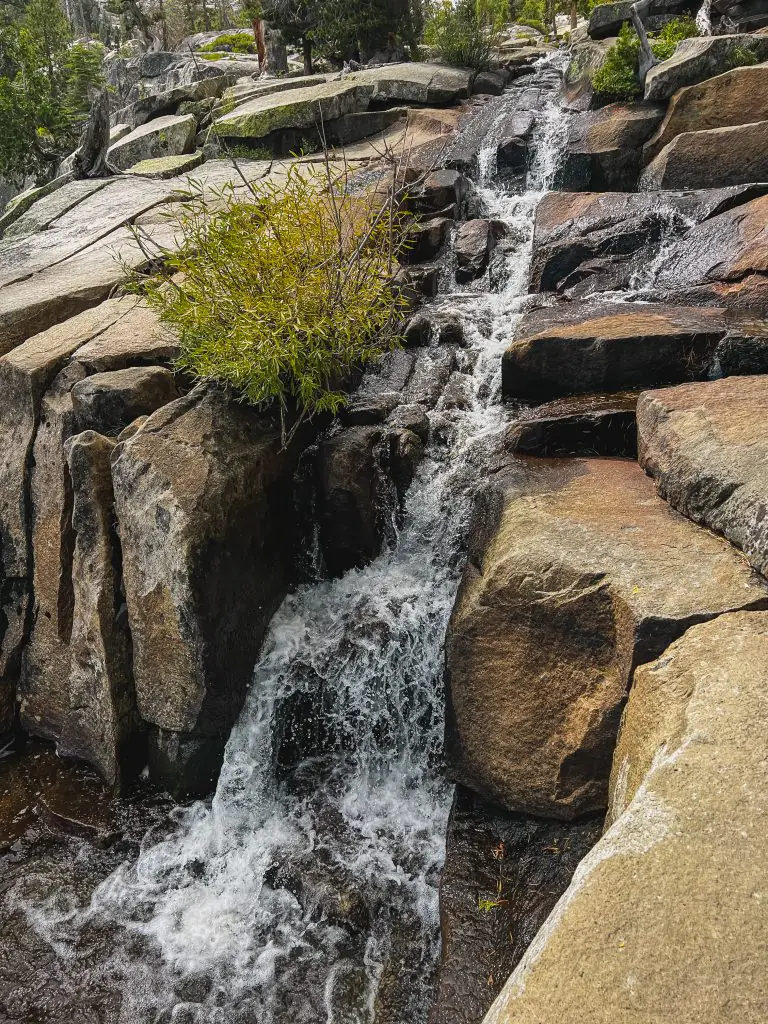
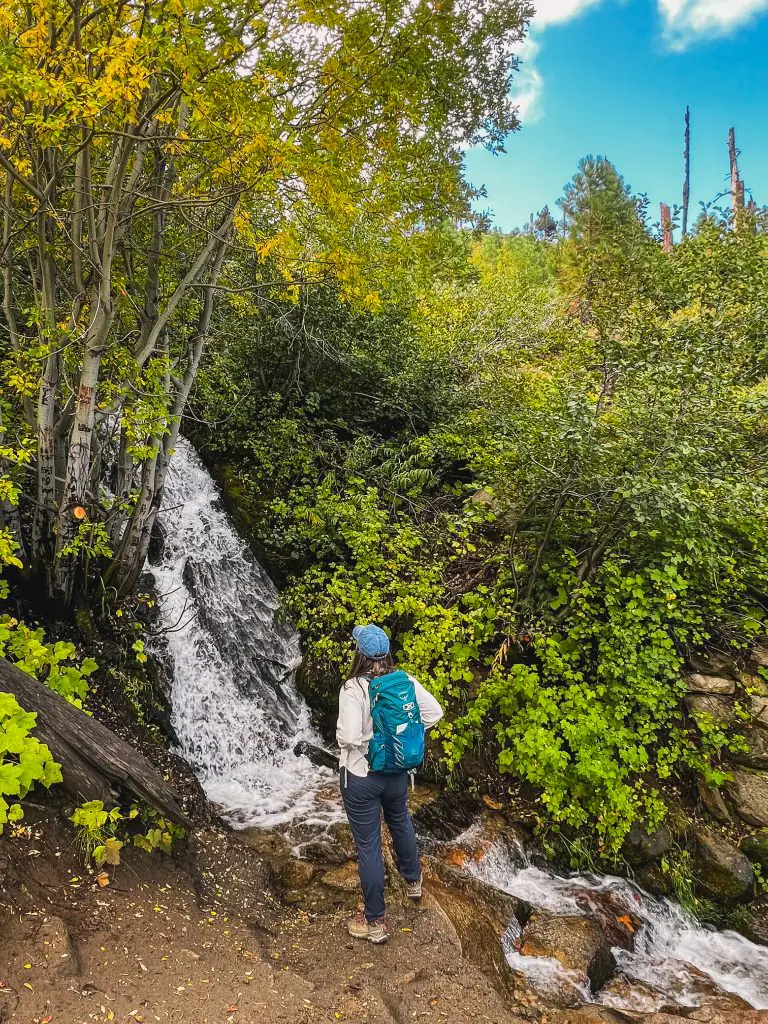
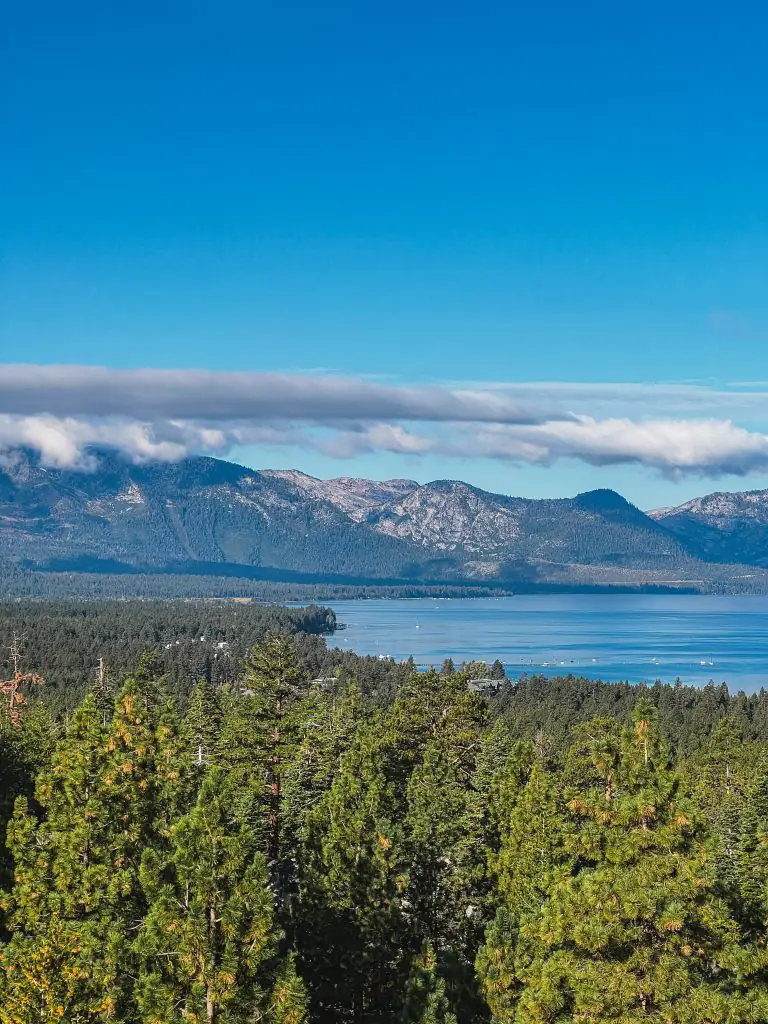
The Cal-Neva Loop, with an offshoot to the waterfall, is one of my favorite hikes on this list! Located in the Van Sickle Bi-State Park just behind Heavenly Village, this 3-mile loop trail includes fantastic views of Lake Tahoe, a waterfall, wildflowers in the spring, and fall colors in the fall.
Technically, the waterfall is on the Van Sickle trail, but it’s a nice, albeit steep, addition to this trail.
As its name suggests, this state park straddles the California/Nevada state line. You will find a parking lot on both the California and Nevada sides of this park, and the Cal-Neva loop is accessible from both.
The trail is well-marked with posts signaling how to get to the waterfall and signs on trees that ensure you’re on the right path.
I found the Nevada side of the trail quite beautiful, so if you’d like to park in the Nevada parking lot, check out the scenic vista and the waterfall, and then return to your car the same way, you could make this an out-and-back trail.
No matter your choice, I highly recommend this gorgeous South Lake Tahoe hiking trail.
Side note: Keep an eye out for mountain bikers, as this is a popular mountain biking area.
Quick Facts About the Cal-Neva Loop Trail
- Length: 2.8-mile loop (including the waterfall) 2.0 without the waterfall
- Cost: Free
- Permit: None needed.
- Terrain: Fairly wide dirt path with boulders and rocks.
- Difficulty: Moderate, thanks to the incline to the waterfall
- Crowd level: Moderately trafficked
Where to Eat in South Lake Tahoe
After all of that hiking, you’re likely famished! I found some great spots to fuel up, whether you want a post-hike brunch, pizza, or beer!
Getaway Cafe: This cozy little cafe on Highway 50 is an excellent spot for a post-hike breakfast. The owner is incredibly friendly, their chorizo is delicious, and they have unique specials.
Basecamp Pizza: This was some of the best pizza I’ve had in a long time! Located in Heavenly Village, Basecamp is an excellent spot for lunch or dinner.
Hangar: Looking for a brewery with picnic benches under the pine forest and yummy food trucks – check out Hangar. They have a huge selection of local beers on tap, two food trucks outside, and super friendly bartenders.

Cuppa Tahoe: I absolutely love this coffee shop/bookstore/coworking space. They have a great menu of drinks, treats, and light bites. There is a coworking space in case you need to get some remote work done. Plus, it’s a bookstore where you can purchase a new book or start a used book in one of their cozy seating areas. This spot is great for a light lunch.
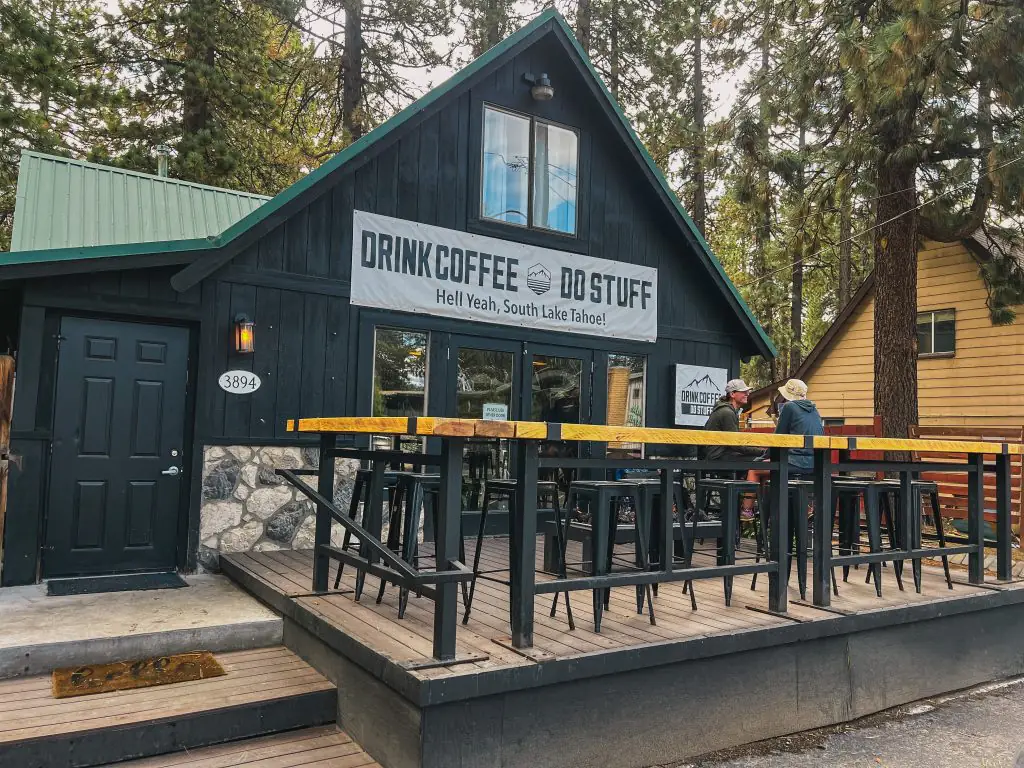
Drink Coffee. Do Stuff: This coffee shop near downtown South Lake Tahoe is adorable. It looks like a cabin from the outside, and inside, you’ll find delicious matcha lattes, unique and yummy toasts, breakfast sandwiches, and a cozy fire. It’s an excellent spot for a light lunch or breakfast.
Taqueria Jimenez: Looking for a cheap, delicious dinner. Head to Taqueria Jimenez for an excellent burrito. It’s cash only!
Where to Stay in South Lake Tahoe
The three places mentioned here are just a sampling of places to stay in Lake Tahoe. I included something for every budget and are places I either have or would stay! All of them are within walking distance of Lakeside Beach, Heavenly Village, and the casinos.
You can check out more Lake Tahoe accommodation options here.
Mellow Mountain Hostel: Looking for a budget-friendly place to stay where you can meet people and be close to the best Lake Tahoe hikes? Check out Mellow Mountain Hostel. This hostel has dorm rooms and privates to choose from, a full kitchen, and multiple common areas to make new friends.
Check rates and availability here.
The Jeffrey: I drove by The Jeffery Hotel on my way to the Coachman, where I stayed, and thought it was charming. I looked it up for future reference, and the rooms are perfectly decorated. Many rooms have fireplaces, and it is cheaper than the Coachman. I will be staying here the next time I’m in Tahoe!
Check rates and availability here.
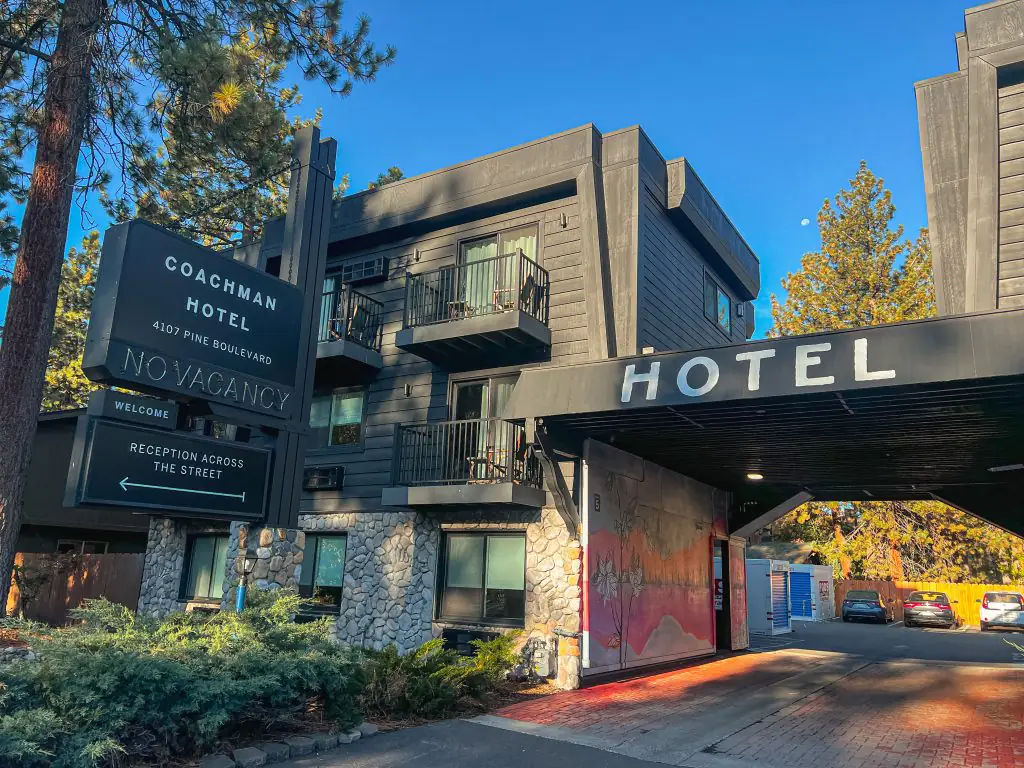
The Coachman Hotel: The Coachman Hotel is a great hotel to get a bit of luxury. The rooms are dark and cozy with luxury amenities. A hot tub, pool, fire pit, and activities are on site. You can roast marshmallows on the firepit nightly, enjoy coffee at the coffee bar in the morning, or wine and beer during happy hour each evening. I loved staying here and would recommend it!
Check rates and availability here.
There you have it, the best hikes in South Lake Tahoe that are a must on your Lake Tahoe itinerary. Plus, you’ve learned a few other fun things to do in Lake Tahoe while you’re there. Let me know if you have any other hikes, I should check out on my next trip to this adventurous mountain town.
Like this post? Save for later!
