Blog, Destinations, Ecuador, South America
How to Complete the Rucu Pichinchia Hike in Quito, Ecuador
Last updated on July 29th, 2024 at 04:33 pm
On a clear morning, from the communal dining table at Community Hostel, I could see the summit of the Pichincha volcano that serves as the backdrop to Ecuador’s capital city, Quito. The last major eruption was In 1999. Pichincha covered the city filled with 2.5 million inhabitants in ash. Although it is still an active volcano, it is also one of the most popular acclimatization hikes for those planning to climb higher volcanoes in the area. Now, I wasn’t planning on summiting any other volcanoes but I believed that completing the Rucu Pichincha hike would show my capabilities for my upcoming Salkantay trek to Machu Picchu.
This post contains affiliate links, which means that, at no additional cost to you, I will earn a tiny bit of income if you decide to click and make a purchase and booking.
Ecuador travel resources
- Book your flight to Ecuador with Omio
- Get reliable travel insurance with World Nomads
- Find awesome accommodation with booking.com or Hostelworld
- Want to add guided tours to your itinerary? Here are the top 10 tours in Ecuador
- The best budget-friendly Galapagos Islands itinerary
- Get the essentials for trip to Ecuador here: my favorite waterproof booties, this power bank to stay connected, and a reusable water bottle
Prepping for the Rucu Pichincha Volcano Hike
But before I could climb it, I let my body acclimatize to Quito’s high altitude of 2850m (9,350ft) while exploring all of the things to do in Quito and gathering information about one of the most popular hikes in Quito from other travelers who had recently completed it.
I learned that it should take me about two hours to reach the summit of Rucu Pichincha that rests at an uncomfortably high elevation of 4,784m (15,695ft). I also learned that it’s best to begin the hike before 11:00 am as each afternoon clouds tend to roll in which could make it difficult to see where I’m walking, let alone the views of the city below.
Now, I’m not much of a hiker, but I am in fairly decent physical shape, so two hours sounded incredibly doable. It sounded like a reasonable short hike.
I decided to wait for a clear day so I’d have the best chances of seeing the great views from the top! I figured if I started the hike by 9:00 am I would be back in town for a late lunch.
The morning of the hike I ate a hearty breakfast at the hostel, filled up my water bottle, packed my backpack with layers and my DSLR camera, and hailed a cab for the Telefériqo.
I should note here, that I did not pack any snacks. A mistake I will never make again.
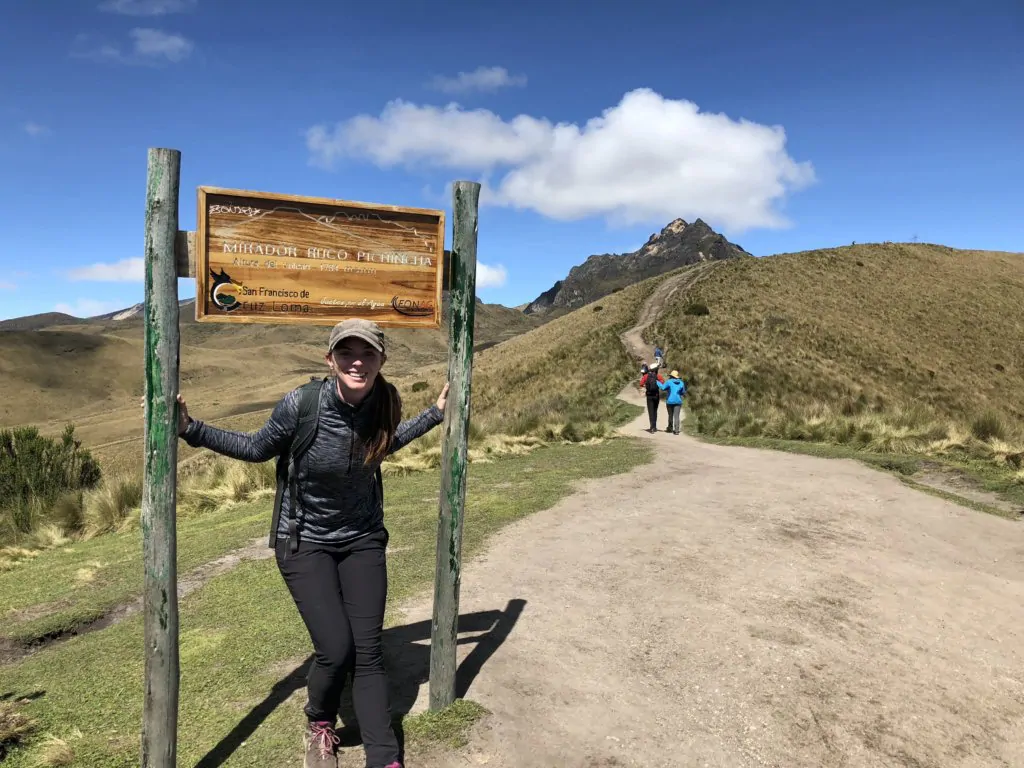
The Telefériqo Ride
The Telerfériqo is the cable car that takes you to the start of the hike. A round trip ticket costs $8.50 for tourists and $4.50 for locals. And on that beautifully sunny morning in Quito, the Telefériqo was crowded with tourists and locals alike. But, don’t let this line fool you, the Telefériqo is a popular tourist attraction in itself for the beautiful views you get of Quito, so not everyone who takes it will be doing the hike!
I shared the cable car with six Spanish speaking gentlemen who were avid hikers planning to summit the volcano as well. As I glanced at their large hiking backpacks and hiking poles, I began to get nervous that this hike was going to be more challenging than my friends let on.
Should I have at least brought a banana?
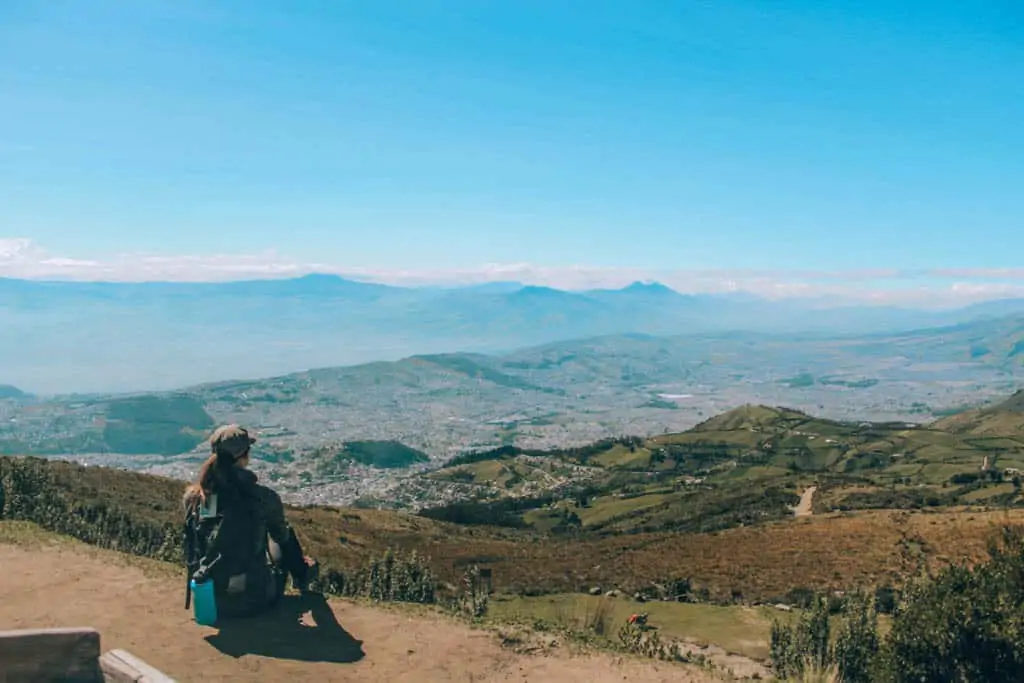
Nonetheless, I was determined to make it to the top! So we hopped out of the cable car, the starting point of the hike, bidding each other good luck. As they started immediately towards the path, I took my time taking some photos of the city. Honestly, I stayed for the photos because I didn’t want to try to keep up with them.
The Pichincha Volcano Hike Begins
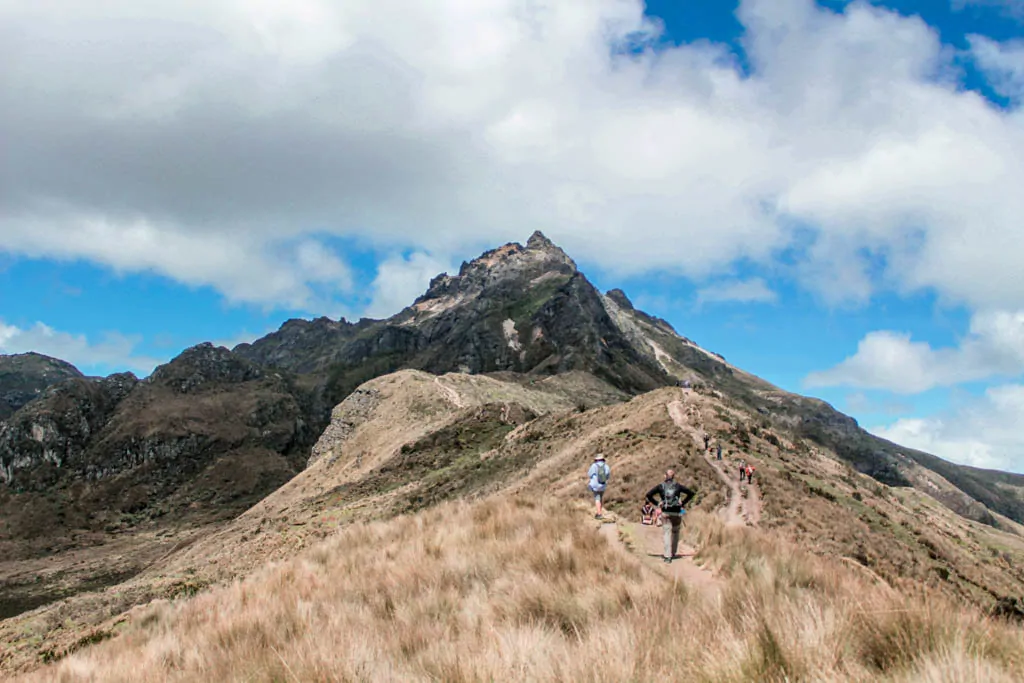
The path is very clear to the summit and starts off quite flat which made me feel pretty good about myself. Until I came to the first incline that I attempted to walk straight up. That proved to be incredibly difficult thanks to the volcanic sand until a friendly hiker noticed my struggle and told me it was easier to zig zag. Even zigging and zagging left me breathless and it was becoming increasingly evident, that not much about this hike would be easy.
I continued on, as mountain runners sped past me in both directions, determined to prove to myself that I could do this. My hike to Machu Picchu via the Salkantay Trek would reach the same elevation and I needed to know that I could handle it. So, I moved onward along some more gentle inclines and declines, pausing often to “take in the view below” aka catch my escaping breath.
Hiking at altitude is no joke!
The Struggle Gets Real
Then I came around a bend and saw something that no one warned me about. Right in the middle of the hiking trail was a rock face with nothing but cliff side below. I watched in amazement and fear as the people ahead of me scaled it. I made a half-assed attempt at climbing across it before giving up and letting others pass me.
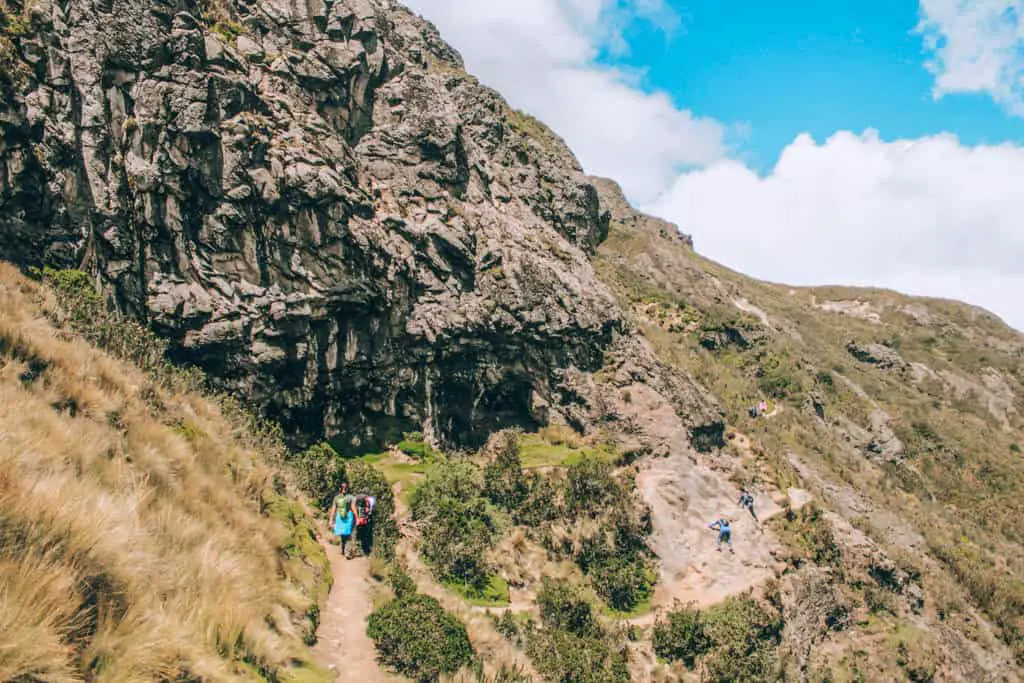
I told someone who arrived behind me that it might be my time to turn around, rock climbing was not in my wheelhouse. She replied that if I’d come this far, I might as well keep going. And as I watched a group of people climb across it, I decided to go for it. One of those people hung back, reached out his hand, and helped pull me across.
The other hikers so far had been my saving grace in the toughest parts of this hike. Even though I was technically hiking alone, I did not feel alone.
The next section of the route was much rockier, but doable. Then I came to the second steep incline. These steep sandy slopes are nothing I’d ever hiked before, but amidst the sand were rocks covered in greenery. A gentleman coming down the volcano advised me to go along the rocks and that I was almost to the top.
Keep going!
The Final Push to the Summit
So I began again.
I crossed over the open sandy area to the rocks. You know how difficult it is to walk on the plush sand of a beach. Well, imagine walking on that at a 45* incline at altitude. Each step you take it feels like you actually move backward a little!
At this point, it was three hours into the hike. I was hungry and cursing myself for not bringing any snacks. The temperature dropped quite a bit the closer I got to the Rucu Pichincha summit and the clouds began to move in and out. At one point during one of my many rests, the clouds came in so thick that I could no longer see the top of the mountain.
That seemed fairly unsafe to me.
For the second time, I thought – should I turn back?
I waited a bit longer and another solo female hiker was making her way towards me. She asked if I was planning to continue, I told her I was unsure and she sat down beside me.
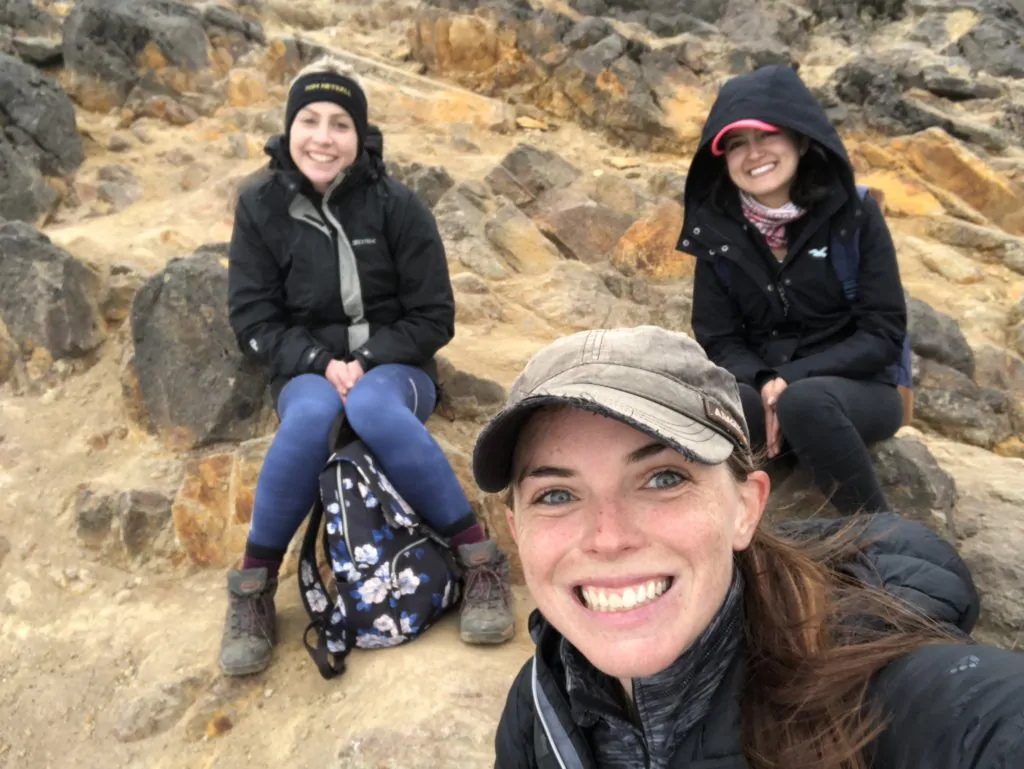
Turned out she studied volcanoes and hikes like these were her forte. I explained to her that it was my first time attempting anything like this and didn’t realize how intense it would be. I told her I didn’t even bring any snacks!
She unzipped her backpack, handed me a banana, and told me when I’d finished eating it, we would get to the top together.
Are you freaking kidding me?!
A complete stranger giving me a banana and offering to help me reach the summit. This was unreal!
Once I finished my snack, we began again. Together.
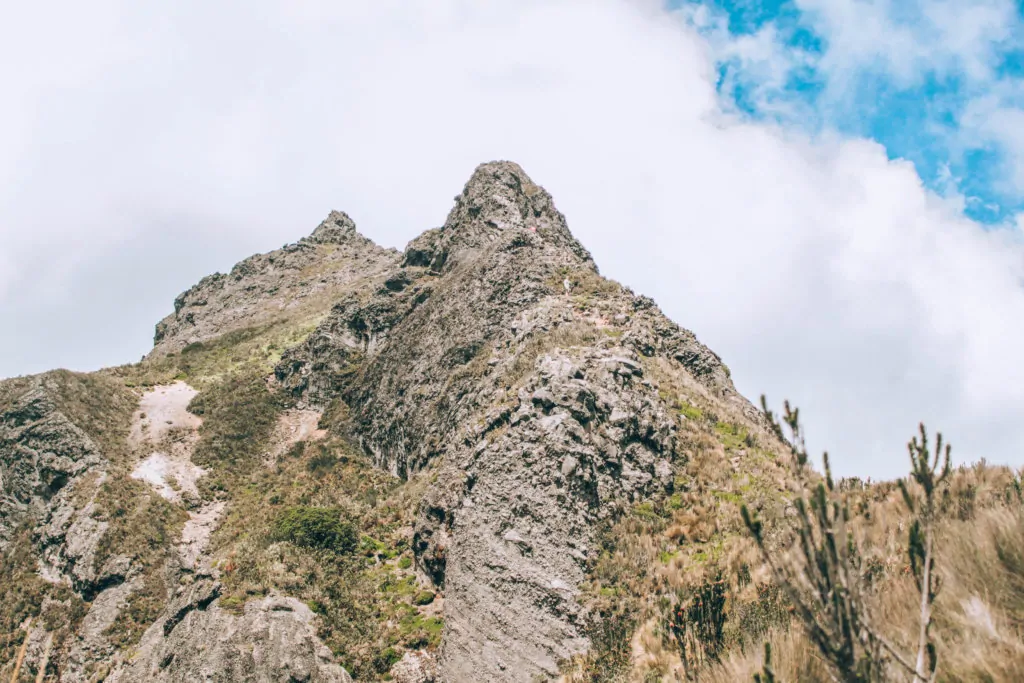
Another surprise no one warned me about was you the amount of rock scrambling to cross over the crest. The rocks are jagged, lava, and often unstable. Looking down, just wasn’t an option. The only option was to keep moving up, take my time finding my footing, and trust in those going before me.
After about 30 minutes of navigating these jagged lava rocks, we made it to the top. Thick clouds obscured our view, but as we caught our breath from the exertion and lack of oxygen they began to move out.
As the clouds parted the city of Quito spread wide in front of us. And behind us, the crater of the volcano.
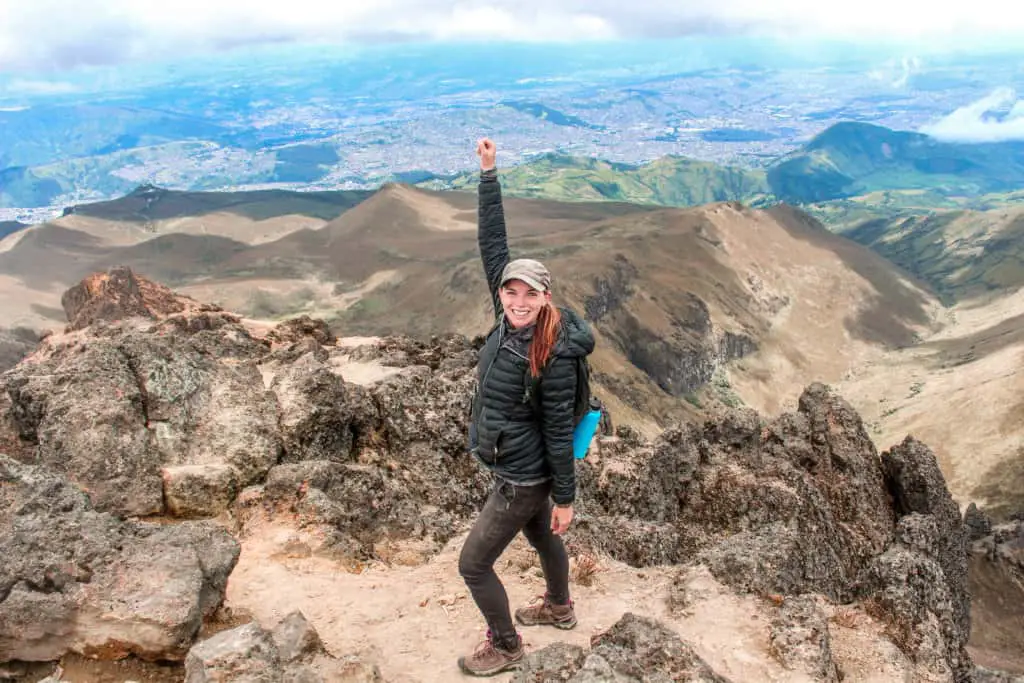
Feeling Proud & Grateful at the Top of the Pichincha Volcano
As I sat there taking in the gorgeous views I reflected on the entire hike to get to the summit of the Rucu Pichincha volcano.
The fact that I’d accomplished what I’d set out to that morning. It took twice as long as I anticipated and was four times as difficult as I expected. Yet, through the kindness and support of strangers, I’d made it to the top of my very first, active, volcano.
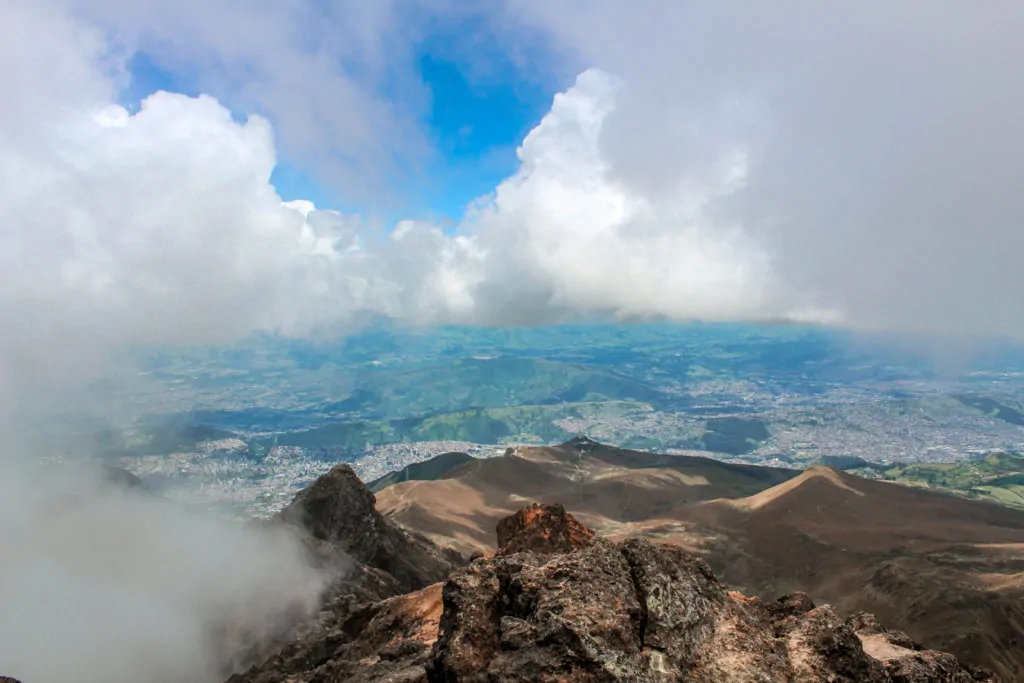
Even though I was hiking alone, I rarely felt alone. Those individuals appeared at times when I was struggling the most and on the brink of giving up, debating turning back. I know without meeting those individuals at critical points along the way, I would’ve turned around. It was one of the most physically and mentally challenging things I’ve ever done, and with the support of strangers, I reached my first summit.
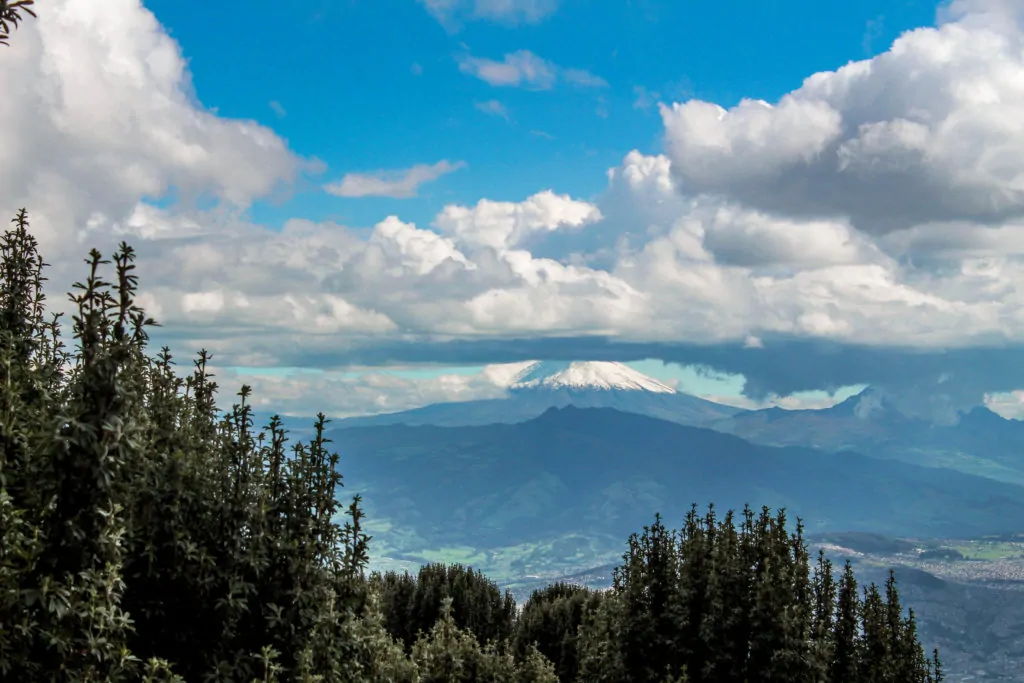
And on the way back down I caught a glimpse of the perfectly symmetrical Cotopaxi volcano and knew this wouldn’t be my last volcano hike. It only took an hour to come back down the steep slopes of the volcano.
When I made it back to the Teleferiqo, I grabbed a well earned empanada from the cafe!
FAQ for Climbing the Pichincha Volcano
How long is the Rucu Pichincha hike?
The round trip hike is 6 miles and will take approximately 3-4 hours. It may take longer depending on your physical ability to hike at this altitude. From the top of the Teleferiqo, you’ll gain 767m or 2500 feet.
to Get to the Pichincha Hike?
Take a taxi from your accommodation to the Telefériqo. The taxi ride will cost around $5.00. And as stated above, the Telefériqo is a 20-minute cable car ride to the start of the trail. It will cost $8.50 for tourists and $4.50 for local residents.
When to Start the Hike?
Get an early start and try for a good weather day. The Telefériqo opens at 9:00 am and closes at 8:00 pm. Remember the clouds roll in in the afternoon so you’ll want to reach the summit by noon.
What are the Trail Conditions?
The trail is fairly well trodden in the beginning. After you pass the rock wall where you have to scramble a bit, it becomes slightly less clear as it’s rockier. That being said, you won’t get lost. After the rock scrambles, you’ll come to the steep sand hill on the left. Climb up along the right side where the sand is a bit more stable and you can use the rocks for leverage.
What to Bring on the Hike?
Make sure you have everything on this short hike packing list. I’m highlighting some key items to bring with you here!
Water & Snacks: While I’d brought plenty of water in my Hydro Flask, I didn’t bring any snacks. Don’t make my mistake! A banana, a protein bar, some trail mix, and a peanut butter and jelly sandwich would be perfect for this hike!
Electrolytes: You might want to consider adding electrolytes to your water to help with rehydration and combat any altitude issues. I really like these Nuun electrolyte tablets.
Sunscreen: The sun is incredibly strong in Quito, so be sure to protect yourself with quality sunscreen. I love Supergoop! for my face and SunBum for everything else. Don’t forget your hands, neck, and ears!
Hiking Poles: If you have hiking poles I would suggest bringing them. I didn’t have any but they could be helpful on the steep sections and I saw others using them.
Camera: While this hike was challenging, it is absolutely worth it to reach the stop. So bring your camera, even if you’re just using your smartphone, to document the great views and your own journey to the top of one of the highest peaks in Quito!
Cell Phone: Bring your cell phone for photos but also if you need to make any emergency phone calls.
Portable Charger: Keep all your devices charged with a portable charger. I love this one!
Hiking Backpack: This is the perfect hiking back for Pichincha and other great hikes in Ecuador like the Quilotoa loop!
What to Wear on the Hike?
Layers are so important for this hike! It gets very cold at the top.
Hiking Clothing: Wear whatever hiking clothing you’re comfortable in. I recommend a fleece, like this one, and down jacket for your layers!
Hiking Boots & Socks: Do not wear normal tennis shoes for this hike! Please wear sturdy footwear to help you navigate the mountain of scree at the top! I love my Keen hiking boots and Darn Tough socks, I’ve never had a blister with this combination!
Warm Layers: A hat, beanie, and gloves are crucial. The gloves won’t just keep your hands warm but will provide some protection when you climb the lava rocks at the end.
For more about what to wear and what to pack for Ecuador, check out my detailed Ecuador packing list.
Was the hike to summit Rucu Pichincha worth it?
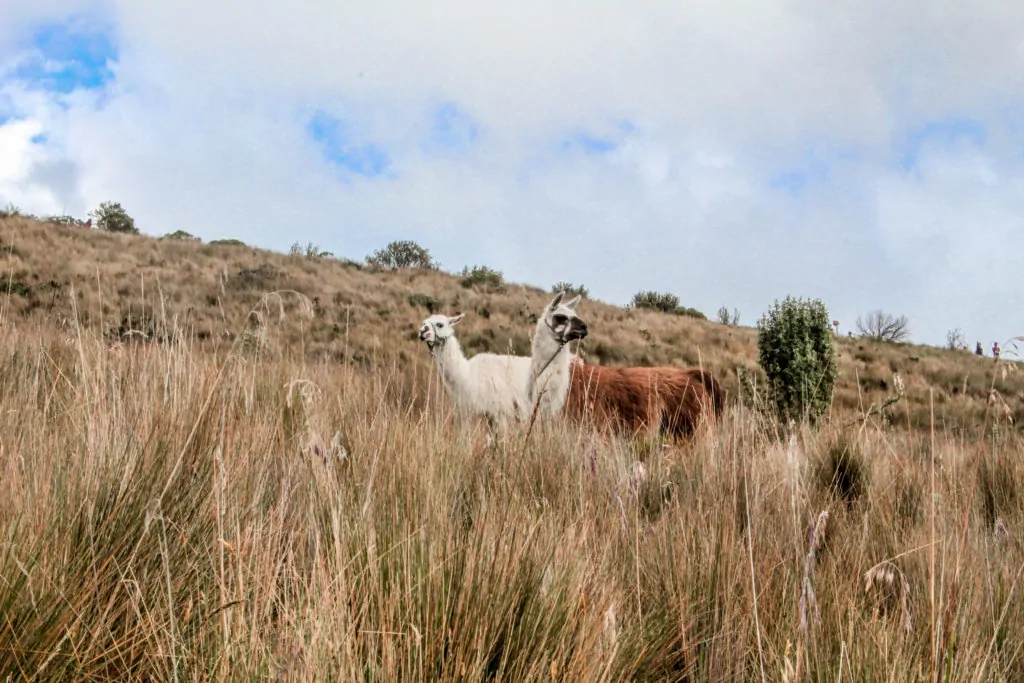
I know I shared most of the struggle of this hike, but it was 100% worth the sweat and almost tears! I learned so many lessons about myself, about the kindness of strangers, and I got to check off one of the best things to do in Quito from my bucket list. I saw llamas too!
I recommend keeping a steady pace, bringing the most basic supplies for a short hike (yes snacks!), and being willing to ask others for help when you need it!
Like this post? Pin it for later!


Hey, I loved your post! It gave me the confidence to hike Pichincha on my own today, and it was such an amazing experience. Thank you!
This is amazing! How was the hike? Did you have good weather for it?
Heading to Quito on Monday, solo. I look forward to, at least starting up the hike… Loved your post.
I hope you had a great time in Quito! How’d the hike go?
Loved your post. Was and still a little worried about the hike and elevation! Should we be taking any high altitude medication? A group of us are leaving to go in November. Sounds like an amazing holiday!
The altitude was definitely tough. Give yourself a couple days to acclimatize and see how it affects you. In regards to the medication, that’s something I recommend consulting a doctor about 🙂 I hope you have a fantastic time there!