Blog, Destinations, Ecuador, South America
The Complete Guide to Hiking the Quilotoa Loop in Ecuador
Last updated on July 29th, 2024 at 04:37 pm
When I decided to teach yoga for two months at a hostel in Quito, Ecuador I began researching what I could do in the area on my days off from teaching. The activity that kept resurfacing was hiking the Quilotoa Loop. Once I laid eyes on photos of a turquoise crater lake surrounded by rugged mountains, I knew I had to make this trek happen. I originally planned to do this solo, but my roommate from the hostel joined and helped me complete my very first multi-day hiking experience! In this Ecuador travel guide, I’ll share with you everything you need to know about completing the three-day Quilotoa loop trek.
This post contains affiliate links, which means that, at no additional cost to you, I will earn a tiny bit of income if you decide to make a purchase or booking.
Ecuador travel resources
- Book your flight to Ecuador with Omio
- Get reliable travel insurance with World Nomads
- Find awesome accommodation with booking.com or Hostelworld
- Want to add guided tours to your itinerary? Here are the top 10 tours in Ecuador
- The best budget-friendly Galapagos Islands itinerary
- Get the essentials for trip to Ecuador here: my favorite waterproof booties, this power bank to stay connected, and a reusable water bottle
What is the Quilotoa Loop?
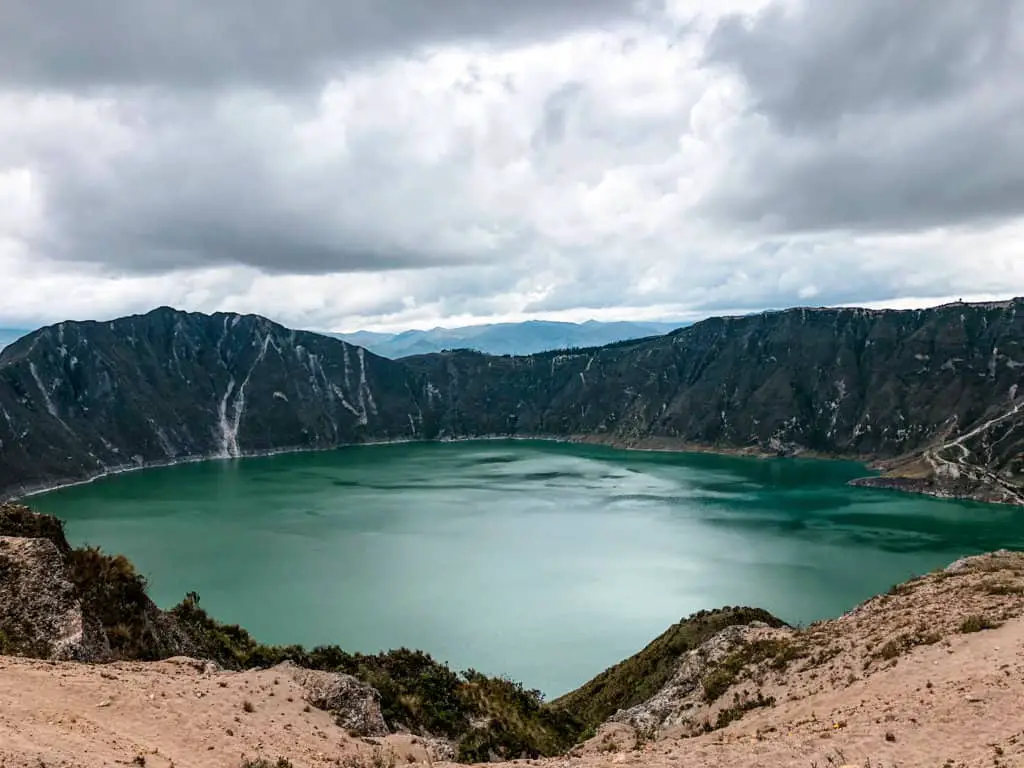
The Quilotoa Loop is an incredibly popular multi-day trek through the Andes that culminates with crossing over the mountain crest to view the Quilotoa crater lake.
The Quilotoa crater lake rests at a mere 3800m and was formed after a volcanic eruption caused the volcano to collapse some 600 years ago creating the crater. It is about 850m deep and gets its gorgeous turquoise blue colors from the mineral deposits (thanks wikipedia).
Visitors can’t swim in the lake, however, you can rent a kayak if you’d like to get on the water!
Options for Hiking the Quilotoa Loop
There are numerous options for hiking the Quilotoa Loop and one doesn’t involve any hiking at all.
Two or Three Day Hike to Quilotoa Crater Lake
The first and most popular option is three-day day trek through the Andes mountains (which I will discuss in detail below). If you’re short on time, the three-day trek could be completed in two days (I’ll explain more below).
Avoid Hiking Altogether
If you’re really short on time and not interested in hiking you could easily book a day tour or create your own day trip to Quilotoa from Quito. These two options would allow you time to view the lake from above and walk down to the water, possibly renting a kayak. It is quite a steep climb down to the crater, but there are donkeys for hire for the walk back up.
This is a great day trip from Quito to Quilotoa!
Hike the Crater’s Rim
If you don’t want to trek through the mountains, but want to view the lake from all angles, you can hike the crater rim in one day. To do this, I recommend overnighting at a hostel in the village around the crater and starting the crater rim hike the following day.
So, there are plenty of Quilotoa hikes for viewing this lake and it’s definitely on the not to be missed list!
Now, on to the 3-day hike to Quilotoa.
What to Know Before You Go!
If you want a quick high-level overview of what to expect on this trek, check out my top 11 tips for hiking the Quilotoa Loop.
Two Route Options for the Quilotoa Loop
Option 1: The Traditional Route
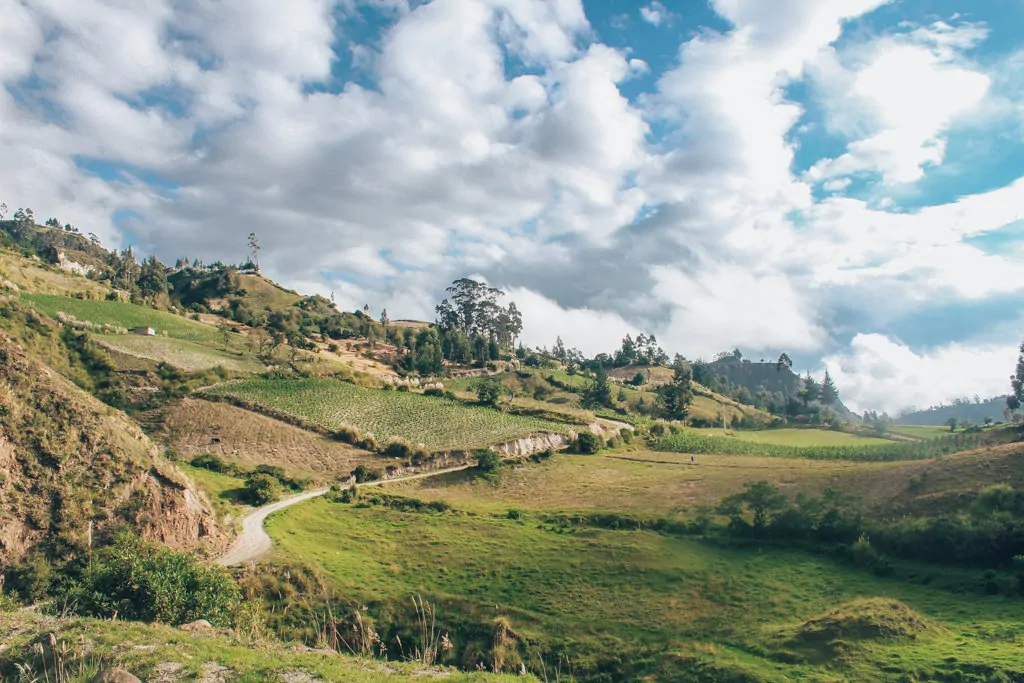
There are two routes you can take which means there are two starting points. The traditional route starts in Latacunga and ends in Quilotoa. Latacunga is about an hour bus ride from Quito. In Latacunga, you can store your luggage at a hostel, get a rough map of the loop, and fill up on water. You’ll bring only what you need on the hike. From Latacunga, you still have another bus ride to the point where you begin to walk (more on that below).
Option 2: The Reverse Route
The second option is called the reverse route. The reverse route starts at Quilotoa Crater lake and ends in the village of Sigchos. Many people claim the reverse route is less difficult because it’s more downhill and instead of gaining altitude, you’ll lose it. However, with the exception of the final ascent to the lake on the traditional route, the entire hike is a series of up and down canyons. So I can’t imagine the reverse route being that much easier.
Quilotoa Loop Difficulty
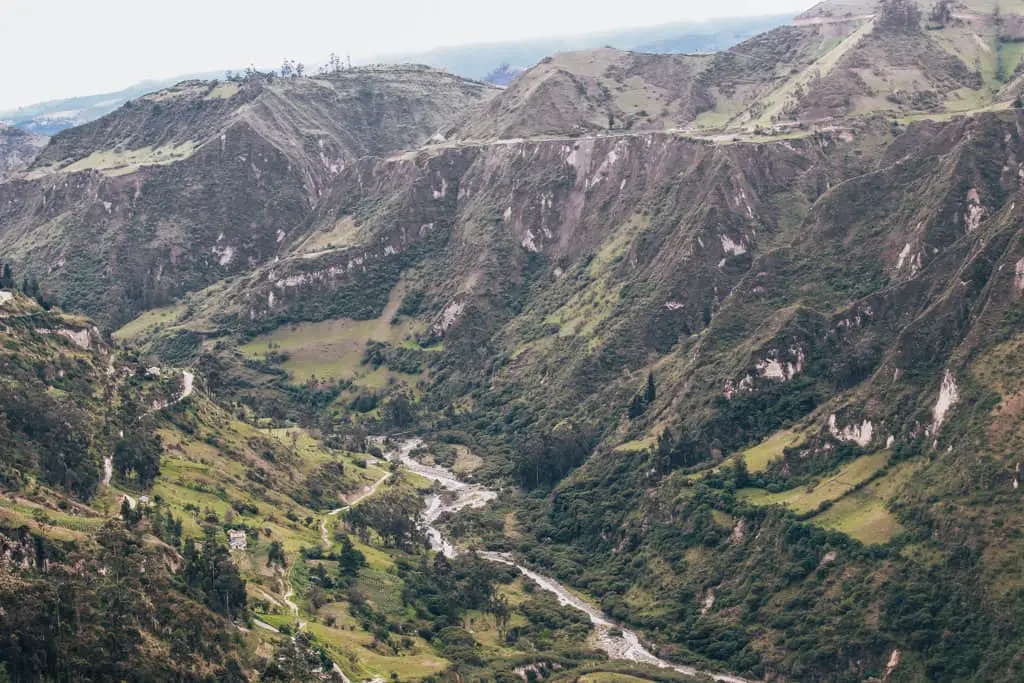
I viewed this multi-day hike as good training for the Salkantay Trek to Machu Picchu. Each day you walk around 3-5 hours. Additionally, there are a series of pretty intense inclines that would make me breathless even at sea level.
It is important to acclimatize to the high altitude before beginning this hike. Quito and Latacunga both are around 2800m and Quilotoa is 3800m. So you’ll make a 1000m elevation gain from day 1 to day 3.
Avoid altitude sickness by spending a few days getting used to the altitude in either place before beginning.
Ensure you’re well hydrated and get a proper amount of rest.
Weather on the Loop
At this altitude, it’s cold! There is always the possibility of rain. On my trek, it rained at least once on 2 of the 3 days. Which is why I no longer have a copy of the map as it was wrecked in the rain!
There’s also the chance that fog will obscure your view of the crater lake. Which would be sad, but is uncontrollable.
I suggest leaving a little bit of wiggle room in your itinerary so if it is too foggy to see anything you could stay the night in Quilotoa and perhaps wake up the next day to clear crater lake views!
Hiking the Quilotoa Loop as a Solo Female
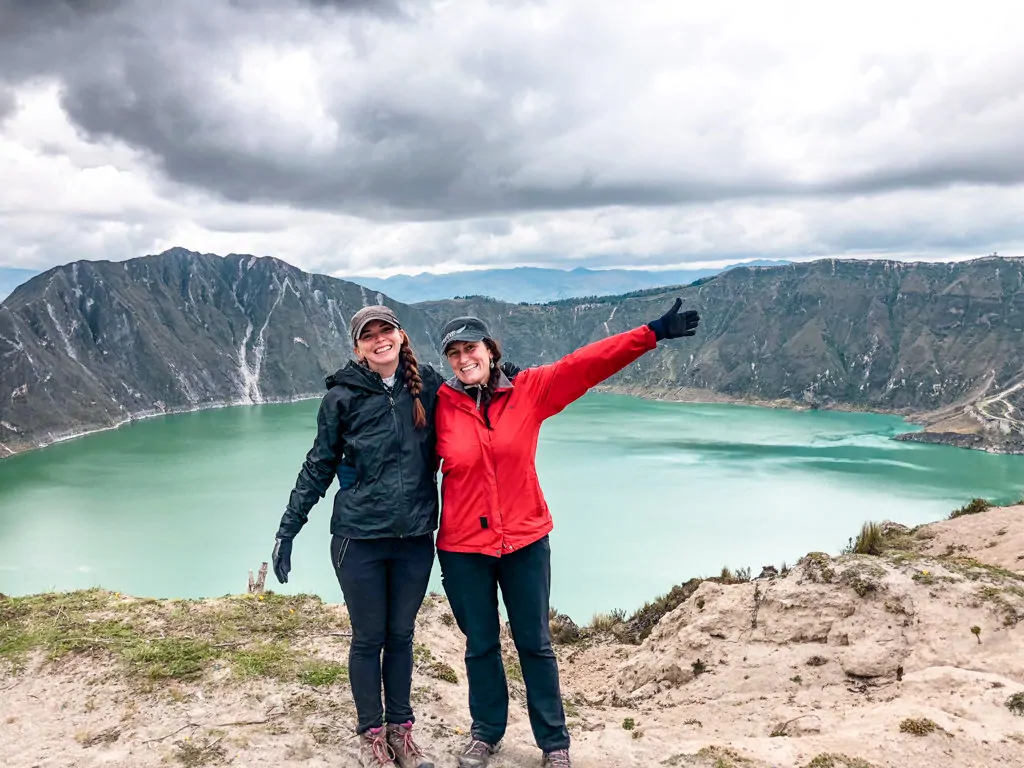
I originally planned to do this hike solo. But my friend from the hostel in Quito joined me and we had a great time together. Although she’s a much faster hiker than I am!
Even though I didn’t do this hike solo, I would say it’s not a problem.
There were plenty of women hiking it alone and each night you’ll meet people in the hostels that you could hike with the next day!
Locals on the Trail
You will be passing through farms and behind homes of local Ecuadorians. Ecuadorians are fairly shy and reserved people. Respect their land and their homes. Smile and greet them as you pass, but often times they will just be going about their day to day lives and not want to engage. Which is fine!
If you ask a local for directions or how long until the next stop, recognize that they are used to the altitude and walk these paths regularly. I found that 30 minutes in Ecuadorian Andes time, meant about an hour for me!
There are lots of children on this trek who will run to greet you in hopes that you’ll give them some candy. If parents are close by – ask them if you can give them candy. It’s likely better to bring a smaller, non-sugary, trinket from home.
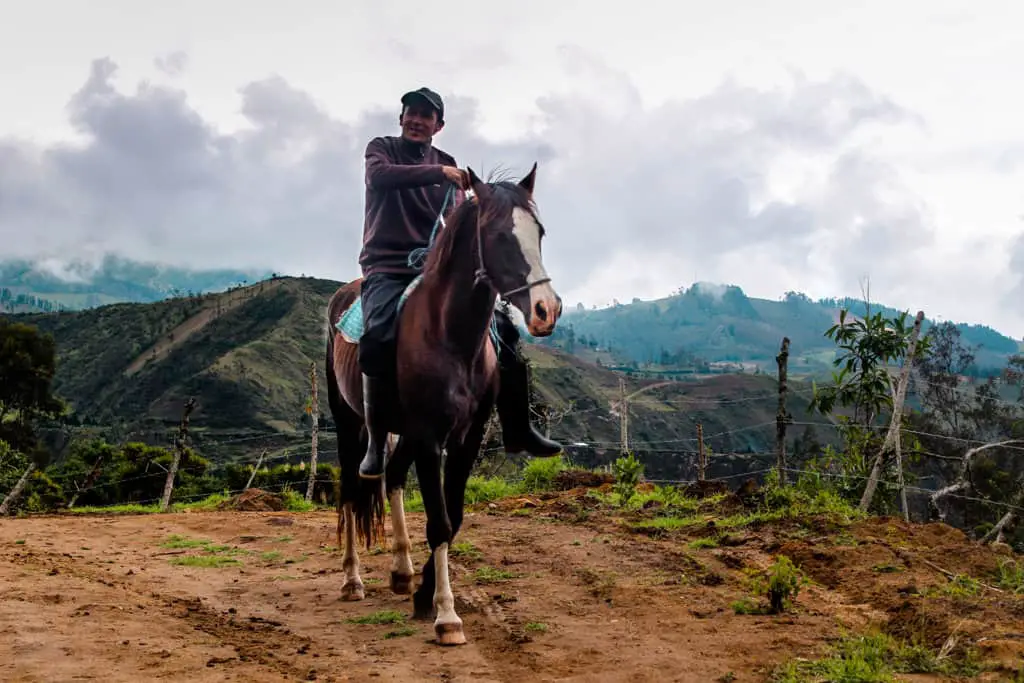
Animals on the Trail
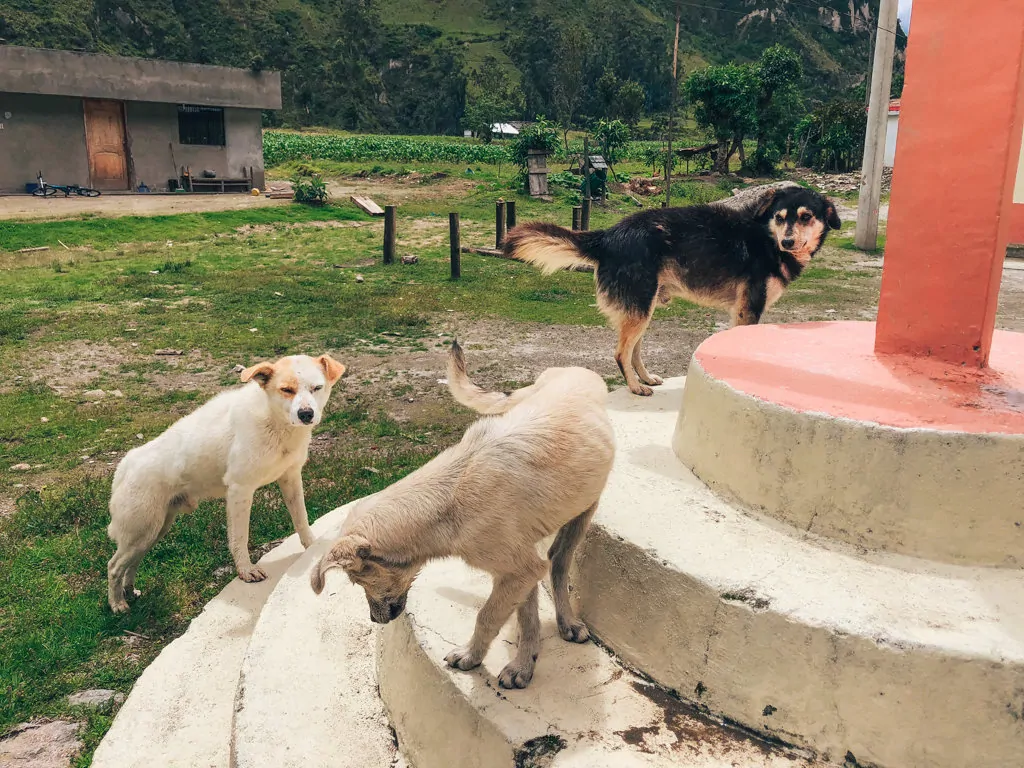
And a word about the stray dogs and other animals you’ll meet on the trek. The dogs are there to serve as protection for their owners, which means some can be very territorial. I only met one dog on the trek who barked and growled as we passed by. Other than that, many of the dogs just wanted to steal a bit of my lunch.
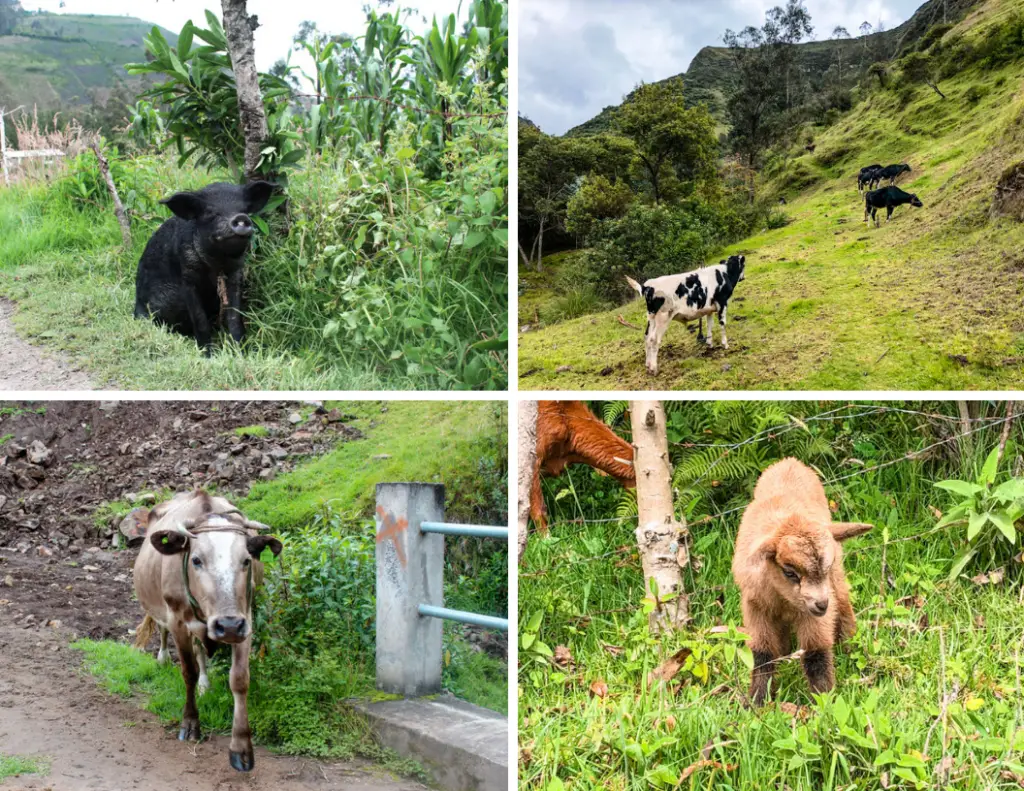
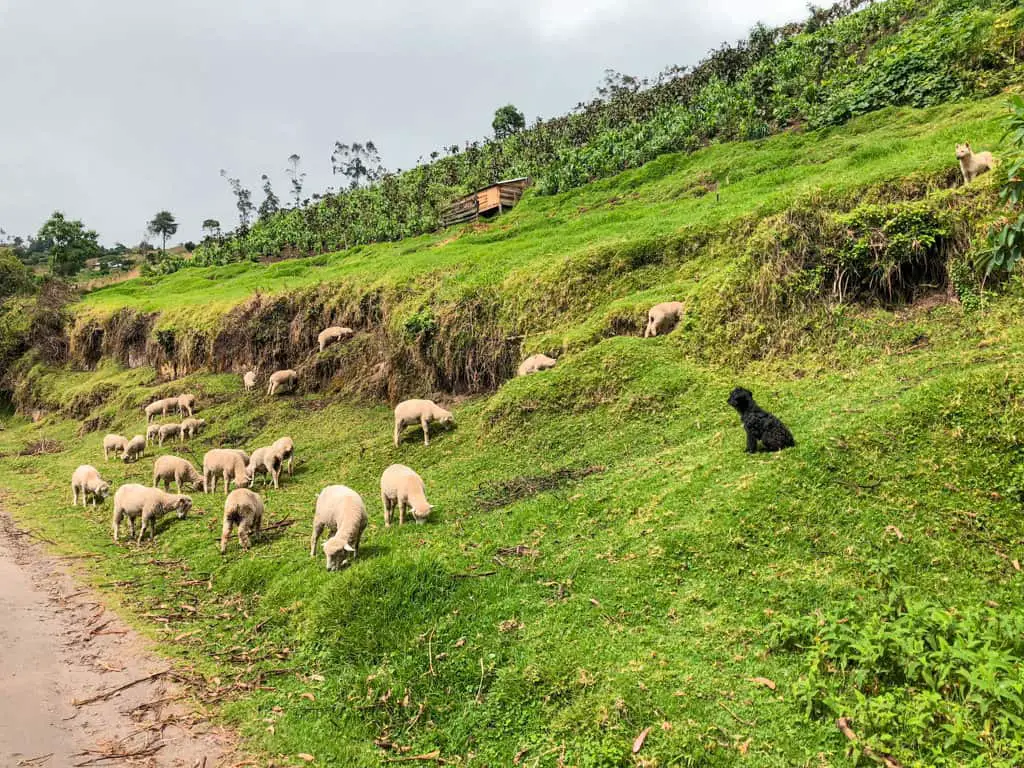
You’ll also see lots of horses, sheep, pigs, cows, and other farm animals. Respect their space!
What to Pack for the Quilotoa Loop
You’ll leave your larger travel backpack or suitcase at the hostel in Latacunga, or even in Quito. Pack only what you need for the duration of the hike and be prepared to wear the same things twice. You’ll get smelly…it’s ok.
Of course, I overpacked and all of this did not fit into my backpack. I didn’t quite plan for the awesome pack lunches from the hostel.
To hold what didn’t fit, I used a carabiner to attach a plastic bag to my backpack and filled it with, candy for the kids, and food.
It was incredibly annoying as it swung from the back of the bag, but ya gotta do what ya gotta do.
Hiking Gear
- 20 L backpack: I travel with the 55L Osprey Farpoint which comes with a 10L detachable backpack. Admittedly, not the greatest for hiking, but it does the trick. I’d recommend at least a 20L backpack, like this one.
- Rain Cover: I debated bringing this, but am so glad I did when the rain started to fall on day one. It’s super small, so totally worth it.
- 2L Water Reservoir: I slid this into the laptop compartment of my backpack and just left the zipper a little bit open for the hose. Get your water bladder here!
- Hiking Poles: I highly recommend using hiking poles if you have them. It’s amazing how much easier they make hiking!
Clothing
- Joggers: I adore these from Athleta and they were perfect for sleeping and lounging in the hammocks at the hostel.
- Hiking pants: I also adore my last season version from Athleta.
- Midweight Base Layer: I wanted Smartwool but REI brand was much more budget-friendly
- 2 hiking/workout shirts: I wore one for days one and two. I used the second one to sleep in until the final day when I wore it hiking.
- Darn Tough Socks: I wore the same pair for three days of hiking. No blisters. These are literally the best hiking socks ever. I wore the same pair every day. Get your pair here.
- ExOfficio Underwear: I recommend packing one pair per day of the hike. They’re my favorite travel underwear (totally worth the price). Get your undies here.
- Sports Bra: I only packed one, I wore my swimsuit top at night as a bra.
- Fleece: ¼ zip pullover fleece, like this one.
- Down Jacket: I loved my puffer coat from Mountain Hardwear
- Rain Jacket: I used one I’ve had from REI for a while.
- Hiking Boots: I loved my Keen Waterproof hiking boots. They did so well on this hike!
- Flip Flops: A must for hostel showers! Get your pair here!
- Hat & Beanie: Use a wide-brimmed hat or baseball cap for hiking and pack an extra beanie for cold nights. I love this beanie.
- Gloves: They’ll keep your hands warm during strong winds and at night.
- Buff: I love buffs. I wore it around my neck to protect it from the sun and it’s great for wiping away sweat. Get your Buff here!
- Swimsuit: For the hot tub and saunas if you decide to stay at Llullu Lama hostel
Electronics
- Camera: I traveled with my Canon DSLR, but you don’t have to. A smart phone will take great photos as well!
- Portable Charger: If you’re using your phone for a camera and your maps, then you’ll need a portable charger. I love this one!
Toiletry Items
- Sunscreen: I love Supergoop! for my face and SunBum for everything else!
- Chapstick: Make sure there is SPF in it!
- Deodorant: With re-wearing clothing, you’ll want to minimize the stink 🙂
- Toilet Paper: Most restrooms along this hike do not have toilet paper. Carry a small roll with you.
- Medications: Carry any medications you may need, including ibuprofen to help with aches at the end of a long day hiking!
Food/Snacks
- There’s a large grocery store in Latacunga where you can stock up on snacks and food for your hike.
- The majority of hostels along the route offer half board. Which means they include dinner and breakfast. You can also pay extra for a packed lunch (which I did each day).
Miscellaneous
- Cash: Cash is king throughout Ecuador (their currency is USD). There are no ATMs so make sure you bring enough cash to last you through the bus trips, hostel stays, post-hike beers, and snacks!
- Identification: Bring a copy of your passport or another form of ID. Hostels will ask for this when you check-in.
- Travel Insurance: Don’t forget travel insurance. This is a remote area and you’re dealing with altitude…protect yourself! I use WorldNomads or SafetyWing depending on the cost for the duration of my trip.
What I Wish I packed
- A bigger backpack
- Hiking Poles: My first experience using hiking poles was on the trek to Machu Picchu (which occurred after this). I’ll never trek without poles again!
A note on water. The water in Ecuador is not drinkable. Each hostel provides potable water for about 50 cents. You can fill up your water reservoir before leaving for the day. 2L lasted me the entire day.
They also include a water bottle and juice if you purchase a packed lunch. If the cleanliness of the water is still a concern for you, consider getting a SteriPen to know you’ve killed all the crap.
For more details on what to pack and what to wear in Ecuador, check out my detailed Ecuador packing list.
Overall Cost of the Quilotoa Trek
- Bus from Quito to Latacunga: $3.00
- Bus from Latacunga to Sigchos: $5.00
- Storing your bag at Hostal Tiana in Latacunga: If you stay the night it’s free the first day and $1 per day after that. If you don’t stay and just want to store your bag it’s $2.00 per day.
- Hostel Accommodations: Varies but anywhere from $10-20 per night. This includes dinner and breakfast.
- Food: Most packed lunches cost $3.50 and came with a sandwich, fruit, cookies, granola bar, water, and juice. So worth it!
- Beers or drinks at the end of each day $3-9 depending on what ya get!
- Bus from Quilotoa to Zumbahua: We ended up missing the bus and shared a ride with two other trekkers for about $1 each.
- Bus from Zumbahua to Latacunga: $2.00
- Bus from Latacunga to Quito: $3.00
I brought $160 with me and that was just fine!
Getting To and From The Quilotoa Loop
I discovered this website that has great information about buses to and from the Quilotoa Loop, including other villages in the area. Just click on the town you’d like info for on the left side and it will provide bus information.
Generally, buses from Quito to Latacunga depart every 30 minutes from Terminal Quitumbe (the south bus station). Simply show up, pay for the ticket, and be on your way.
In Latacunga you’ll take a bus to Sigchos which depart less frequently. The Llullu Llama hostel has detailed times so instead of trying to recreate the wheel, I’ve linked to it here.
A note about the bus from Latacunga to Sigchos. My friend and I began this trek on a Thursday, unaware of the huge market that takes place in Saquisili every Thursday. We planned to take the 9:30 bus from Latacunga to Sigchos, but it was unavailable due to the market.
However, a bus was heading to Saquisili, so we took that and made a switch to a Sigchos bound bus at the market. We didn’t explore the market as the bus was leaving in about 20 minutes. but it definitely looked like it would be worth a wander.
Pro Tip: Stay overnight in Latacunga before your trek at Hostel Café Tiana!
Check rates and availability here!
The Quilotoa Loop Map
Hostel Tiana will provide a fairly primitive map, but it is spot on. We followed the map the entire time and the only time I got lost was when I couldn’t keep up with my friend (who had the map). She went left when I went right. A local boy helped me figure out where to go and we were only separated for about 15 minutes.
A few hikers we met on the trail tried to followed maps.me app on the second day and it took them over an hour out of the way. So even though the paper map looks questionable, it’s a very reliable source. I wish I still had a copy of it.
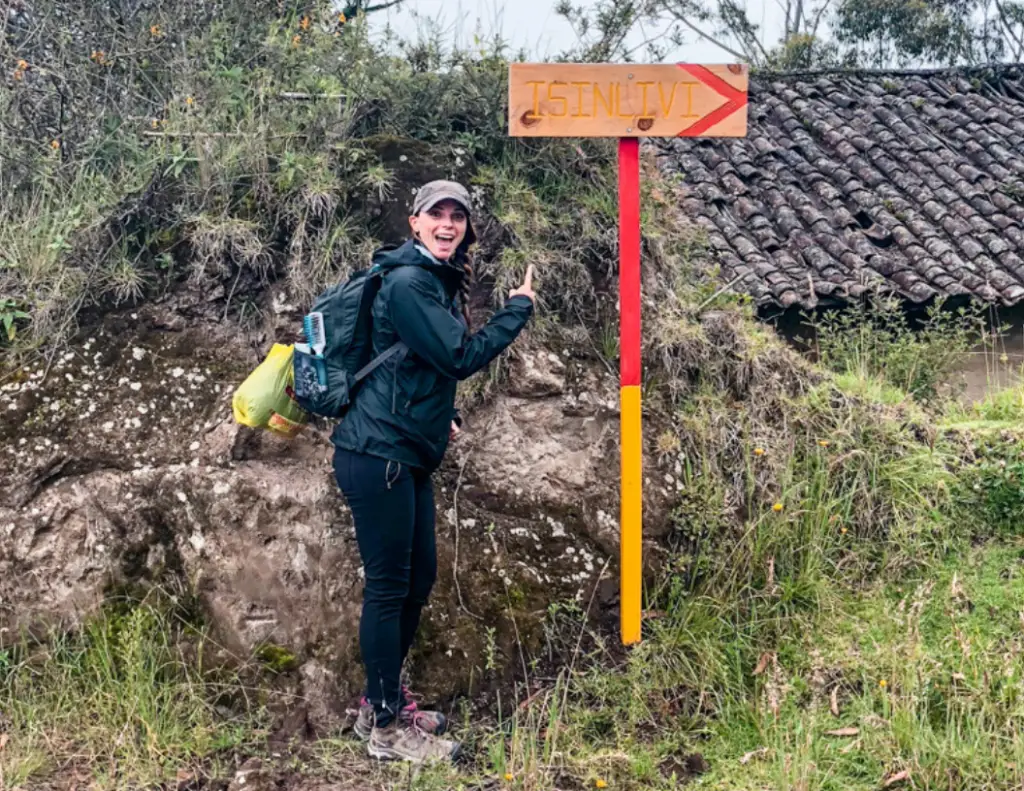
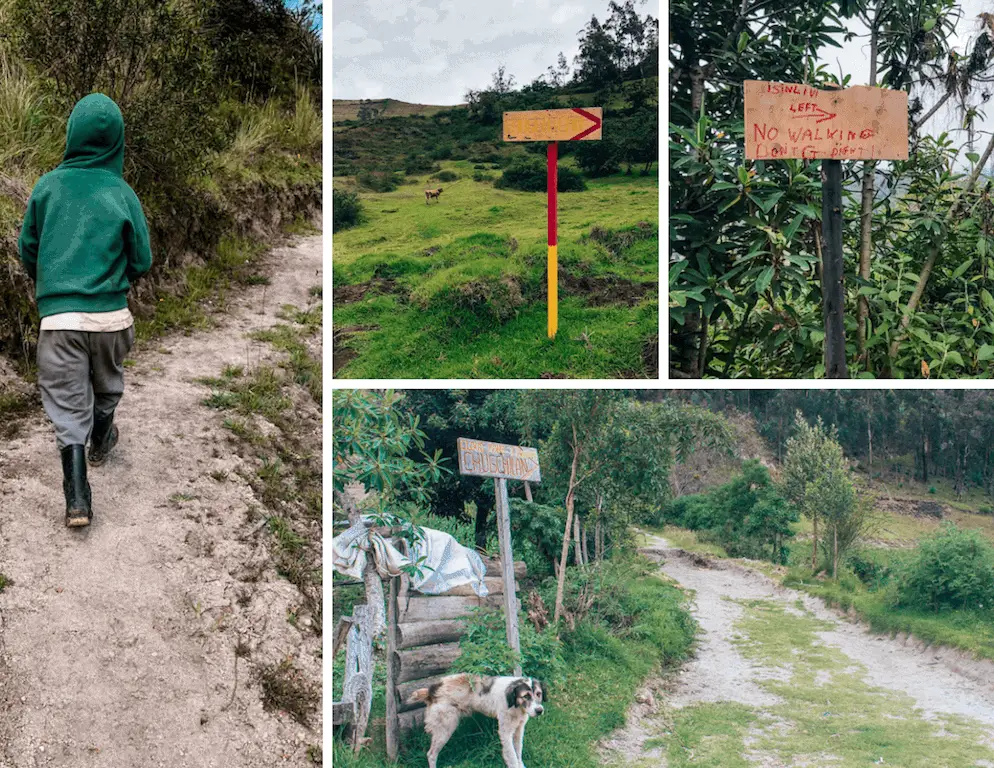
Also, the trail is incredibly well marked with red and yellow signs pointing you in the correct direction.
Daily Breakdown of the Three Day Hike to Quilotoa Crater Lake
Let’s get into the details shall we?
Day 1: Latacunga to Isinlivi
Today is the start of the Quilotoa Loop! Enjoy a self serve breakfast at Hostel Tiana, fill up your water, leave your belongings, take only what you need…and the map.You’ll take the bus from Latacunga to Sigchos. I recommend taking the 9:30 bus for the approximately two-hour ride to Sigchos. Try to get a window seat as during the ride you’ll pass through gorgeous countryside landscapes.
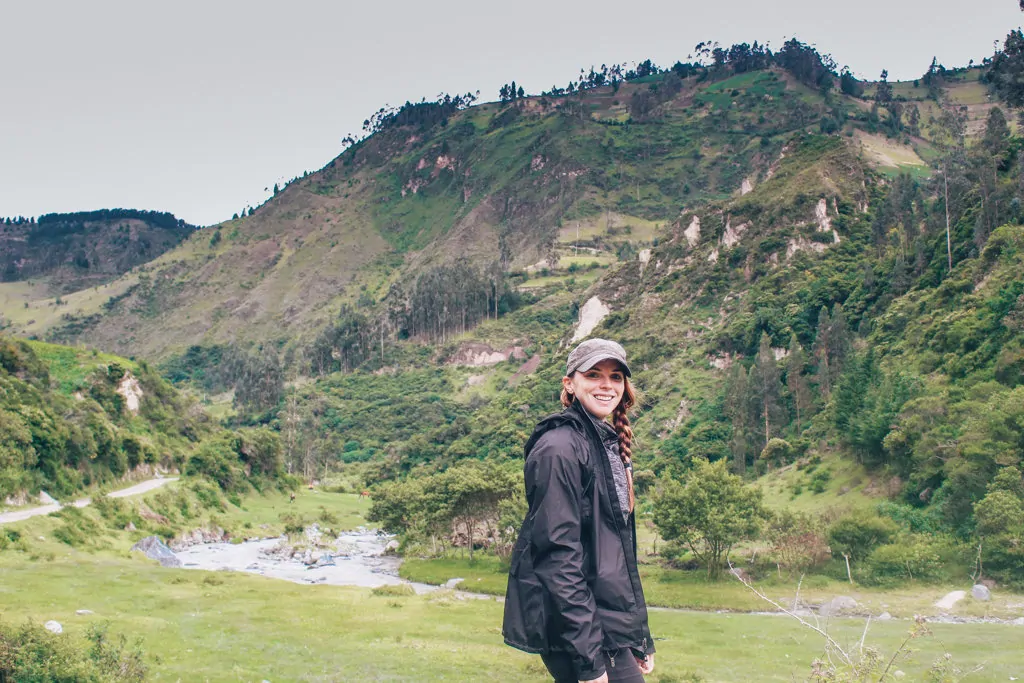
Upon arriving in Sigchos, I recommend using the toilet at the bus station (make sure you’ve got your toilet paper handy). Then you’ll walk through the tiny town. There are some shops and bakeries along the way if you’re feeling a bit hungry or if you’d like to stock up on any items.
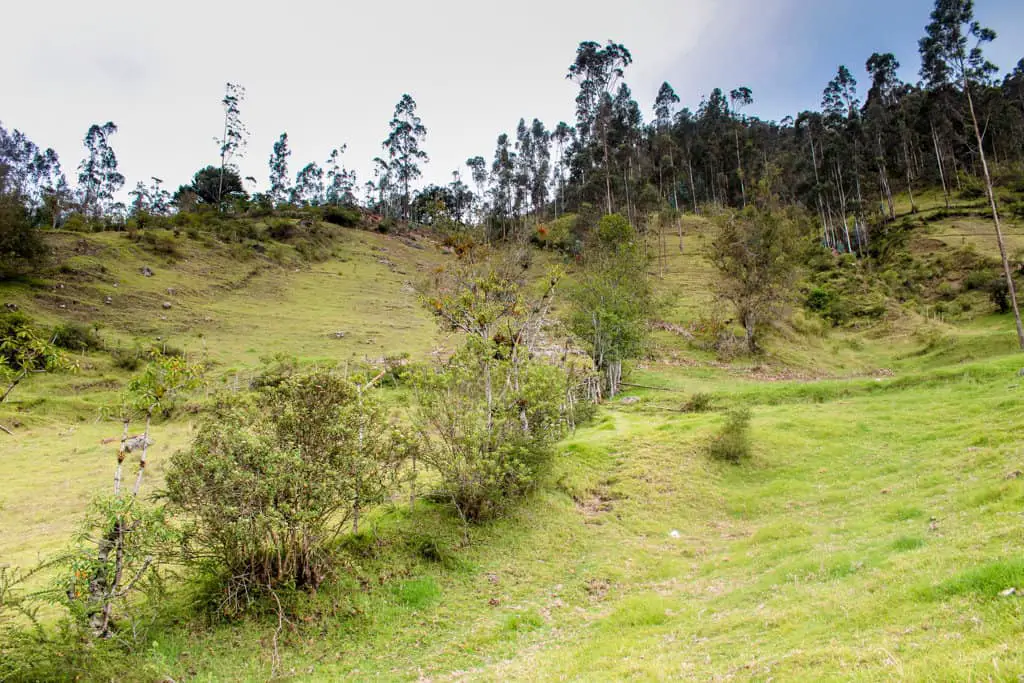
On the edge of the town, you’ll find red and yellow signs pointing for Isinlivi and Quilotoa. Simply follow the signs downhill through farms for the first 40 minutes or so.
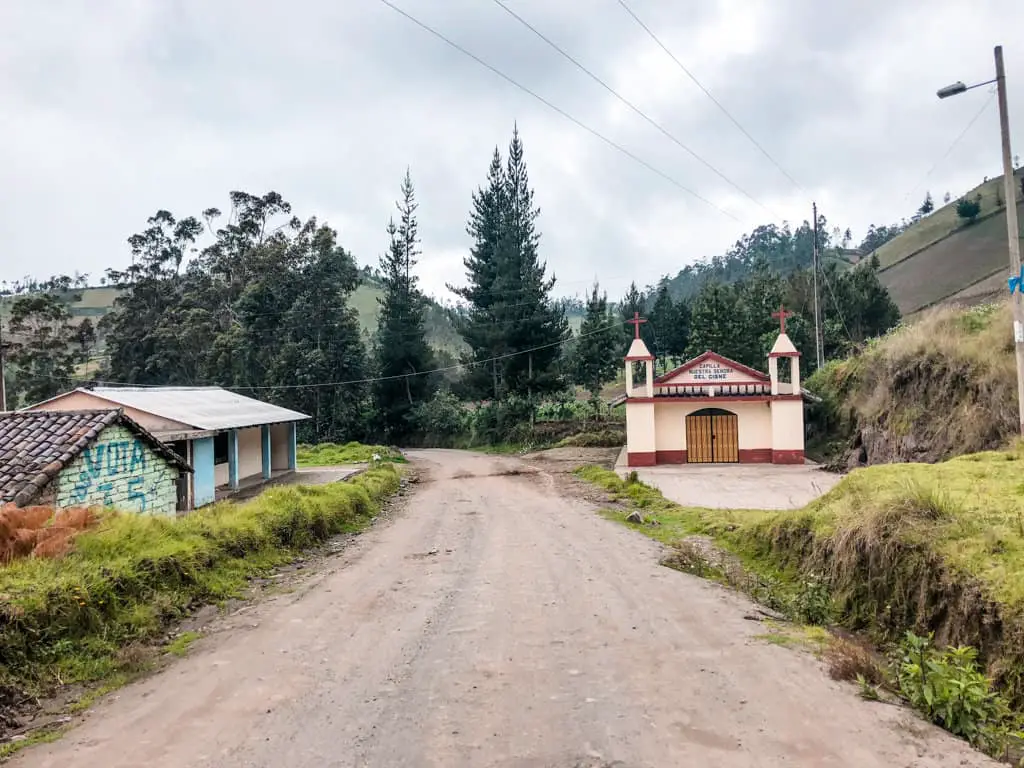
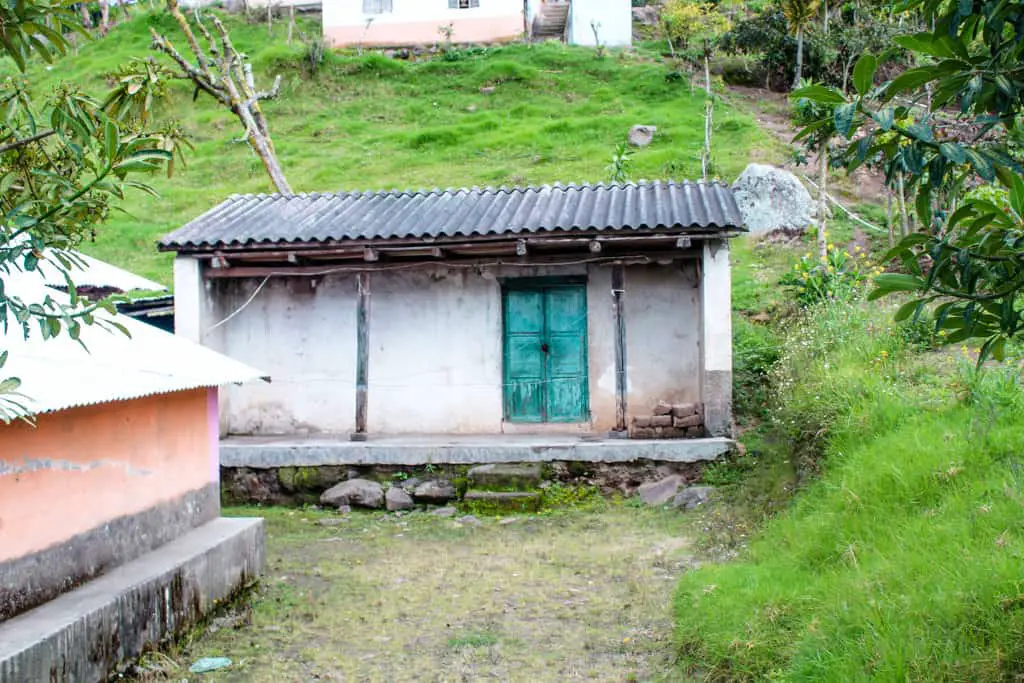
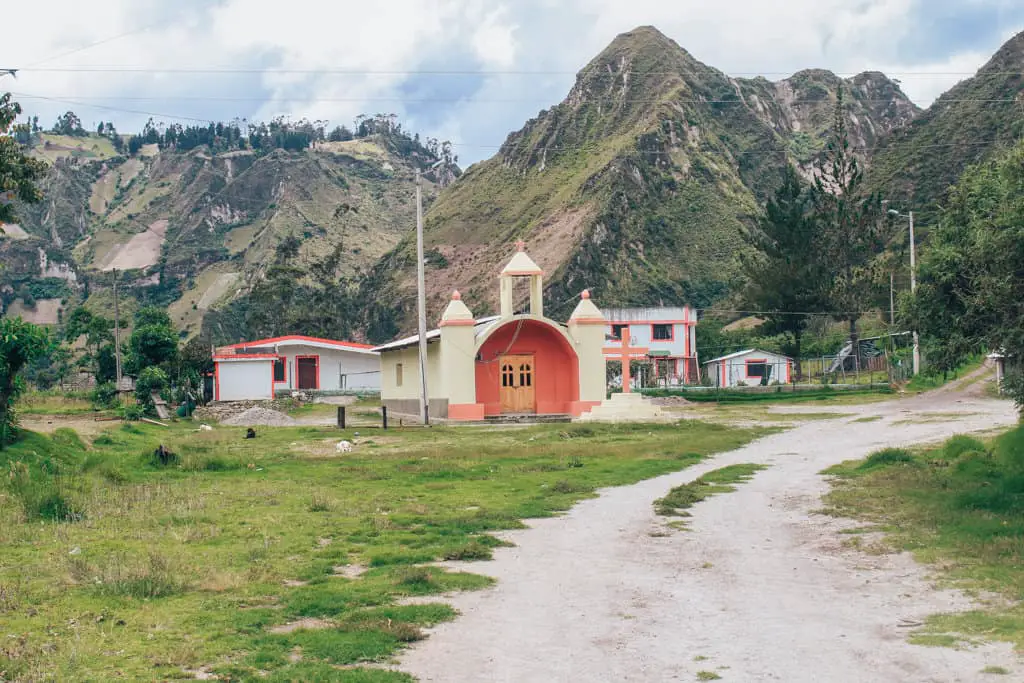
The map will reference a pink church, that’s the church below…it’s not totally pink.
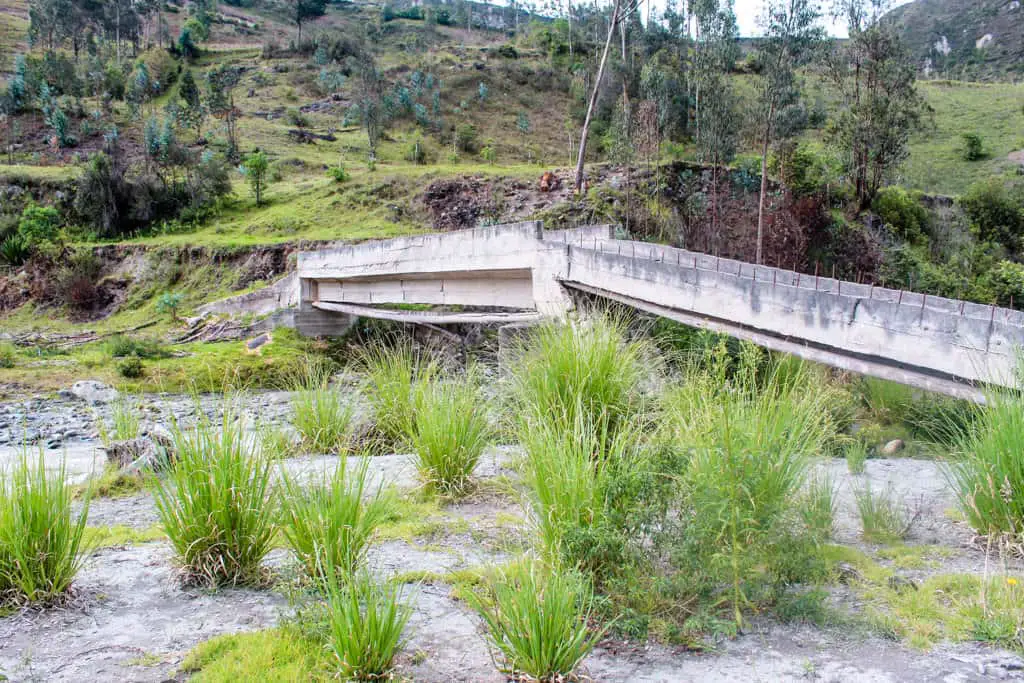
After following the river for some time keep your eye out for a concrete bridge to cross to the other side. After this, you will be hiking what feels like a 90-degree incline. This lasts for about 30 minutes and then you’ll arrive at a road.
Follow this paved road until Isinlivi!
It is a very small town with very friendly locals. There is a small church and an artists market that is worth checking out.
Where to Stay in Isinlivi
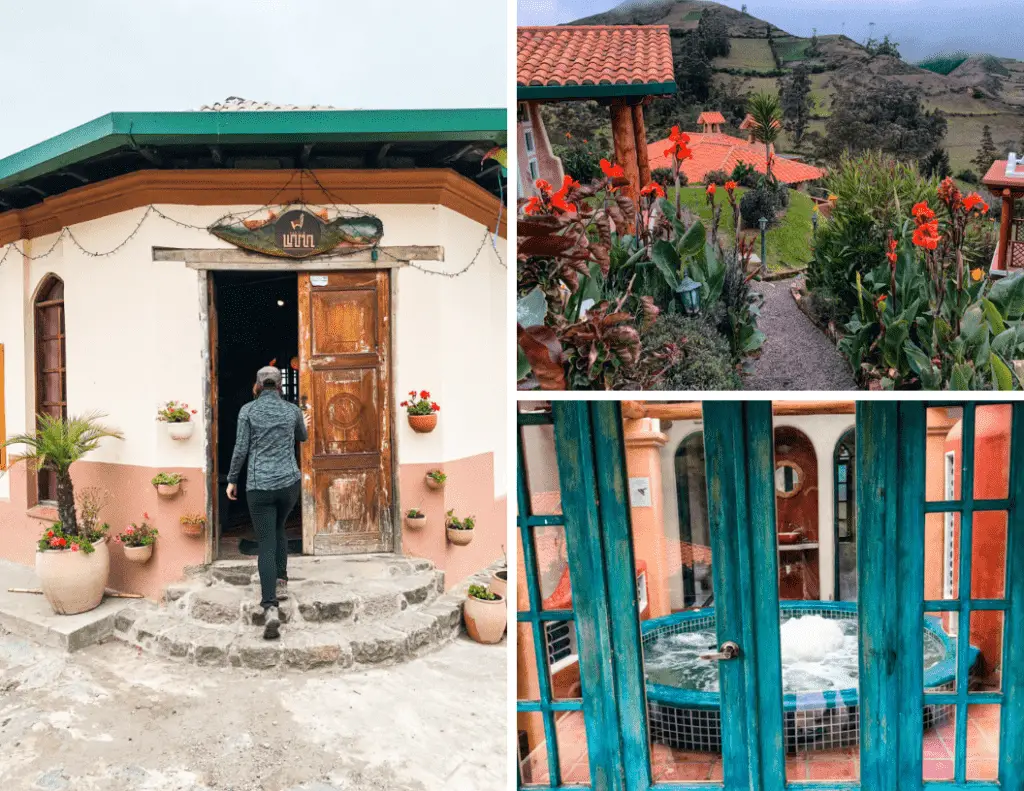
Llullu Lamma Hostel
I highly recommend staying at Llullu Lama hostel.
and enjoying their hot tub, sauna, and yoga room that overlooks the mountains. They serve a family style dinner, have plenty of cocktails, and they serve breakfast.
Check rates and availability here!
Hostal Taita Cristobal
Another and equally good option is Hostel Tatiana. I actually got my packed lunch from this hostel as it was $2 cheaper than at Llullu Lama. While I waited for my packed lunch, a quick look around the hostel showed it had a much more local feel and not as touristy as Llullu Lama.
Check rates and availability here!
A local woman helped us compared to the European couple volunteering at Llullu Lama. That being said, I’d still stay at Llullu lama again! The hot tub and yoga room won me over!
PRO TIP: This day took us about 3 hours to complete and we walked mostly on the side of the road. If you’re short on time, you could take the bus from Latacunga straight to Isinlivi, making it a two day trek. Or if you’re in great shape and acclimated to the altitude, you could hike day one and two in the same day. But, I’d advise leaving earlier in the morning.
Day 2: Isinlivi to Chugchilan
Start your day with a yoga session in Llullu Lama’s beautiful yoga room with huge windows overlooking the valley.
Eat a hearty breakfast, pick up your packed lunch, and head out around 9:00 am with the destination of Chugchilan.
The start of this portion of the hike is directly behind Llullu Lama hostel.
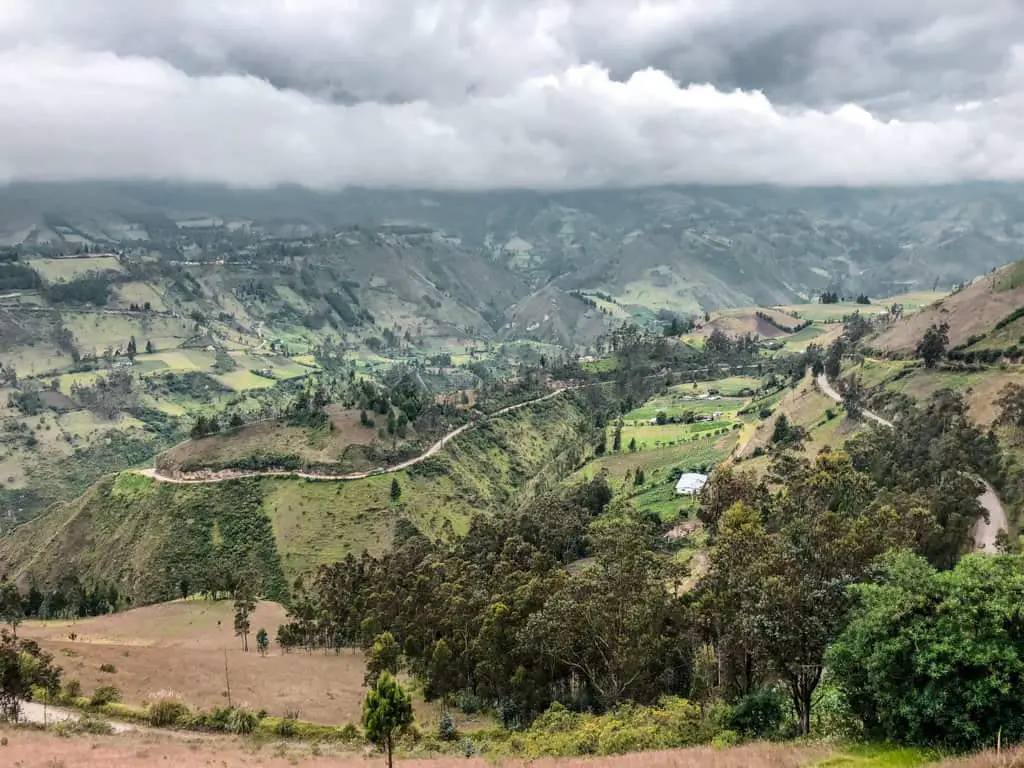
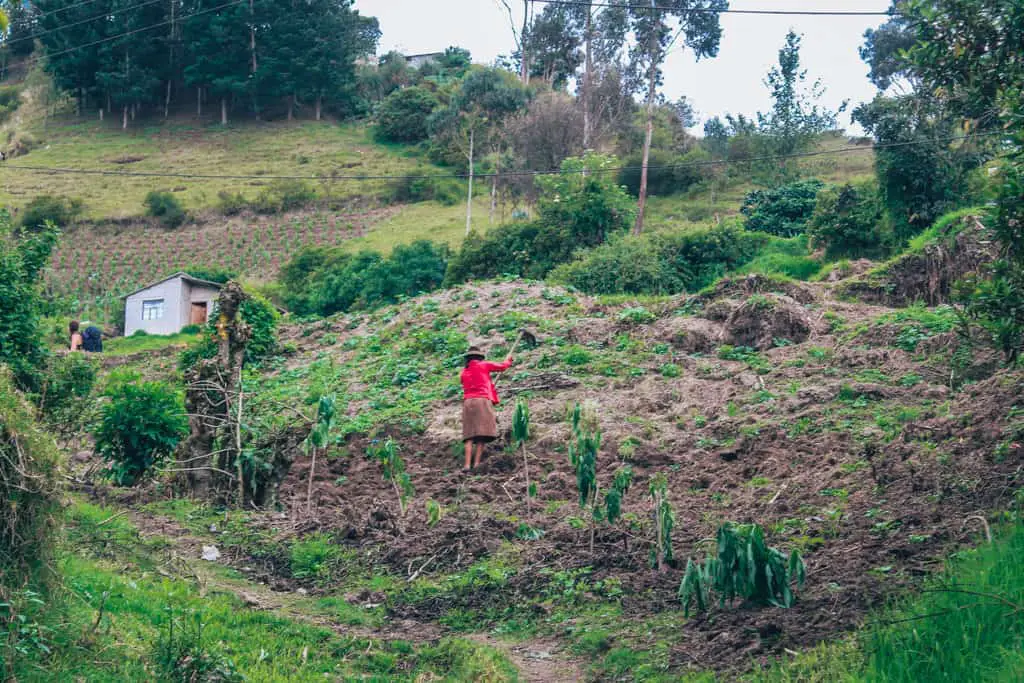
You’ll cross through beautiful countryside, follow a river for a while, past farms with free roaming cows and sheep. Horses will be just milling about. Women and men working the fields. Today is a nice glimpse into the day to day life of local people living in this area.
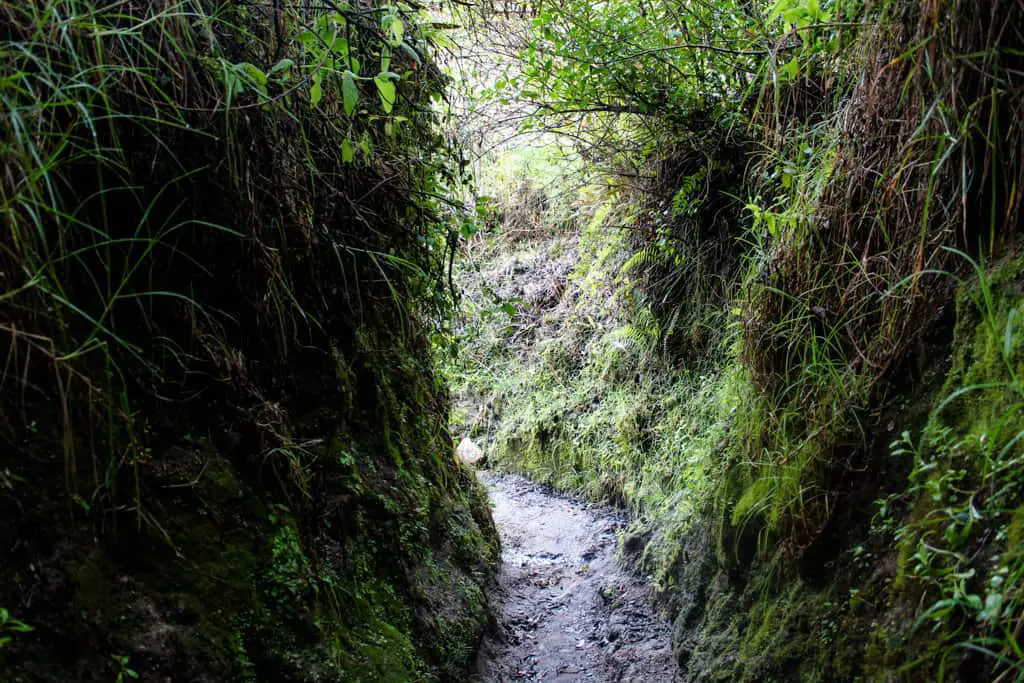
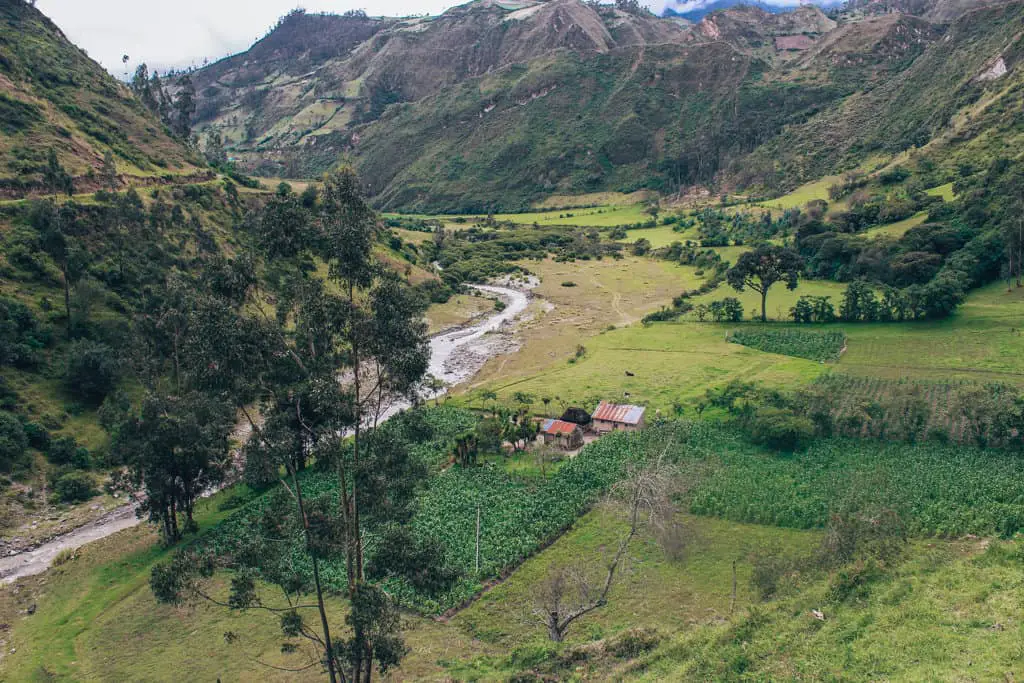
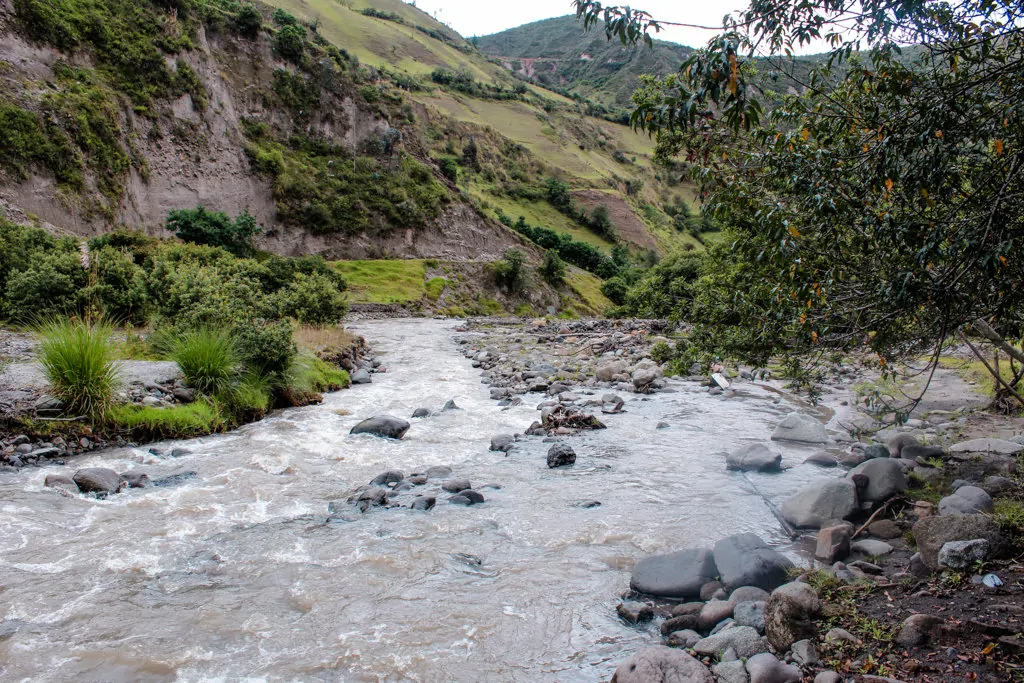
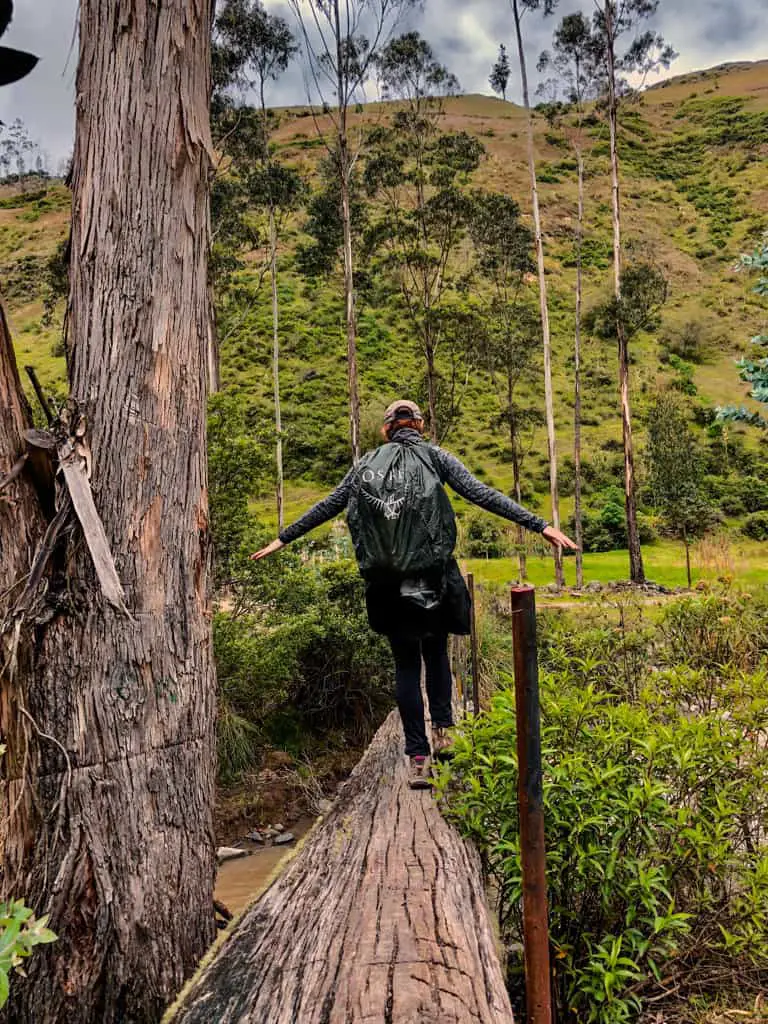
Keep your eye out for a fallen tree stump, which is the bridge you’ll use to cross the river. There are other bridges, but ignore them as they don’t lead where you’d like to go. Use the tree.
Shortly after you’ll pass a house that looks like its intention was to sell snacks and refreshments to passing hikers. It was closed when we were there.
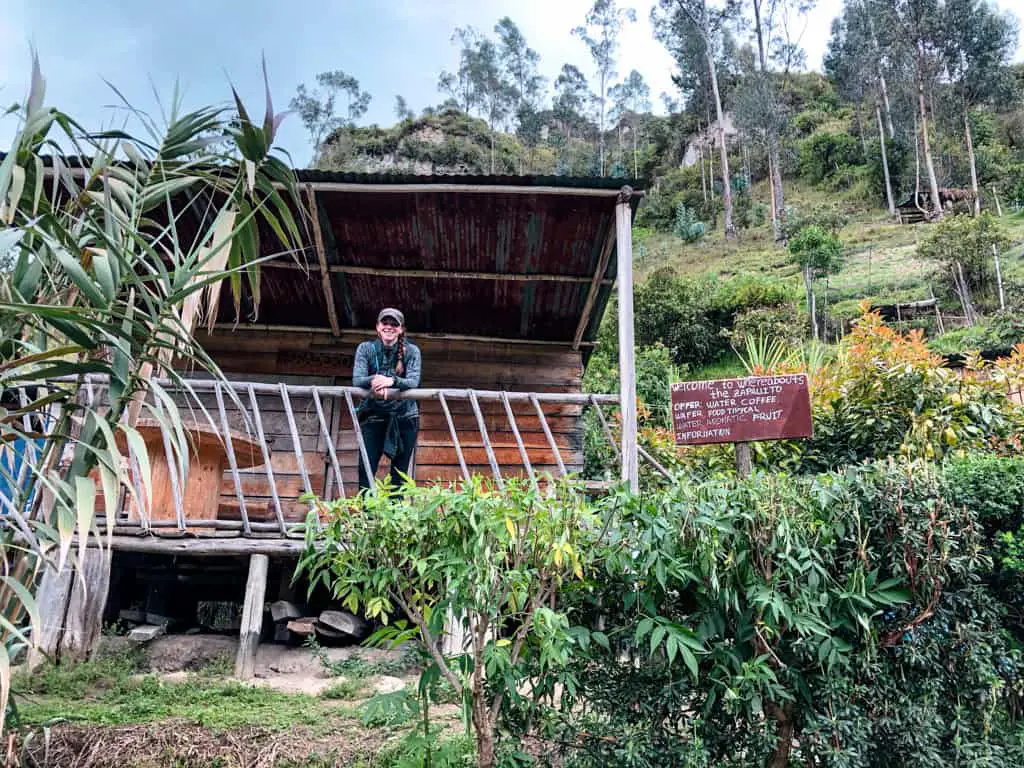
You’ll arrive at a very tiny village that had three-four houses, a small church and plenty of dogs who we happily shared our snacks with as we took a break in the center of this village. There was a local woman going about her daily chores and her young son trailing close behind as her chickens scattered about.
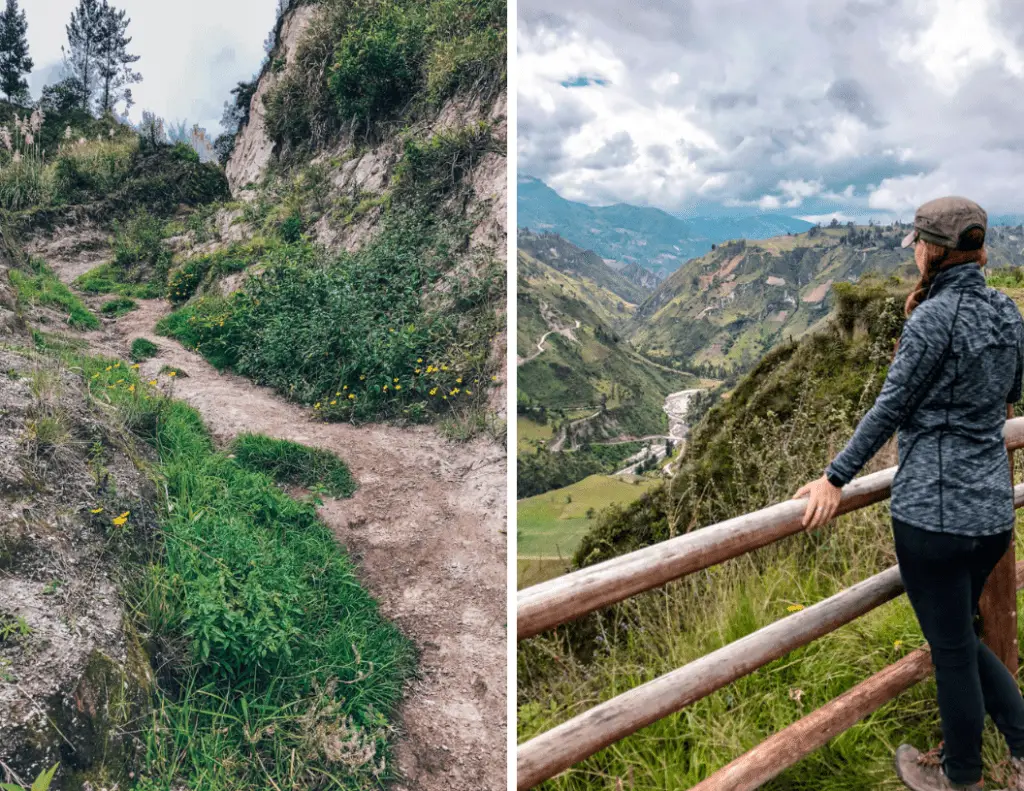
Take a breather here as after this is a very intense climb up that results in a stunning viewpoint of the valley below.
A crowd of local children may gather to greet you. I did succumb and give them some lollipops, although I should’ve given them some other trinket as I’m sure every hiker gives them sweets.
There’s also a tiny crafts stand and a man selling his artwork. He suckered me into buying one of his pieces for double its value (according to the lady at the hostel later that evening.) I’m so bad at bartering!
Anyway, at this juncture, your day is almost done! About 30 minutes after this you’ll join another road that will take you to your resting place in Chugchillan…after about 45 more minutes of walking.
Where to Stay in Chugchilan
Black Sheep Inn
Black Sheep Inn is on the outskirts of Chughcilan. In fact, it’s the first hostel we passed and I secretly wished we booked it because I was done walking at that point. About 20 minutes later we arrived at our accommodation. Upon further research, Black Sheep Inn is a gorgeous Eco Lodge that has a sauna and offers massages on site. Both of these sound like a dream after a day of hiking in the rain!
Check rates and availability here!
Hostel Cloud Forest
We chose to stay at Hostal Cloud Forest where we had a private room and bathroom with a shower with hot water. There were hammocks outside to relax in, beer, a full dinner, breakfast, and a game room.
This was by far the coldest night on the trek. We all gathered in the game room as there was a roaring fire and as soon as the fire went out I ran up to my room and huddled under the covers. Drifting off into a very deep sleep to recover for the final day to Quilotoa.
Check rates and availability here!
El Vaquero Hostel
The next morning we passed by El Vaquero, which was much closer to the start of the hike for the day and looked beautiful. There is also a Turkish sauna and spa onsite which would’ve been an amazing way to relax on day 2. I would’ve stayed there over Hostal Cloud Forest.
Check rates and availability here!
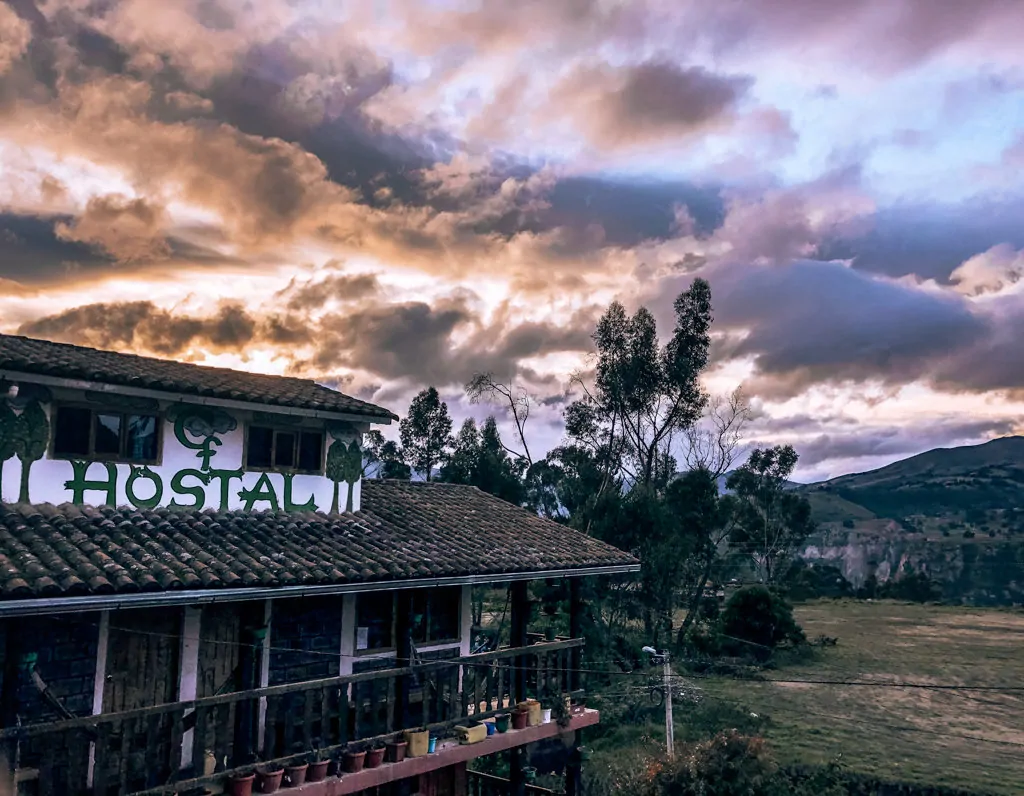
Day 3: Chugchilan to Quilotoa Crater Lake
Today is the big day, the last day of your Quilotoa Loop hike!
Rise early, eat the breakfast provided by the hostel, and get ready to see the turquoise blue waters today!
Today is also the most strenuous day. It’s a beautiful walk through more countryside, rivers, mountains, and farms.
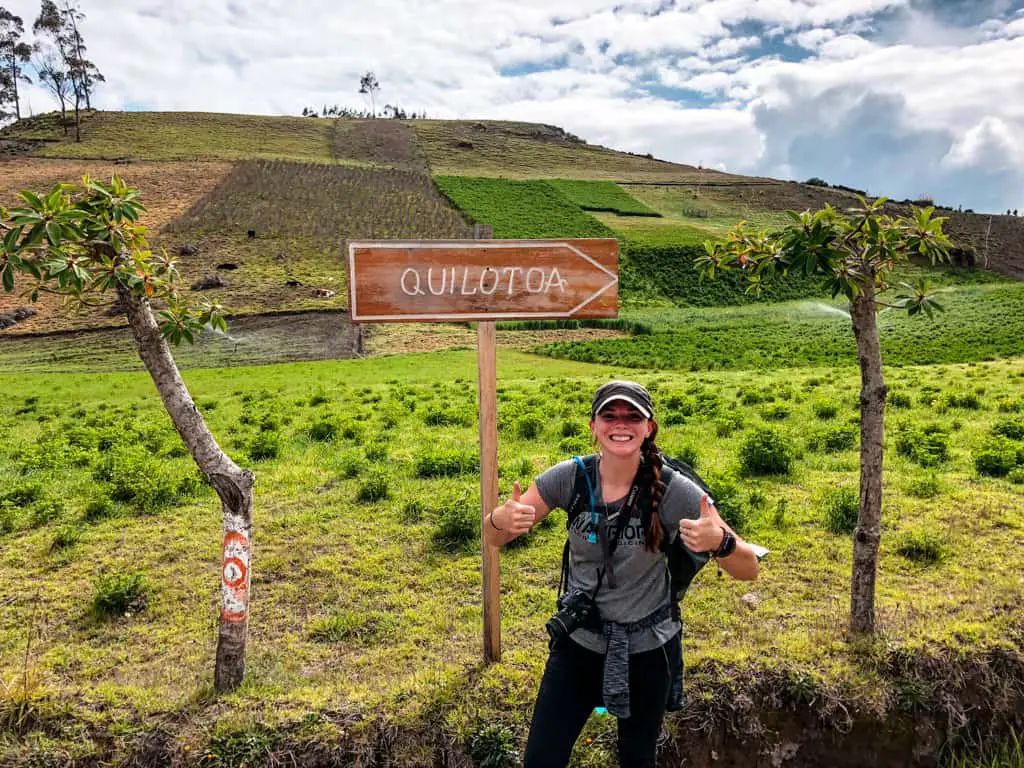
This is the day I lost my friend. We were climbing up a hill, I was looking down at my footing, and when I looked up, there was a path that went left and right, and my friend was nowhere in sight!
But there was a young local boy with his dog. I asked if he’d seen my friend and he nodded and began walking. So I followed. He took me to the right (my friend had gone left) but somehow we ended up in the same place, both thoroughly confused about what happened!
You’ll pass through a few small villages, walk along ridges of cliffs, and then come to the last and most difficult portion of the hike.
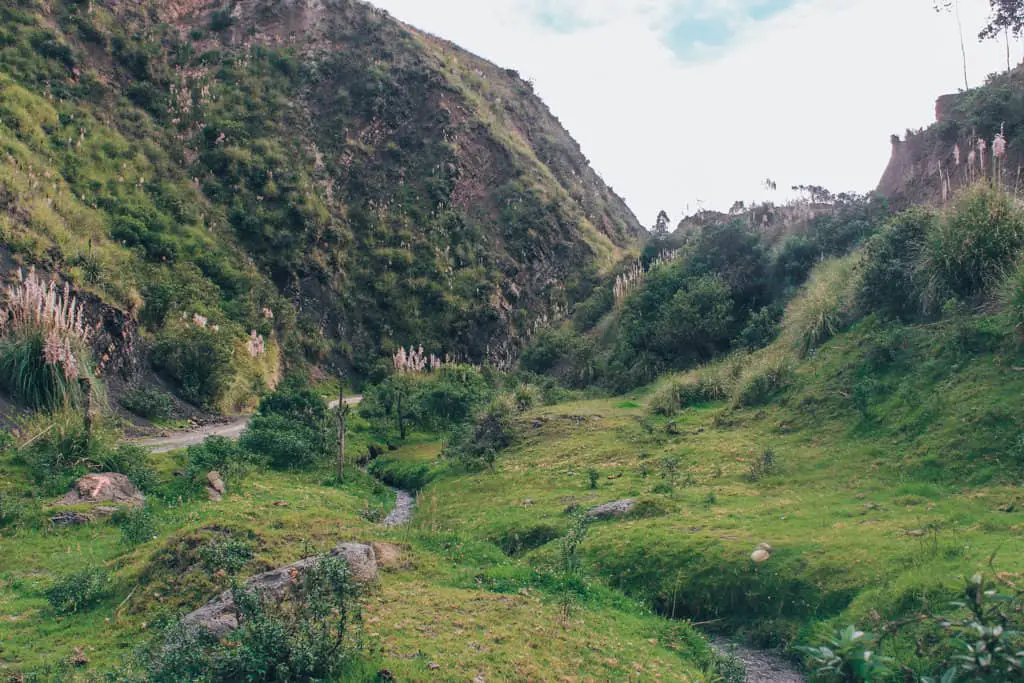
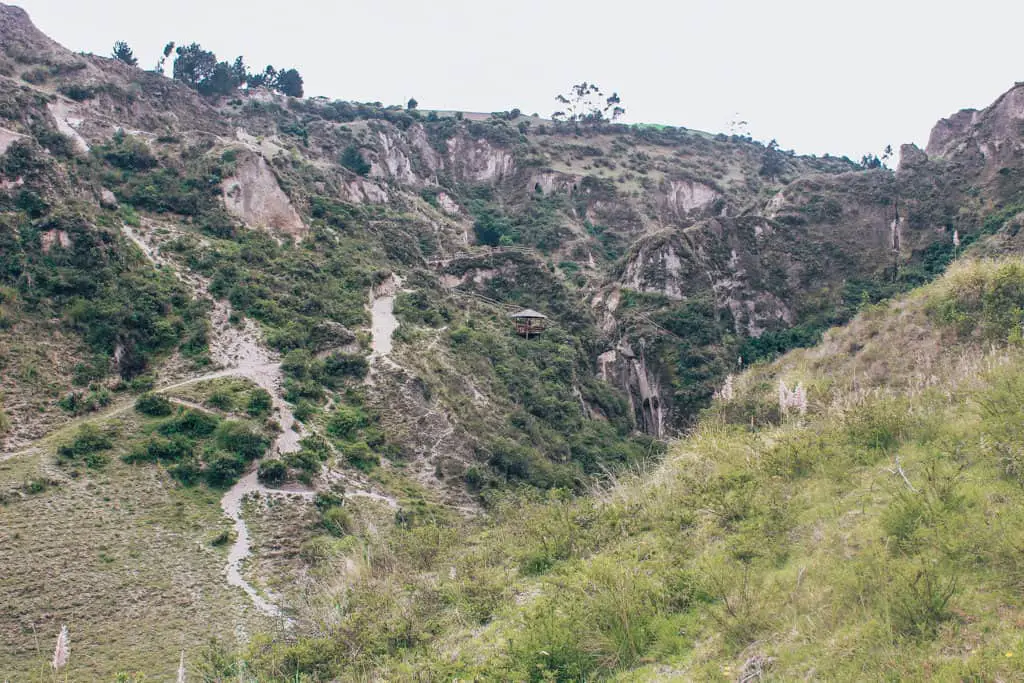
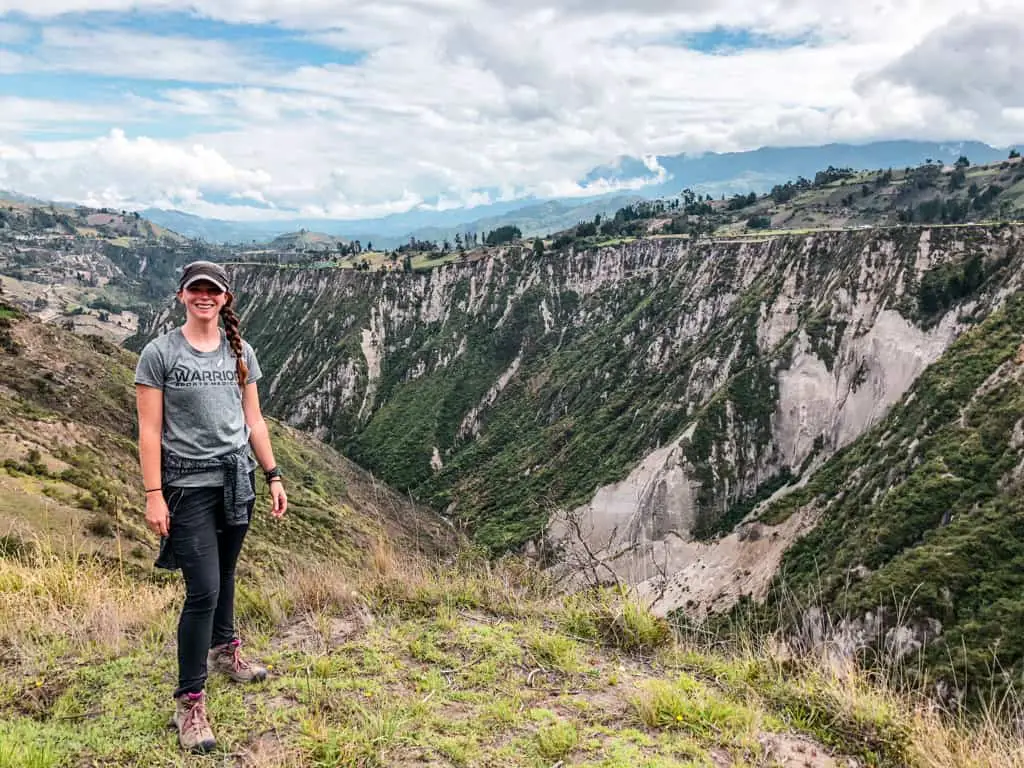
The last portion is about an hour of steady uphill at the highest altitude you’ve reached all week. Take your time. Take breaks. Bring plenty of water and snacks.
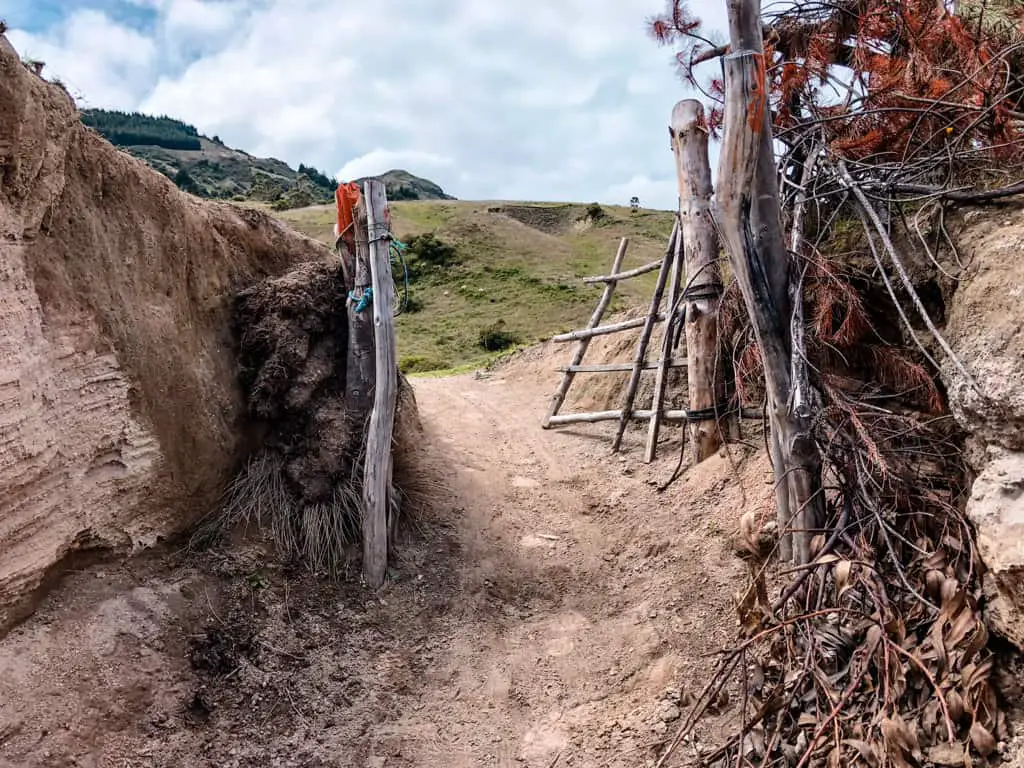
Side note: the map will reference this gate, be sure to close it behind you.
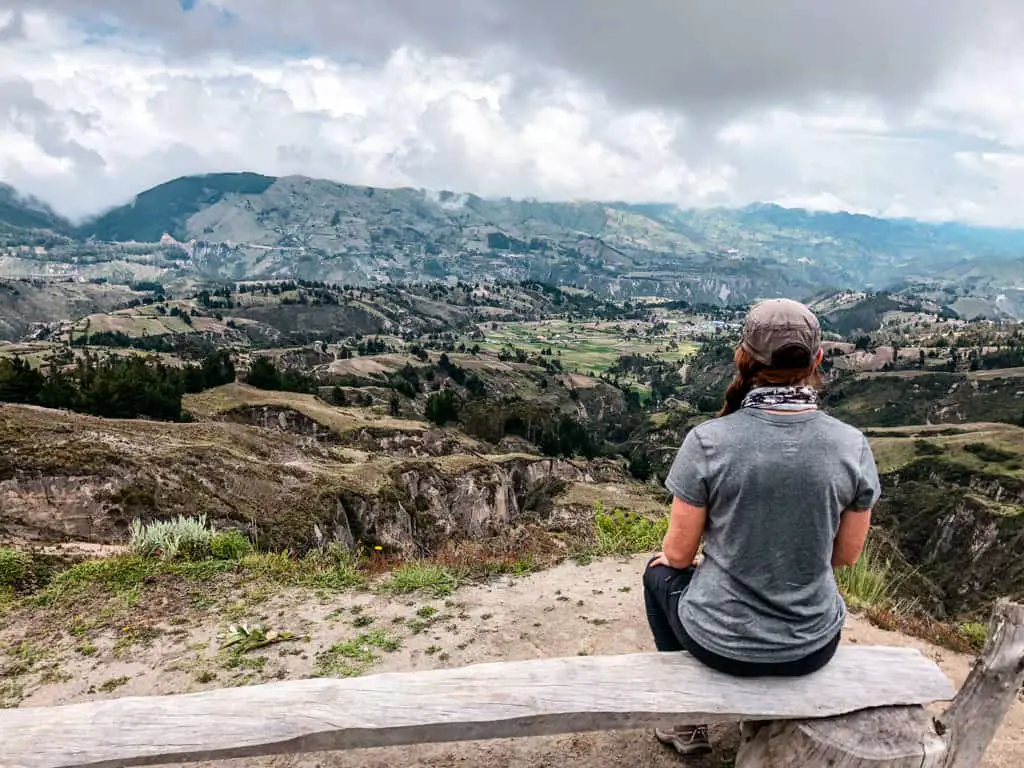
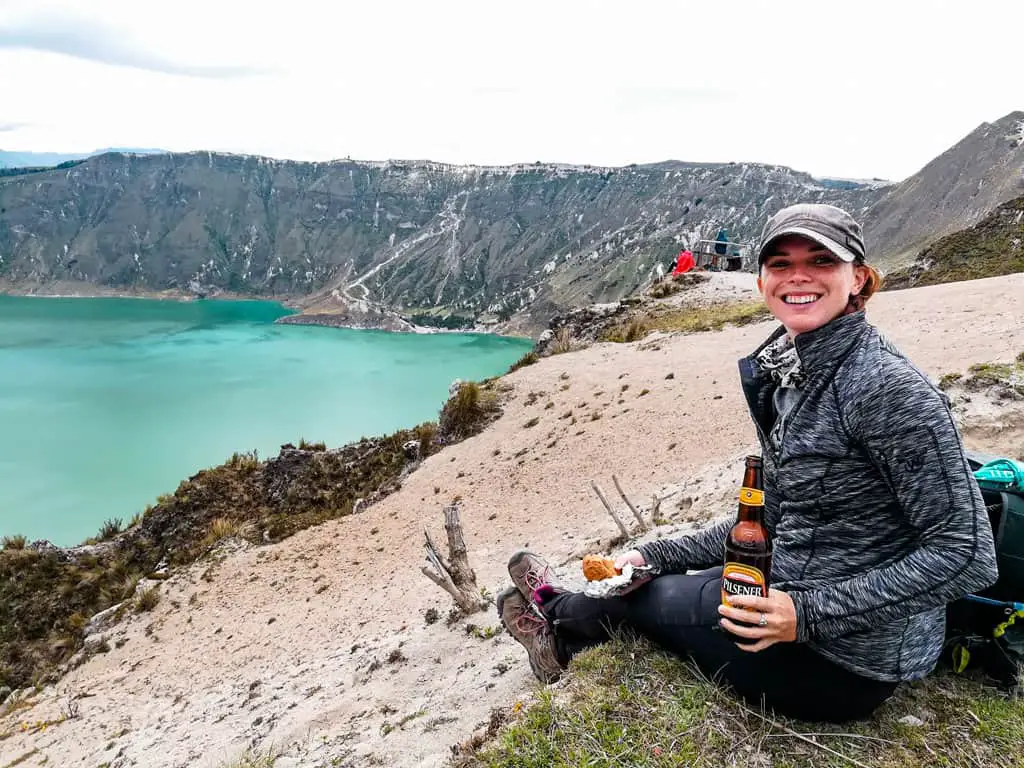
I had to let my friend go ahead of me so I could take my time and she was waiting with an ice cold beer on a bench overlooking the Quilotoa Lagoon as I huffed and puffed my way over the rim of the volcano and finally caught the glimpse of the blue waters with my own two eyes.
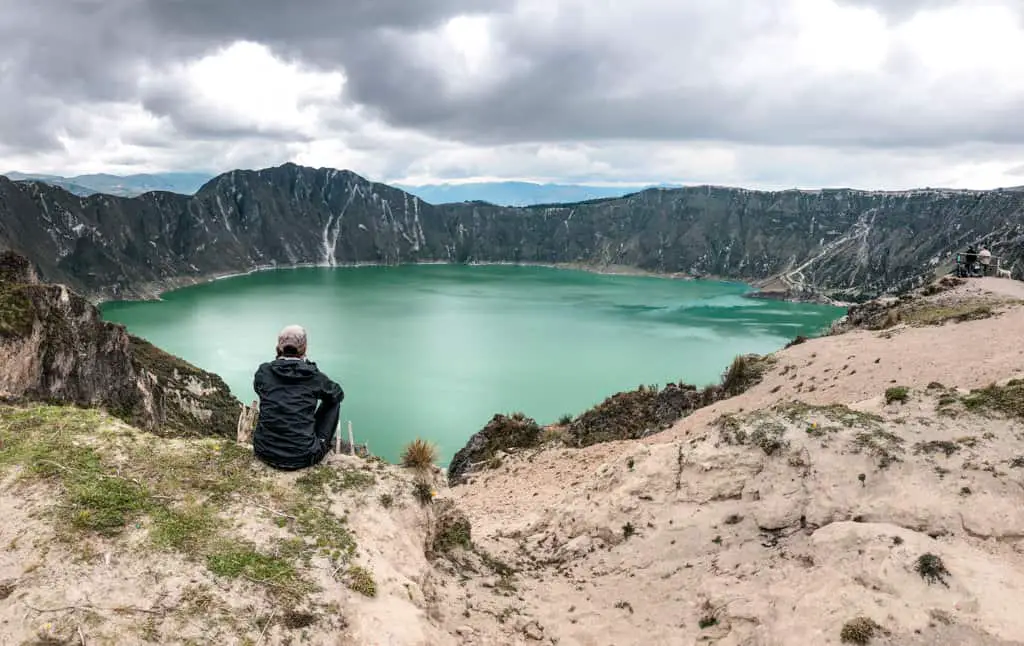
Sit here and enjoy. Eat your lunch, buy a beer from the stand, and share it with your friends or enjoy it by yourself. The choice is yours. But know, that the hike isn’t over yet.
To the right is another steep incline and you’ll follow the ridge of the crater until you reach Quilotoa. From here, it’s about another 45 minutes of walking.
Go up instead of down here. It looks like there are trails further down and it’s tempting after conquering the most recent climb, however, the down path is used for horses and locals. A few hikers we met in town accidentally went that route and said it was very sketchy. Use the tourist path. You could also go to the left, however, this is much longer and will take about two to three more hours to reach the town of Quilotoa.
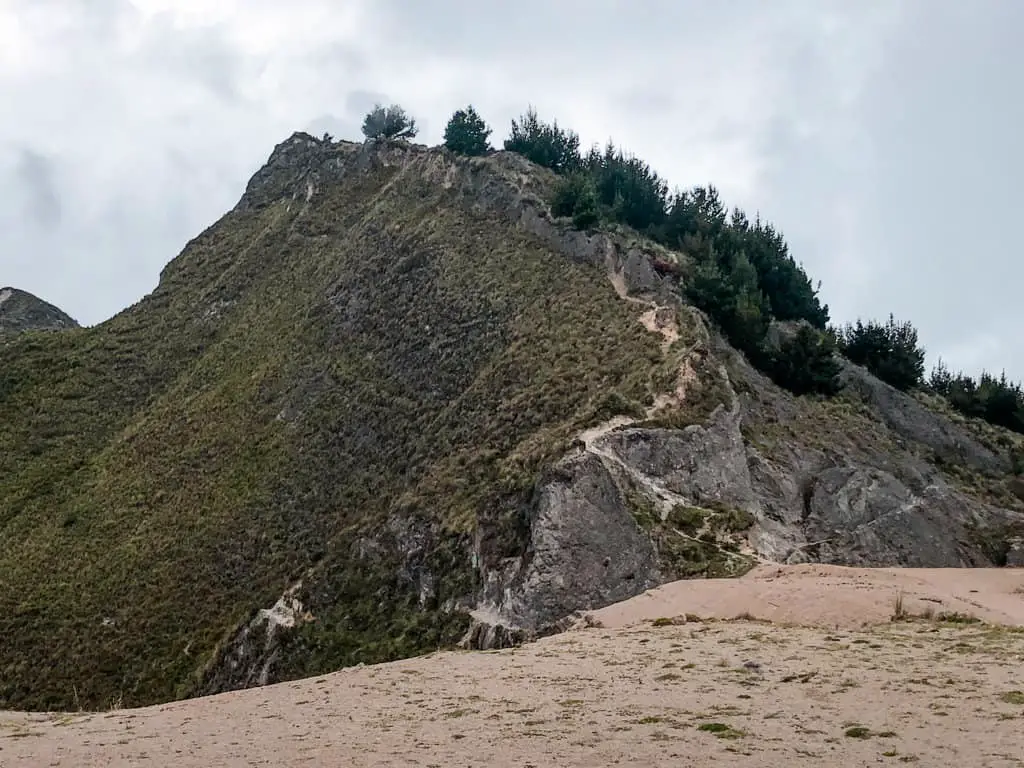
Congrats! You’ve completed the three-day trek to Quilotoa!
Once in the town, there are lots of souvenir shops, restaurants, and when I visited they were constructing plenty of new hostels. You could stay here for the night, enjoying this tiny albeit touristy town. And if you still have hiking left in you, the next day, you could hike the rim of the crater lake. This takes about 5-6 hours to complete.
Or, like us, you could head back to Quito. The map told us that there would be a bus around 3:00 pm on the main road, that we could catch to a neighboring town called Zumbahua. From Zumbahua, we would connect to another bus for Latacunga.
Then from Latacunga we would be on our way to Quito.
We waited for a while on the side of the road and the bus never arrived. We flagged down a passing truck, two other hikers hopped in, and we shared the ride to Zumbahua.
There was a large Saturday market in Zumbahua where I enjoyed my first taste of Salchipapas sitting on a corner waiting for the bus.
Eventually, the bus arrived and took us to Latacunga.
In Latacunga, you don’t transfer at the bus station, instead, it’s at a roundabout in the middle of the road.
The bus driver will yell “Quito, Quito” and you’ll hop off and follow the directions for a bus heading to Quito.
It seems chaotic, but there is a system to the chaos.
What Else to Do in the Area
If you don’t want to go back to Quito and want to continue your exploration of the volcanoes in the area. This is a great place to explore Cotopaxi, Chimborazo, and Cayambe. Hostel Café Tiana in Latacunga can set up day trips to each of these or you can inquire about how to do it yourself!
No matter where the rest of your Ecuadorian journey may take you, revel in the fact that you’ve completed a demanding trek, caught a glimpse into the day to day life of locals, and witnessed a natural beauty that few will ever get to see.
Like this post? Pin for later!




Wonderful rundown. My husband and I did the Loop in 2017 and there were a lot less resources like this to go from. So on behalf of those who may take advantage of your instructions, THANK YOU.
A note on the reverse route. There’s another reason to do it aside from the fact that some say it’s easier (I agree with you…it’s really not easier). We chose to do the reverse route after reading that the view of the crater lake can be covered in the clouds in the afternoon. For hikers that plan on moving on to Quito immediately after reaching that final village and not staying overnight, the thought of the big, gorgeous view being obscured in clouds is maddening. But one way to have a much better chance of seeing the view is to begin your trek in Quilotoa. We arrived in the late afternoon. We were lucky that it was a clear day, because it hadn’t been in the previous days according to locals. We were able to see the view and hike to and from the water on that day. But if the views had been clouded over like the afternoon before, we would have another chance to see them the next morning before starting out for the next village because the views are almost always quite clear first thing in the morning.
So for us, the reverse route was a higher chance of avoiding cloudy views over the crater. Just food for thought for others as they plan their route.
That’s an excellent point, Maggie. The clouds do roll in in the afternoon, which would be seriously disappointing after all of that work to get there. How did you like staying in Quilotoa. It looked like a cute town, so if people’s plans are flexible, they could always stay the night in Quilotoa before moving on to get a view of the lake in the morning. This was our backup plan.