
Blog, Solo Female Travel
Solo Travel Photography Tips: How to take Travel Photos of Yourself
Nov
Last updated on November 12th, 2021 at 02:14 am
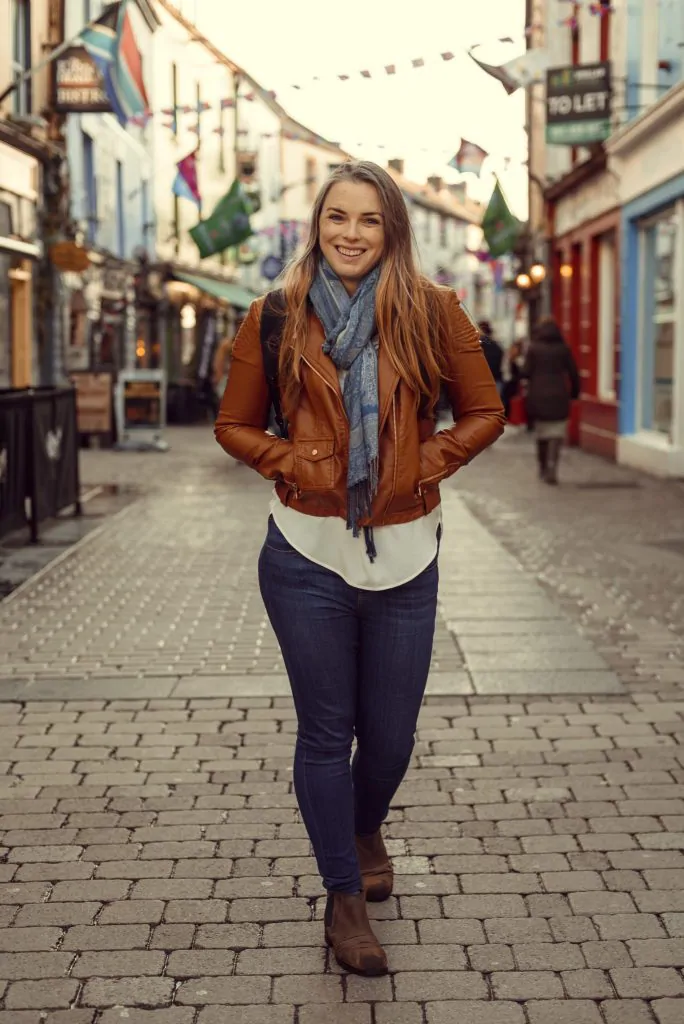
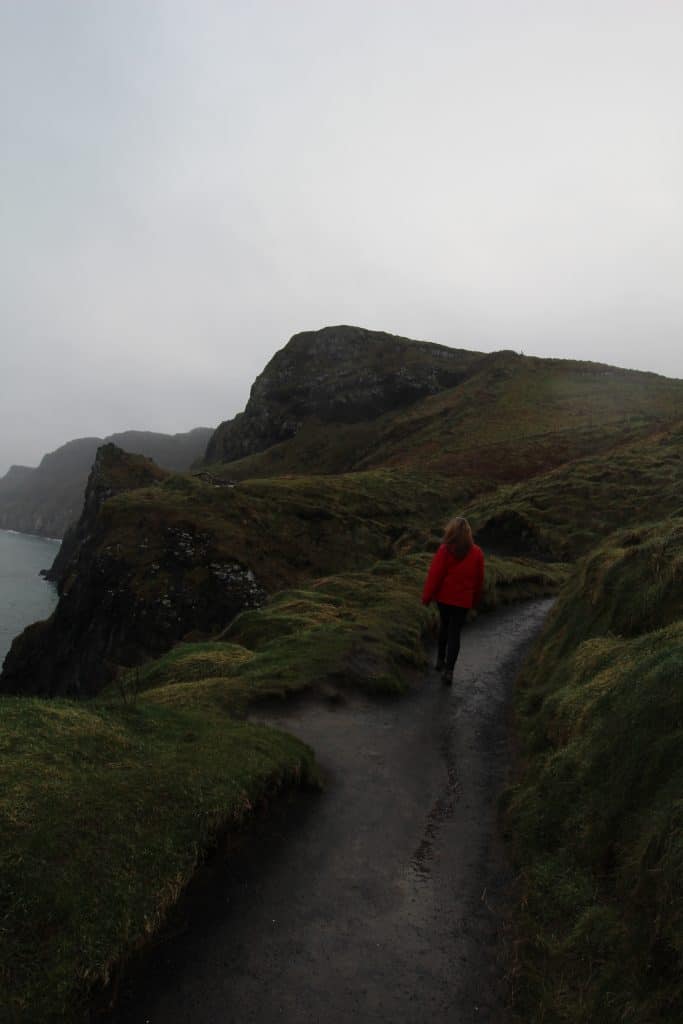
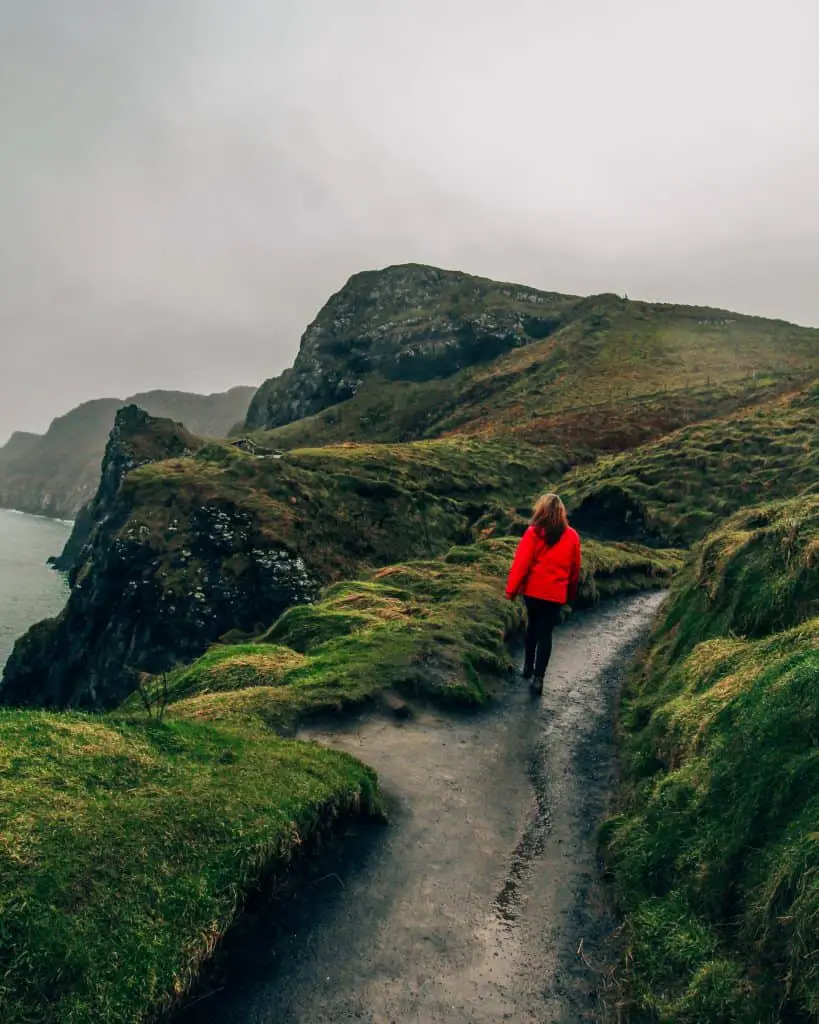
I used to feel really uncomfortable taking photos of myself while traveling solo. In fact, my first solo trip to Ireland was a myriad of pretty terrible selfies. There are way too many photos with half of my arm in it, my smiling face taking up most of the frame and just a sliver of a pretty backdrop. Over time, I realized that if I wanted better solo travel photos, I’d have to simply get over myself and learn how to take better pictures. So, through learning some great solo travel photography tips to up my game I’ve ended up with some pretty badass photos from my tips.
No place is boring if you’ve had a good night’s sleep, and a pocket full of unexposed film – Robert Adams
How I Take Travel Photos Alone
I’m going to share with you all of the details for how I take pictures of myself when I travel solo, including safety tips you need to consider. But I want to give you a brief overview of my process so that you can keep it in the back of your mind when reading the rest of this post.
- Scout the Location
- Set up Tripod
- Connect Camera to Phone or Wireless Remote
- Put myself in the frame
- Select Burst Mode
- Select 10 second self timer
- Click the shutter
- Pose my ass off
I am a partner with Amazon Affiliates, which means that if you click on a link and decide to make a purchase, I will earn a commission, at no additional cost to you!
My Solo Travel Photography Kit
I spent the majority of 2020 improving my photography skills. It was something I could do that allowed me to get outside, be creative, and maintain social distance. During this time I took a travel photography course, upgraded my gear, purchased new lenses, shot all the time, and built a nice little photography kit.
I might’ve gone a bit crazy, purchasing multiple lenses at once, but I learned which lenses I like for different scenarios.
When I go out to shoot here’s what I bring:
- Sony A7ii: I am in LOVE with this camera. There was a bit of a learning curve as I switched from Canon, but I am so happy with it now that I know how to use it. Purchase it here on Amazon.
- Tamron 17-28mm: I LOVE a wide angle lens, especially when I’m shooting in the city. I can put my tripod just off the side walk and still be able to capture the entire building behind me without cutting anything off. It’s also great for landscapes! Purchase it here on Amazon.
- Tamron 70-300mm: This lens is heavy and a bit bulky, but I love the compression it gives. I use it for shots where I want the view to appear close behind me. This does mean that I have to put the tripod MUCH further away from me so a remote shutter is necessary as is making sure no one is around to steal it. Purchase it here on Amazon.
- Sony 28-70mm: This is the kit lens and it does a really nice job. If I only want to bring one lens with me, this is the one I’ll bring. Purchase it here on Amazon.
- Cell Phone: I recently upgraded from the iPhone 8 to the 13 and OMG. My mind is blown at how well this phone takes photos. I also use it as a remote shutter.
- Manfrotto Compact Action Tripod: I’ve had this for AGES. It’s held up so well with all of the crazy places I’ve set it up. Purchase it here on Amazon.
- Cleaning Kit: I recommend learning how to clean your camera and lenses before shooting. Or taking it to a local camera shop every now and then for them to do it. But if you get dust on the lens, a cleaning kit will help you quickly remove it and get back to shooting. These usually come with a kit or a lens, but if not, you can purchase this one here.
- Spare battery: I’ve definitely left my house to go shoot only to pull out my camera to find the battery dead or not even there! I always keep a fully charged battery in my camera backpack.
- Spare memory card: The same thing happens consistently with my memory card. I always leave it attached to my computer when I go out to shoot so I have a couple of spares in my backpack. Although, you could easily stop at a Walgreens or CVS to pick on up in a pinch.
- Portable charger: Pairing your camera and phone over WiFi drains the battery quite quickly on both devices. So be sure to carry a strong portable charger. Purchase it here on Amazon.
- Backpack: I got this BagSmart backpack off of Amazon to hold my kit so I could just grab and go. But to be honest, it’s a bit bulky and awkward so I’m still in the market for a good camera gear backpack that can hold everything and still be cute!
Prior to this gear upgrade I was using a Canon Rebel and the kit lens that came with it. It did just fine while on the road!
Do you really need all this gear?
Honestly, I am SO HAPPY with the way my iPhone 13 takes photos. It’s actually the only camera I brought with me on a weekend trip to Hawaii. That is the first trip in 3 years when I have not taken my actual camera!
I still got AMAZING photos.
So, yea. Unless you’re trying to become a professional photographer, all you really need is a solid camera phone and a cheap cell phone tripod from Amazon and you’re good to go!
How to Take Pictures When Traveling Alone: Technical Tips
The first section of this post, I’m going to break down my strategy for taking solo travel photos. We’ll talk tripods, shutters, and how to find someone to help you take your own photos.
Scout the Location
One of my top travel tips is to take a free walking tour which will show me all of the highlights and hopefully some hidden gems of the destination.
These tours help get the a vibe of the city that I’d like to try to capture. During this tour, I’ll also make note in my Google Maps of the places I want to revisit to photograph.
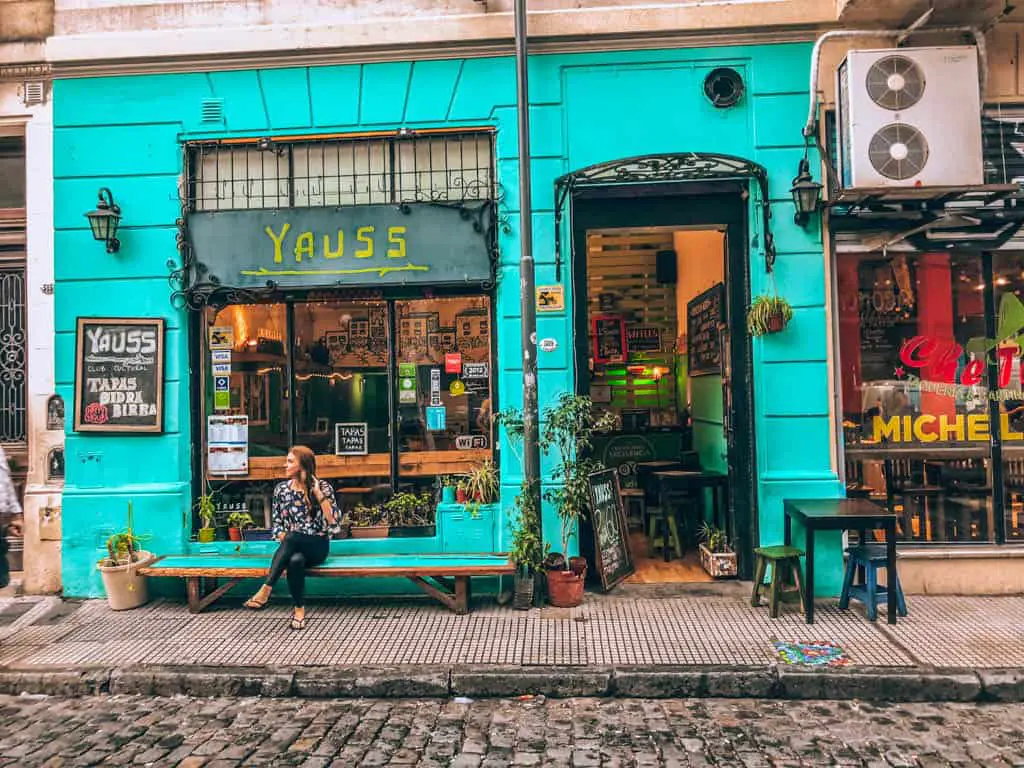
I tend to keep my eye out for less touristy places because when I take pictures solo, I use my tripod and I get very nervous about someone stealing it as I walk in front for the photo.
I’ll definitely walk down a random cobble stone street with no one around to set up for a photo before I do it in front of a heavily trafficked area.
This also gives you a chance to see some unique places or find different angles of well photographed locations.
However, if I am trying to get a really popular location, I’ll ask someone on the walking tour to take the photo as we pass by and cross my fingers it turns out (more on this later).
Once I’ve scouted the locations in person, I’ll also use Instagram to find more locations in the area and get some pose ideas.
I’ll then plot out my route to get all of the photos done as quickly as possible and pack a change of clothes. Then I get up early the following morning for an epic photo session. Followed by an epic breakfast and a nap.
Use a Travel Tripod
When I see a solo traveler on Instagram post an epic photo of themselves without fail there is someone in the comment section asking “How did you take that photo when you travel alone”. The answer 99% of the time is a tripod.
A tripod is the best investment to get the shot you want. It might take a little bit of time to set it up, but at least it ensures you’re getting the right angle.
There are a number of tripods out there that will fit any budget and travel style. You could use a small gorilla pod or a full blown tripod.
For the first half of my solo trip, I used a tiny tabletop tripod made by Fotopro. Similar to a gorilla pod but much cheaper. It has rubber legs that can wrap around most things. Mine has been wrapped around trees, edges of bridges, and random posts without any problems. It comes with various attachments but I only travel with the cell phone attachment because my DSLR and GoPro screw into it.
For the second half of my trip, I decided to bring my Manfrotto tripod along. It fit well into my backpack and didn’t add too much weight. The Manfrotto has allowed me to get way more creative with my solo travel pictures!
So, which type is the best travel tripod?
I use my Manfrotto 99.9% of the time and I absolutely love it. I bought it from Best Buy on a whim when I bought my first camera. It’s been in the ocean, on mountaintops, and city alleyways helping me get the best solo travel pictures I can get!
That being said, it may not be right for you. Let’s dive deeper into the pros and cons of each tripod style so you can decide which best fits your budget and travel style.
GorillaPod Style Tripod
Pros
- Small & lightweight. Can easily fit into a crossbody purse for the day
- Budget friendly
- Great if you’re using a cell phone only
Cons
- May not be able to hold the weight of a DSLR
- If there’s nothing to attach it to at eye level, you may not get the shot you want.
- Generally just harder to get the shot you want
Traditional Tripod
Pros
- Can get any angle you want
- Is sturdier & can hold a heavier camera
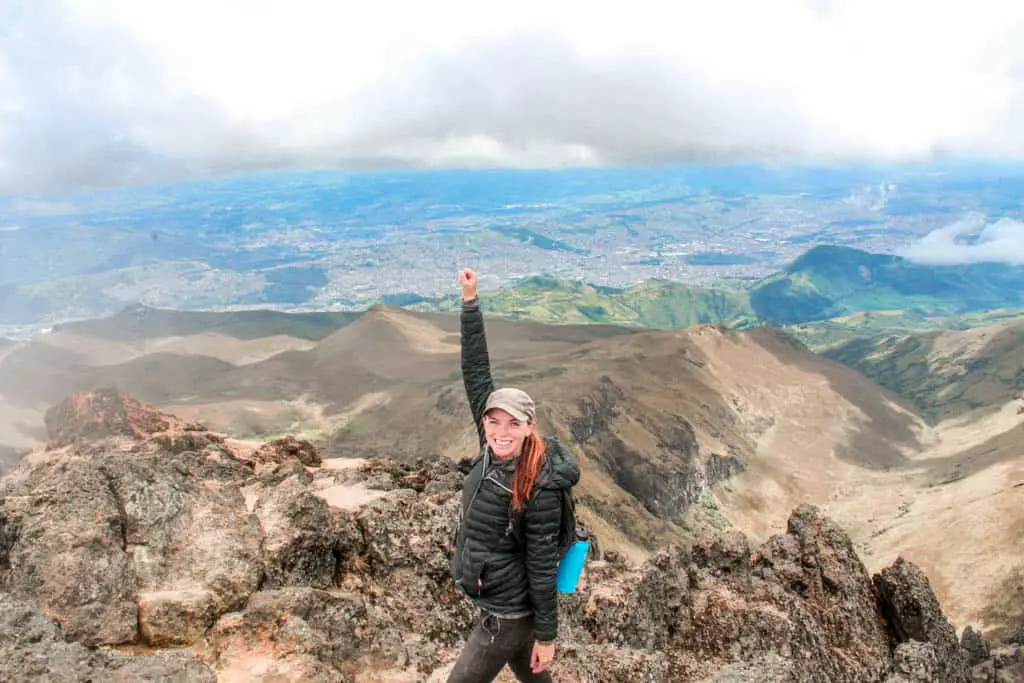
- Can use it on uneven surfaces like mountains by adjusting the legs at different heights
Cons
- Heavier. You’d likely need to carry it in a backpack
- More expensive. To get one that is sturdy and will hold the weight of your camera, it will likely cost at least $60
Now if you only use your cell phone for photos and you want something taller than the gorilla pod, there are great cell phone tripods on Amazon that are tall enough to get most of the angles you’d want. Plus, they double as selfie sticks when all you want to do is send a quick snap to your friends and family back home.
Use the Self Timer
Whether you’re using a camera or cell phone, using the self timer is a necessity. I always set it to 10 seconds so I give myself ample time to get in front of the camera, quickly fix my hair, and set up my pose.
If I’m using my DSLR, I’ll use the self timer in combination with the remote shutter (next section). The extra few seconds gives me time to stash my phone and starting moving back and forth in the frame.
Use a Remote Shutter
The majority of DSLRs these days have remote shutter capabilities that will connect to an app on your phone using the camera’s built in WiFi. I currently use a Sony camera and the corresponding app is Imaging Edge Mobile. Previously I used a Canon which had its own Canon app.
How does that work exactly?
I suggest learning how to do this at home before heading out to shoot because you’ll need to pair your camera and phone together. It can be a bit clunky the first few times you do this.
Find and enable the WiFi on your camera’s menu system. From your phone, connect to the camera’s WiFi network (the name will show on the camera’s screen). If it’s your first time enter the password. If it’s not it will connect automatically (as long as you’re not connected to any other WiFi).
Open the corresponding app on your phone and you’ll be able to see your shot setup on your phone. If you’re shooting in Manual mode you will also be able to adjust the settings on the app.
What I love about using my phone as the remote shutter is I can see myself in the frame which means I can make any adjustments necessary to myself or where the tripod is set up.
Then I turn on the self timer, hit the shutter, stash my phone and get to posing.
I also tend to combine this method with the burst mode on my camera which we will go over next.
One issue with using your phone as the remote shutter is if you go too far from your camera it will disconnect from the WiFi and you’ll have to walk back to reconnect. This can get super annoying especially if you’re trying to get your photo in front of a dramatic landscape.
If you think this will present a problem for you, you can purchase a remote shutter off of Amazon with a longer WiFi range. Just make sure it’s compatible with the type of camera you have.
Use Burst or Continuous Mode
Your camera should have a burst or continuous mode. This means it takes a series of shots in one go.
I like using this because I can take a few walking photos, a few twirling photos, and then just a few regular photos all in one go.
A few issues I’ve encountered using this method however is I can be out of focus if I’m moving too fast. So I try to move slowly and keep my body in the general area where I focused the camera on my phone.
No Tripod? No Problem: How to Take Solo Travel Photos without a Tripod
If you don’t have a tripod, there are other ways to get great solo travel photos. But you’ll have to ask a stranger or two along the way.
Use Your Environment
Ok, let’s say you head out for the day exploring and decide to only bring your cell phone and camera. Then you happen to find a cute alley filled with street art and no tripod to help you get the shot.
Trust me, 9/10 when I decide not to bring my camera and tripod I find something I really want to photograph myself with.
This is when you have to get creative with your surroundings. Prop your phone or camera on a step or a few rocks. Use the lens cap to elevate the lens a bit. Prop it on your backpack.
Just be cautious around water or high ledges where the camera could fall. There’s no point in risking your camera (or your life for that matter) for a photo.
Ask a Stranger
What if you don’t have any of the items mentioned above. The next option is to ask a stranger.
This is often an anxiety-inducing option. What if they say no? Maybe they’ll steal my camera as soon as they have it in their hands? And both things could potentially happen. In my experience, most people will take a photo for you without running off with your camera.
Now whether or not the photo turns out how you want is another story. They might crop your feet off, snap it when your face is doing that weird thing, or cut off the gorgeous building you want the photo of!
That’s why you need to do your best to pick the right person to ask to take your photo.
Here’s how I decide:
- Are they around my age? Most people my age are more than willing to take a photo for me. I can tell them the shot I’m looking for and generally, they get it. They also know what Instagram is, so I usually ask with a joke and say “gotta do it for the ‘gram”… except I’m totally serious.
- Are they trying to take selfies too? If a person is wandering around with a selfie stick attached to their phone, there’s a good chance they will happily oblige your tiny photo session. There’s also less of a likelihood that they will steal your phone.
- Do they have a DSLR as well? If yes, then there is a good chance they know how to work it and can help you achieve your desired photo.
- Do they look like they’re looking for someone to take their photo? Break the ice, offer to take a photo for them. Then ask if they’d take one for you in return. They’ll say yes – it’s good photography karma.
Now that you’ve found someone to take your photo, be quick about it. Tell the unassuming bystander turned photographer what you plan to do in the photo. Then, help them get you the best shot you want by framing your photo before asking. Take a photo without you in it, then hand over the camera, show them the landscape and point to where you’ll place yourself.
Ask them to let you know when they’re taking and to just keep snapping because you plan to move through just 2-3 poses. But don’t get greedy here.
Most of the time, people will show you what they got and ask if it’s what you wanted. Honestly, I usually just tell them it’s fine even if it’s not because they were nice enough to help in the first place and I don’t want to take up their time.
I’ll then hang around and wait until they leave to try my luck with someone else.
On a Tour
Remember how I mentioned I used walking tours to help scout locations for photos. Walking tours are also a great way to have someone take your photo.
Most people on walking tours are taking photos as well, so strike up a conversation with someone and ask them to take a quick photo or two during a stop.
But don’t just ignore them after. Keep the conversation going, you might just meet a new friend!
Side note: Walking tours are a great way to meet people when traveling solo.
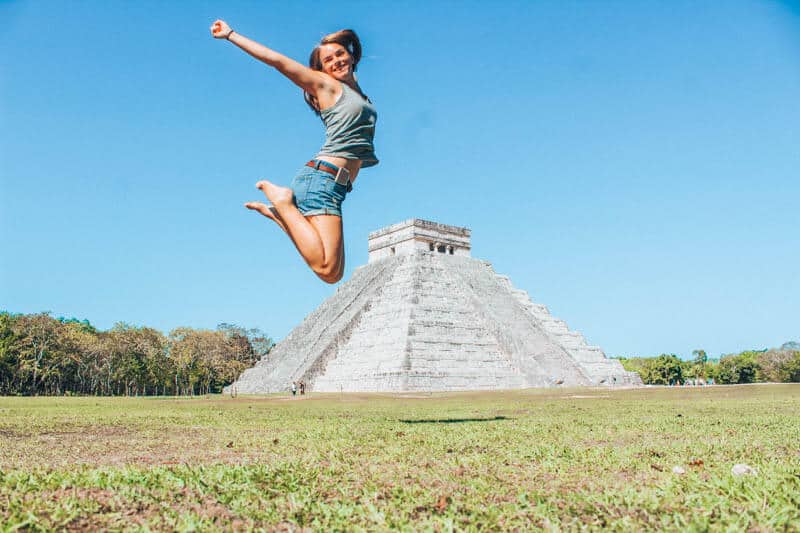
Alternatively, you could ask the tour guide. When I was in Mexico I took a guided tour of Chichen Itza. The guide took multiple photos of me and even showed me how to get one of me jumping over it. He was down in the grass making sure we got the shot.
In Hostels
Hostels are another great way to make friends traveling solo. Many times, you’ll meet someone to spend the day exploring the area with. Ask them if they’d be willing to take a few photos of you along the way and that you’d return the favor!
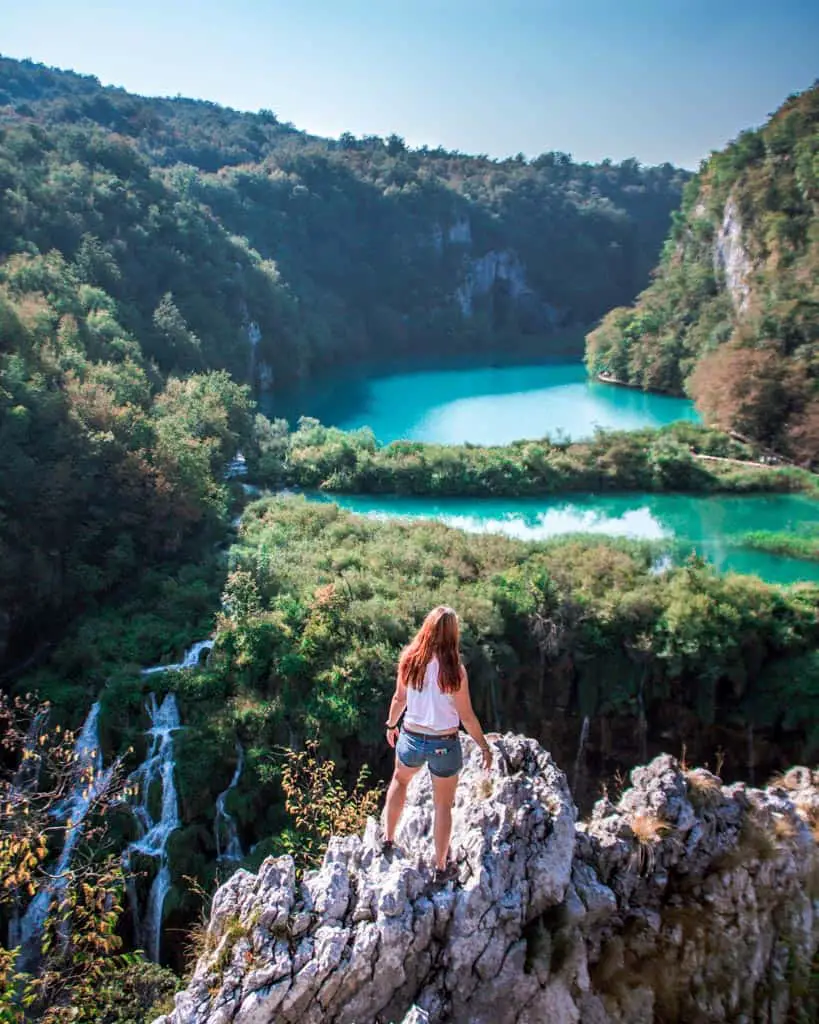
When I was in Croatia, I met two girls in the hostel and we went to Plitvice National Park together. We were snapping photos of each other the entire time and even got the ones below. I never would’ve been able to get these perfect photos without them!

On Social Media
Meeting people in real life from the internet might’ve been weird a few years ago, but it’s fairly commonplace now.
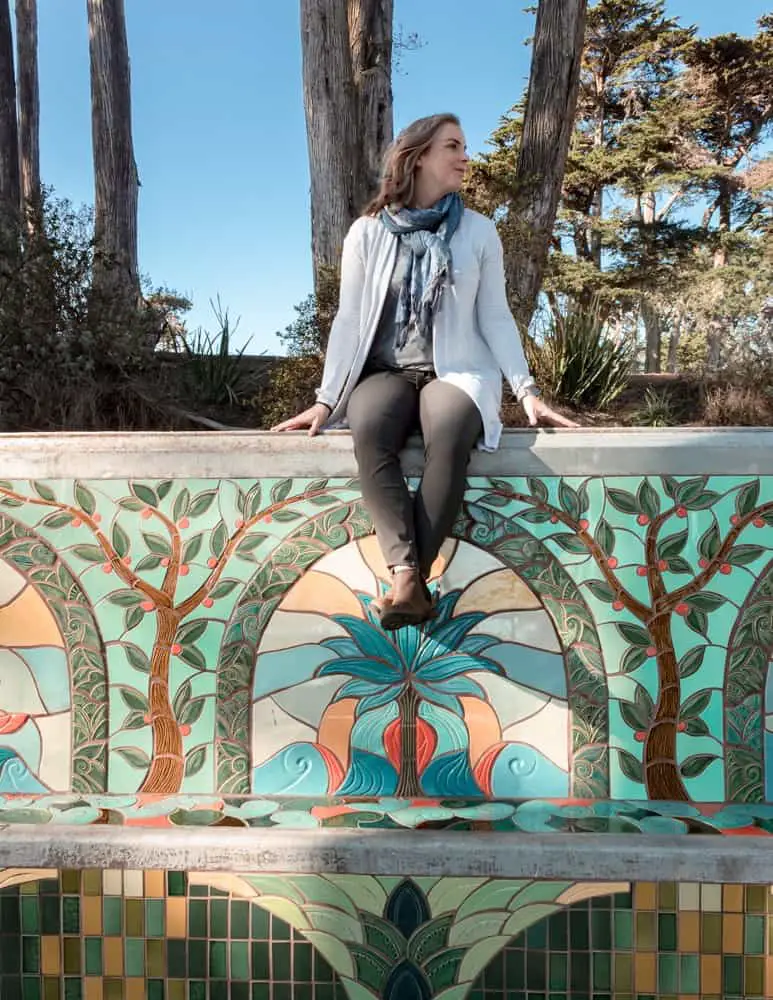
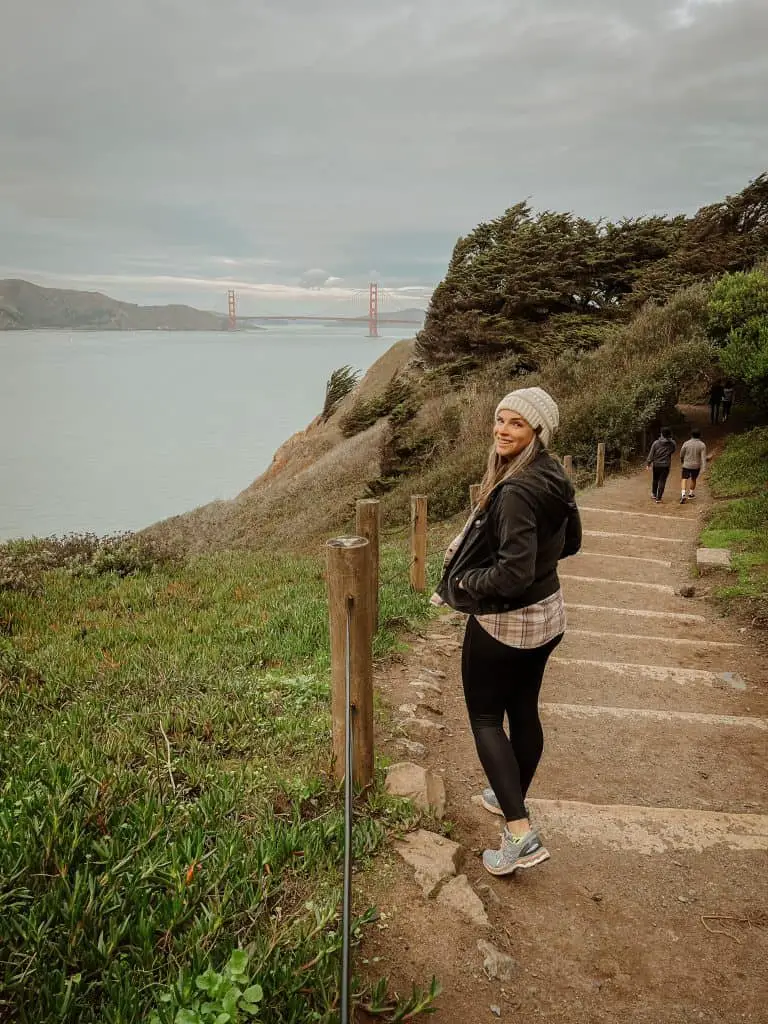
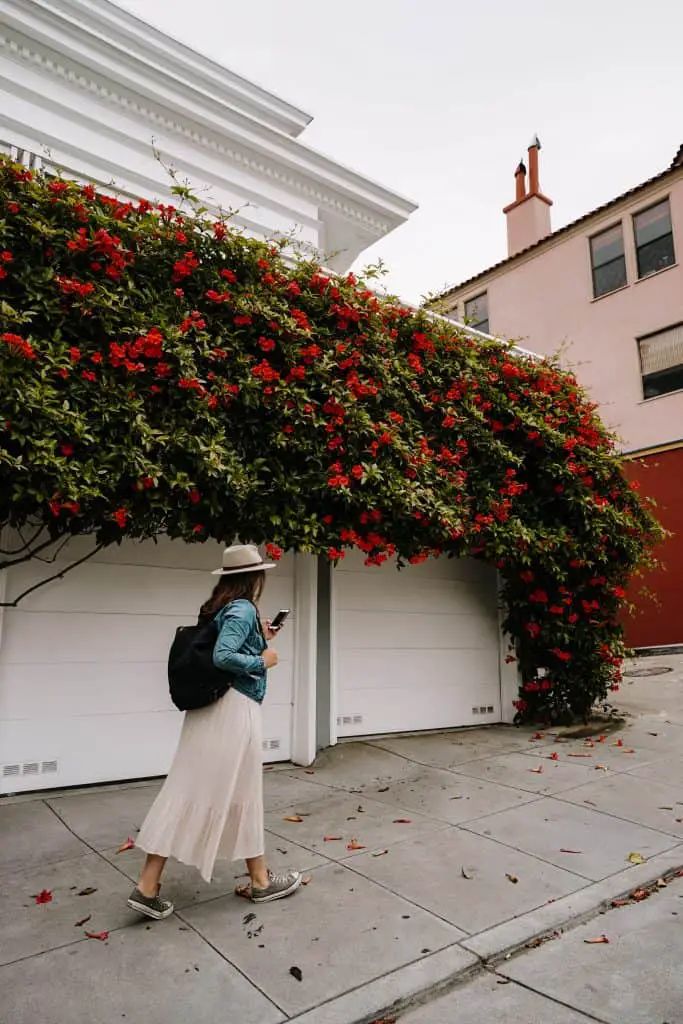
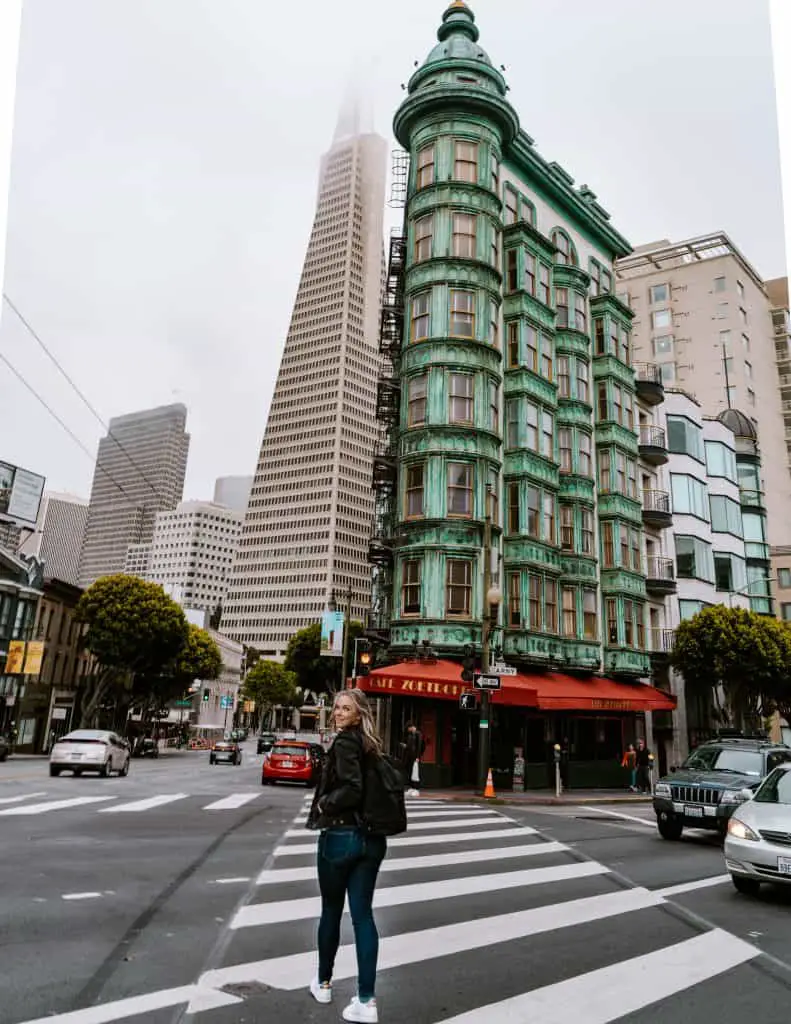
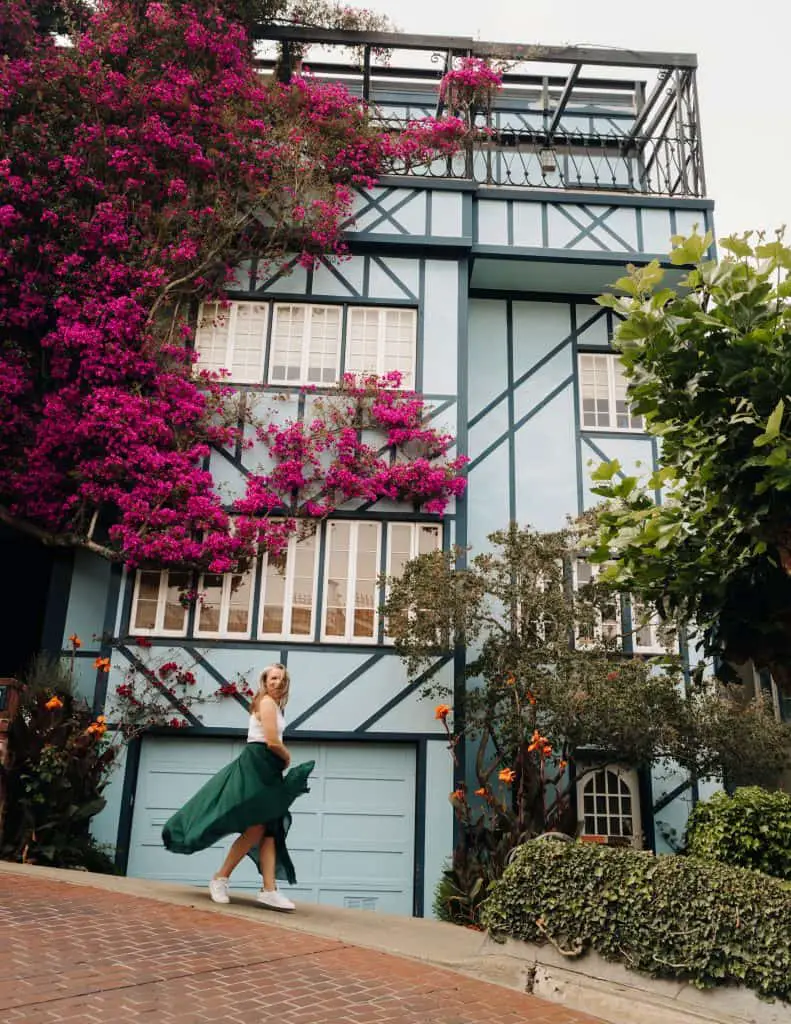
I’ve actually become really good friends with a few ladies I met through Instagram and blogging. One of whom I just spent a day taking photos of each other at the best photo locations in San Francisco.
Now, you don’t have to be a blogger or Instagrammer to do this. There are plenty of Facebook groups geared towards solo female travelers. You could simply make a post in one of the groups asking if anyone is in the general area and interested in meeting up to take photos for each other.
Safety Note: Please use common sense when meeting people from the internet. Most of the time it works out just fine, but if you get any bad vibes before you meet or early on in your meeting please remove yourself from the situation. Only meet in public during the day. Don’t tell them where you’re staying and leave the majority of your valuables at home (aside from the camera or phone).
Hire a Local Photographer
Does all of this feel like a lot of work just for a photo? An alternative is to hire a professional (or amateur) photographer to take your photo for you.
I did this in Galway, Ireland.
I’d been to Galway a few times prior and knew I wanted to get a few shots in specific locations. These locations happened to be heavily trafficked and I wasn’t comfortable setting up a tripod.
So, I went on to Airbnb experiences and booked two hours with a local photographer. Some of the pictures she sent weren’t what I was looking for, but the places where I really wanted photos came out perfectly.
Plus, it was fun spending a few hours chatting with someone new in my favorite city.
How to Take Pictures When Traveling Alone: Confidence Tips
Now that you know how to scout the location, some of the gear you’ll need, and alternatives to carrying a tripod around the world, the next step is to get confident in front of the camera. These are my best tips to look like a pro when taking solo travel photos – even if you’re completely faking it.
Ignore other People on the Street
Honestly, the worst part about taking photos when traveling solo is the sometimes weird looks you get from other people on the street.
This is why travel bloggers get up so dang early to get photos (plus the light is better in the morning).
It’s definitely uncomfortable to have people watch you setup a tripod and walk back and forth in front of it trying to get the shot. Remember, it’s not vain, it’s not just for the ‘gram. The photos are to commemorate you taking a huge risk to travel solo.
I personally want to document that to show to my nieces and nephew that they can do this too!
The other aspect of this that I think changed with 2020 is that people are getting more and more used to seeing people taking pictures in public. Especially with the growth of TikTok and people realizing that being a blogger or influencer is a legit business now.
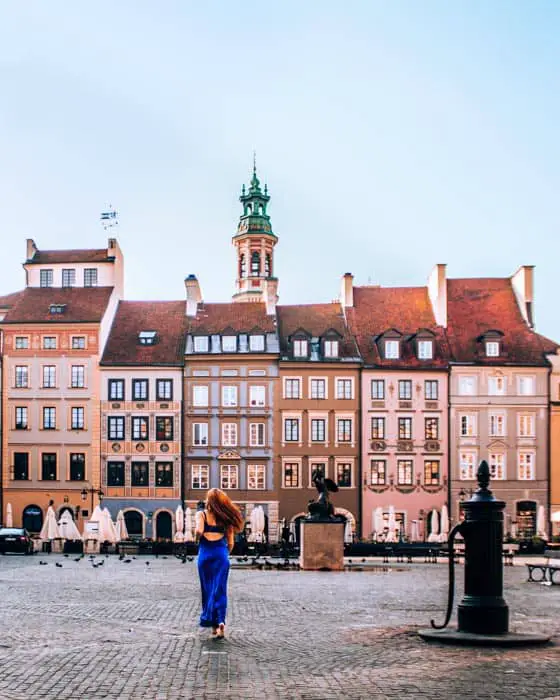
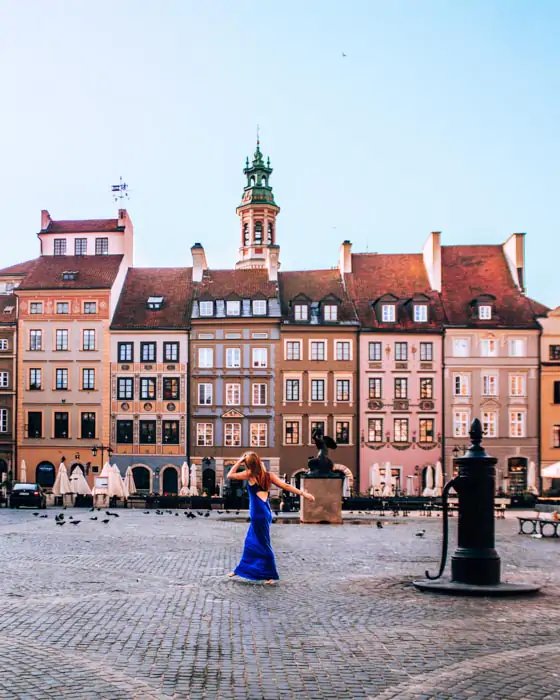
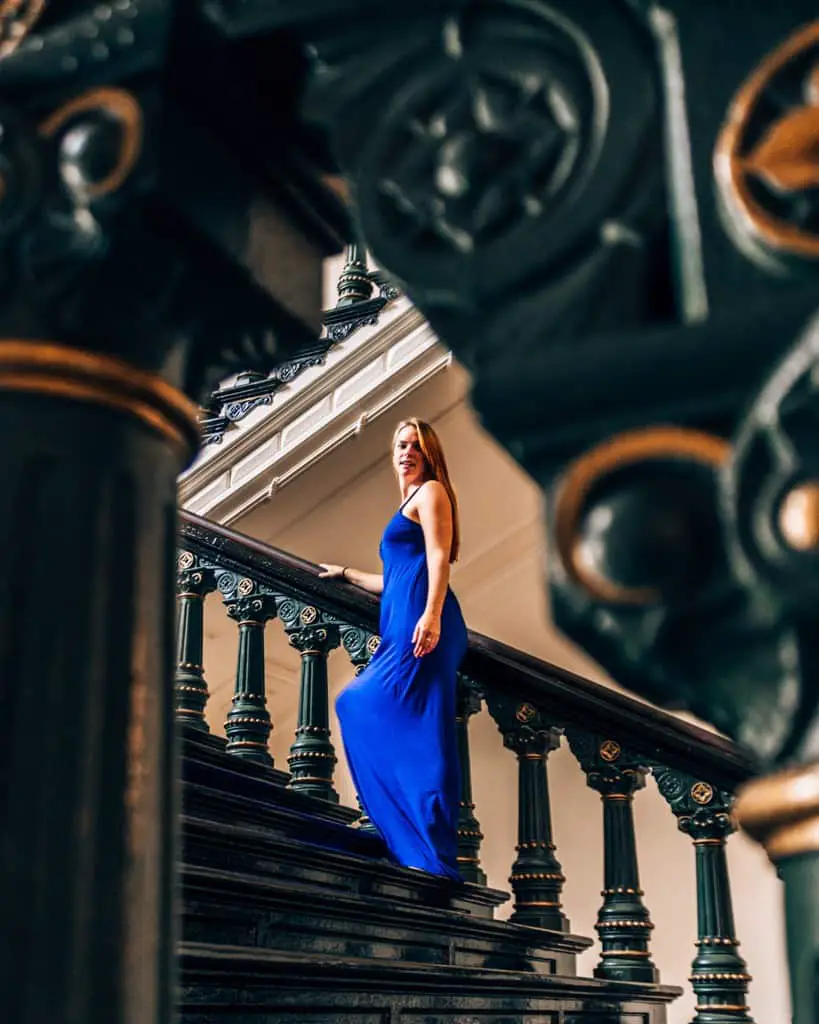
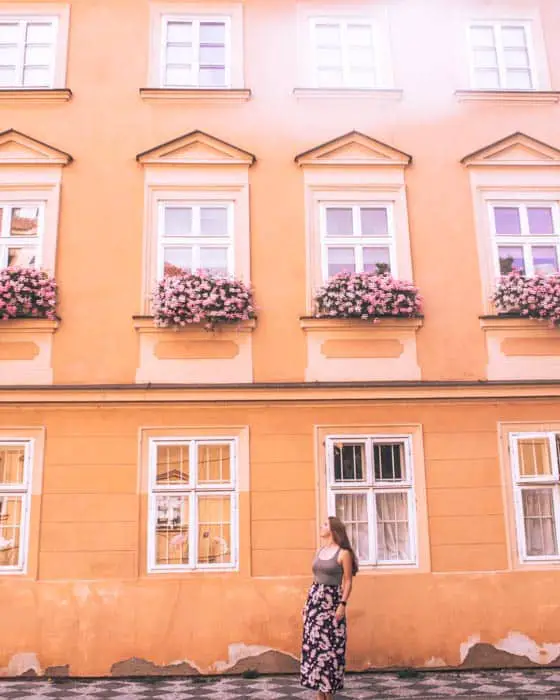
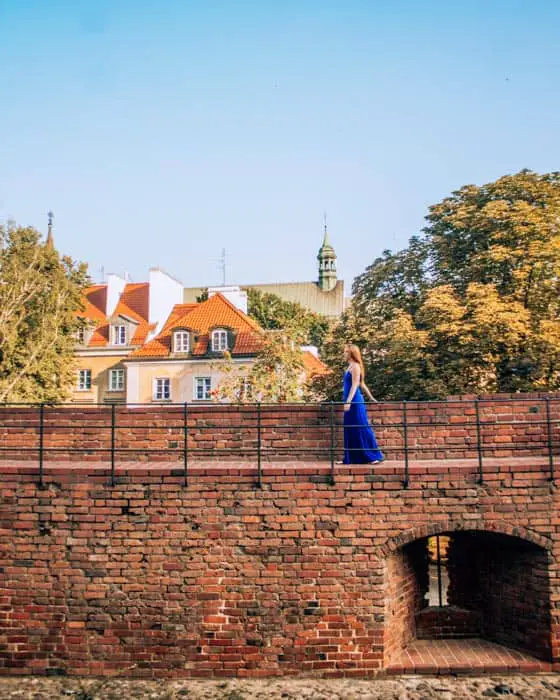
I’ve noticed when I go out to take photos, people no longer stare. They just walk by. I’ve even had people tell me I look good! In fact once, in Poland, I was up at 5:00 am wandering the town for a shot.
I found this gorgeous street with no one around and lined myself up to take the photo. As I walked back to the camera I noticed a guy about my age was watching, but he moved on once I noticed him.
A few hours later and my massive post photo shoot breakfast, I saw him at the same cafe. He came up to me and said that the shot I took was absolutely gorgeous with the way the light, the buildings, and I lined up. That photo is below and is one of my favorites.
That being said – most of the time you’ll never see the people again.
So get in front of the camera and do your thing!

Take Pictures at the Right time of Day
There are two times every single day when the light is perfect for photos, sunrise and sunset. Arrive at least 30 minutes before and stay at least 30 minutes after to capture that variety of light that happens from blue to golden hour.
Sunrise
If you really don’t want onlookers, it’s time to set the alarm and get up early.
I used to do a massive eye roll when I would see some of my favorite travel bloggers waking up at the crack of dawn to take photos. Until I attempted to photograph myself on the Charles Bridge in Prague in the middle of the day – seriously don’t visit the hot tourist spots in the middle of the day in Prague – or anywhere.
I’ve come to thoroughly enjoy the quiet morning hours in a city. Watching it wake up, shops open, and people on their way to work. Plus the lighting is great, I won’t have to edit people out of the shot, and I don’t worry about turning my back to the camera and someone snatching it!
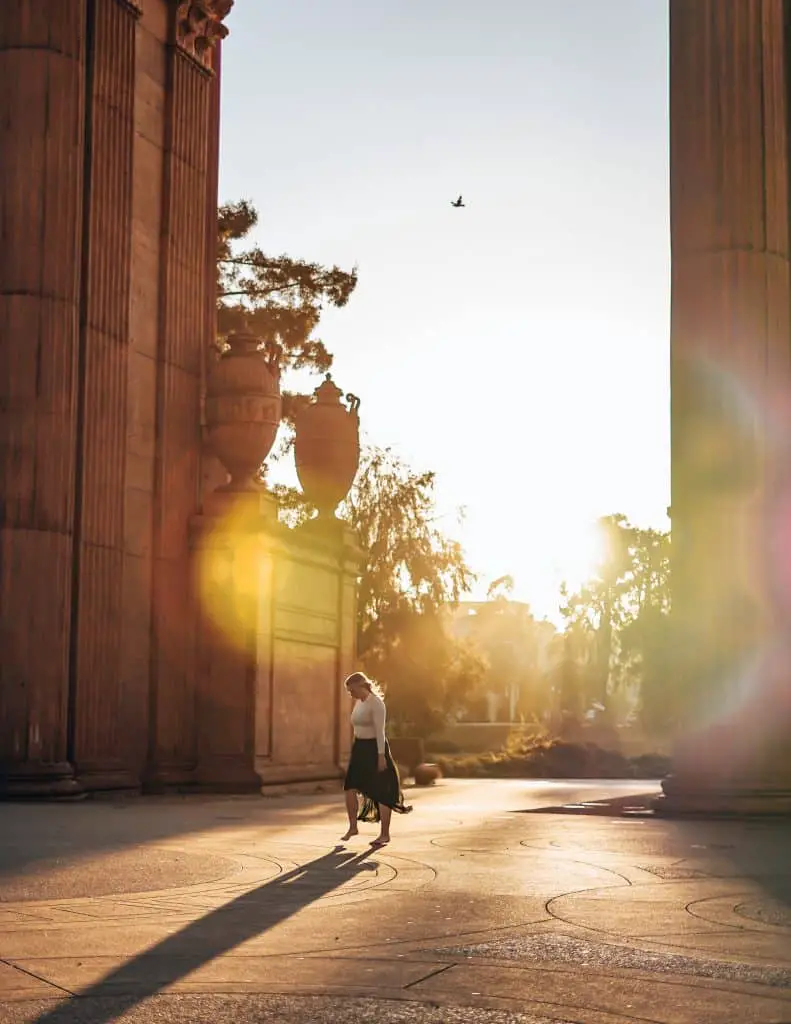
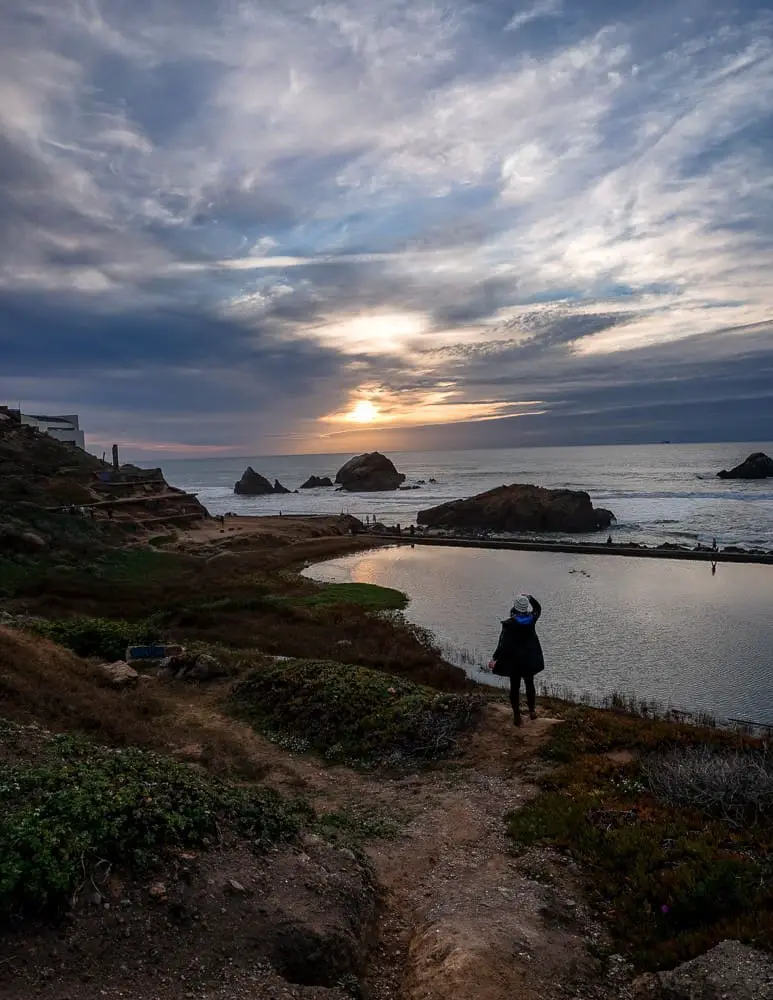
Sunset
Clearly, I am a sucker for a sunset photo shoot. The light casts this amazing golden hue on everything. The hour before sunset is the best time for photos. You don’t have to get up crazy early and crowds will be thinning out as people head home or to their hotels for dinner.
How to Pose
It’s always good to have a few go to poses so you’re not in front of the tripod or photographer asking them “what do I do with my hands?”. Start practicing these before you head out. I’ve legit put my camera on video and spent an hour practicing poses to see what looks good and what angle my face looks best in. For instance, I really like photos of others when they look up slightly – but I don’t like it on me!
In full transparency I actually do this a few times per year when I feel like my poses are getting stagnant.
Here are a few tried and true poses to use:
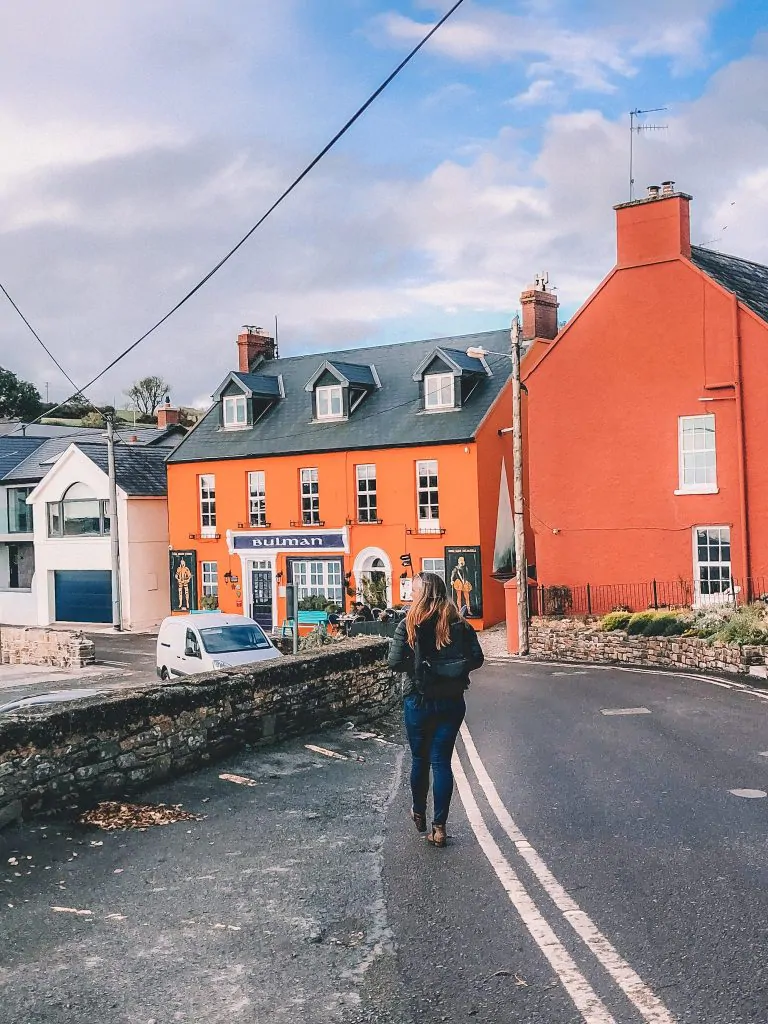
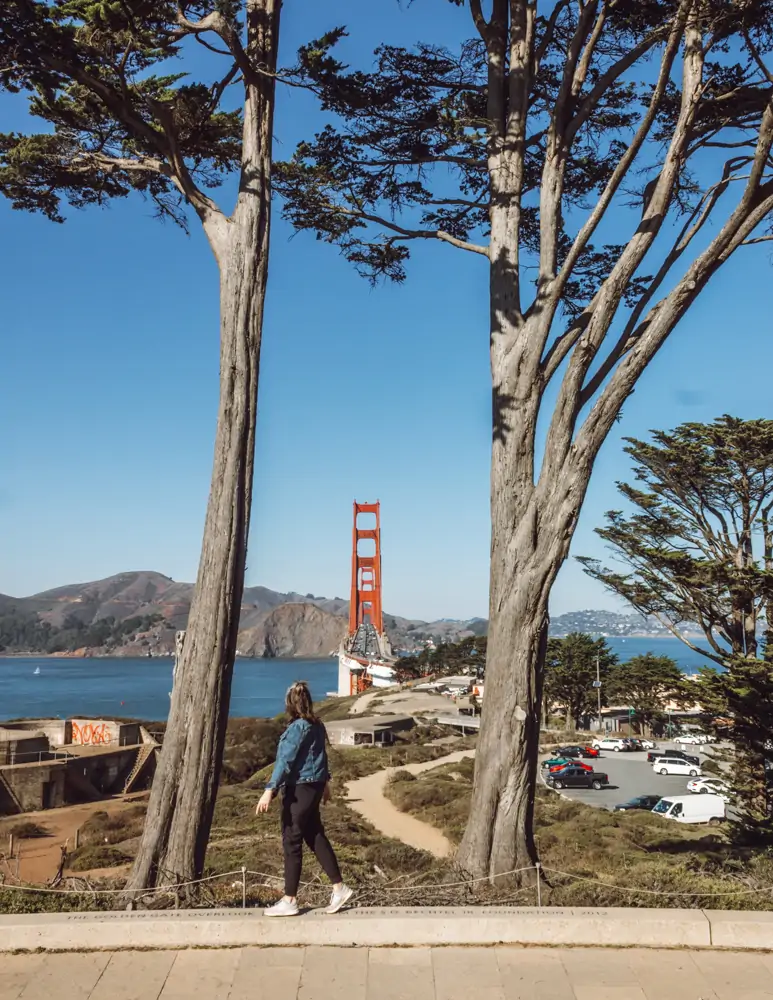
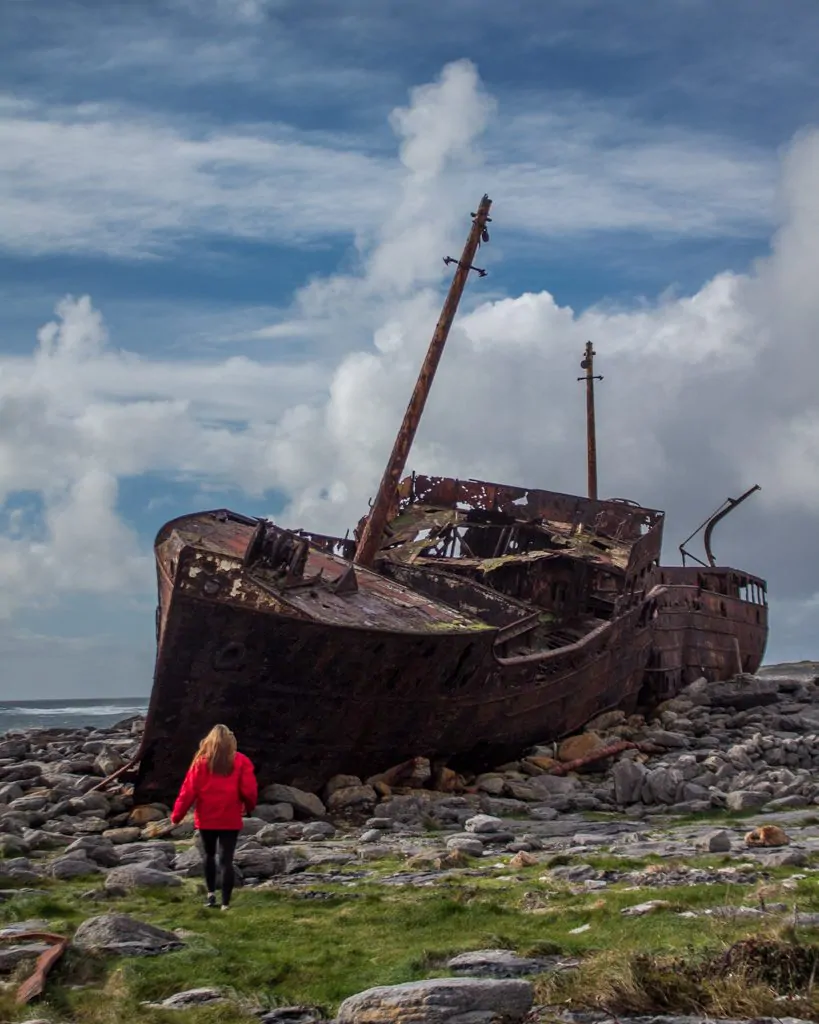
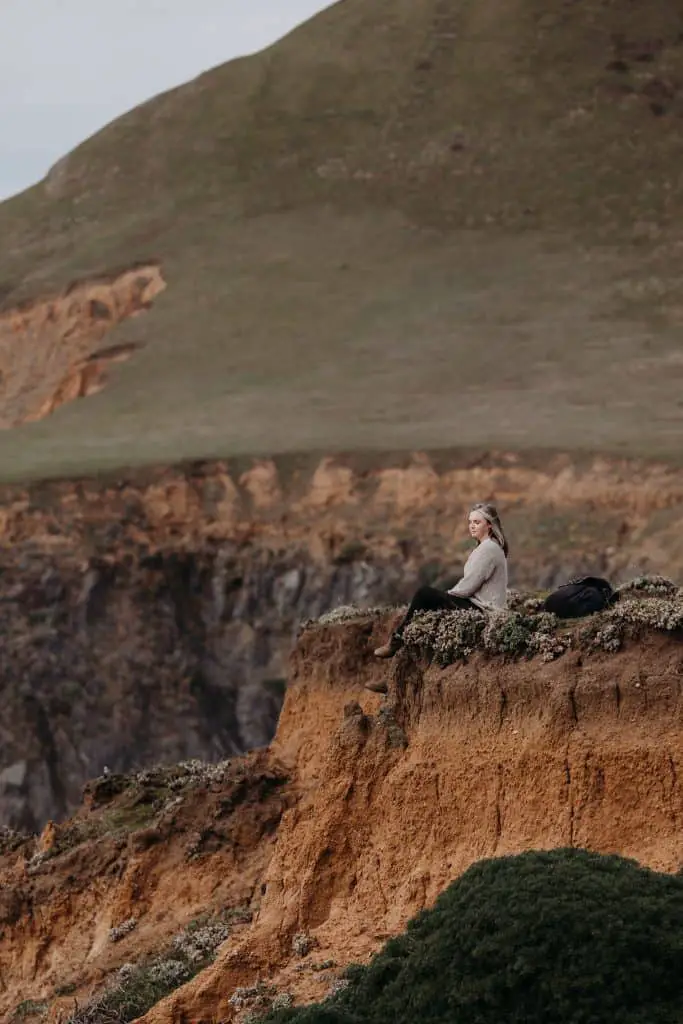
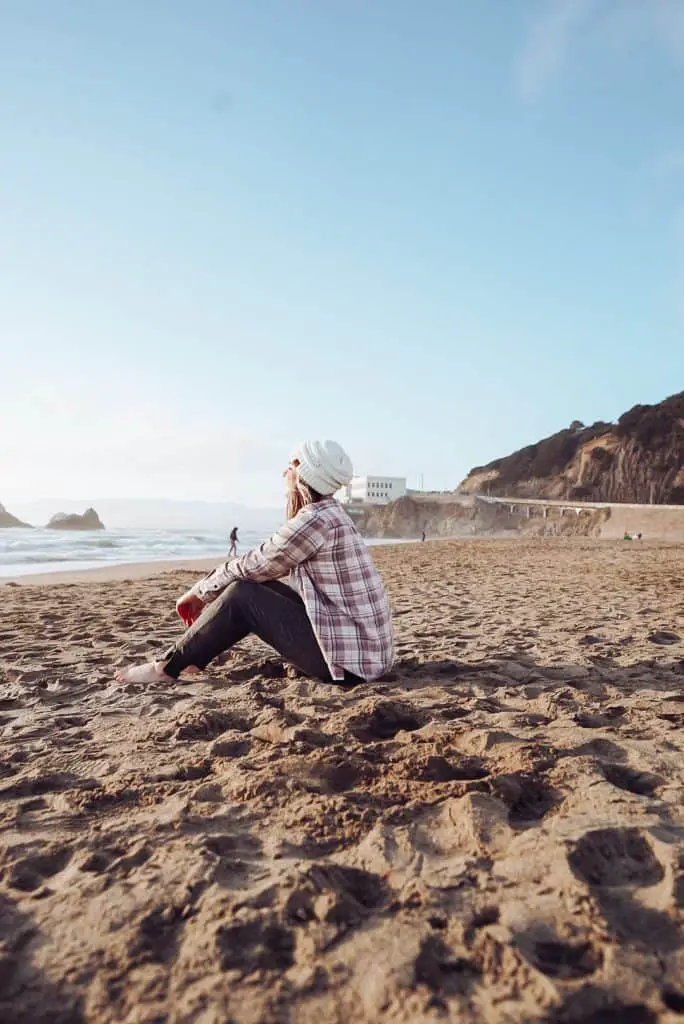
- Back to the camera: Literally the easiest pose in the world. You can also look back towards the camera, pop your hand on your head and look up, or just stand there. This is also great post because it puts the viewer in your shoes – so they can really imagine themselves there.
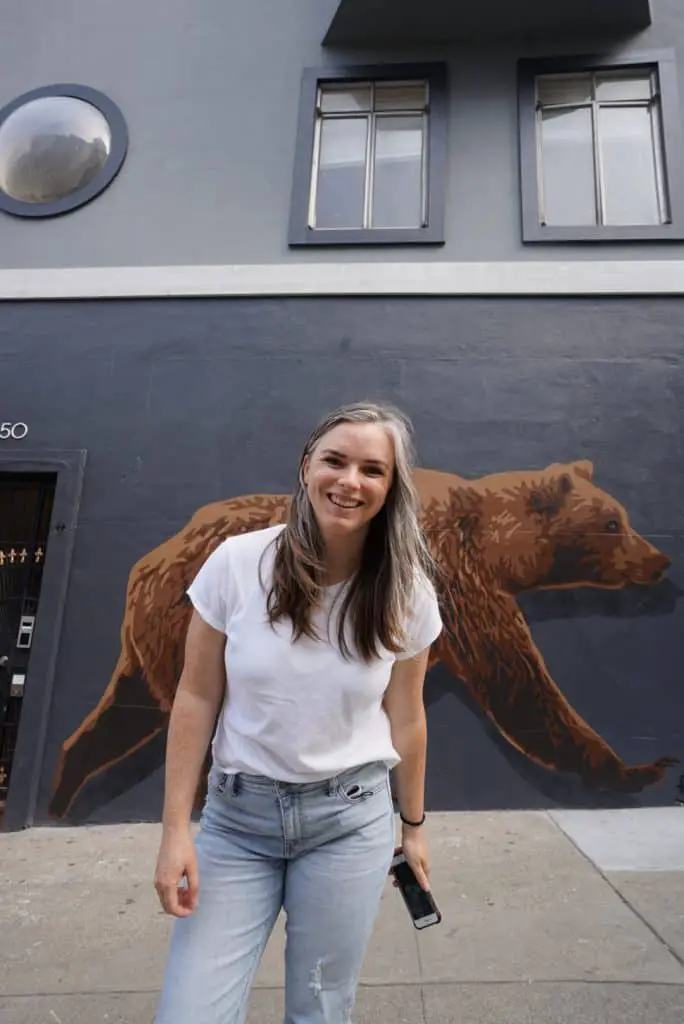
- Candids: Rock that fake laugh! Look directly into the camera and laugh as if it’s just told you the best joke you’ve ever heard.
- Use movement: Movement adds so much to a photo. Run your hand through your hair, fling that skirt out, do a twirl, take a few steps forward and backward to mimic walking, heck even jump!
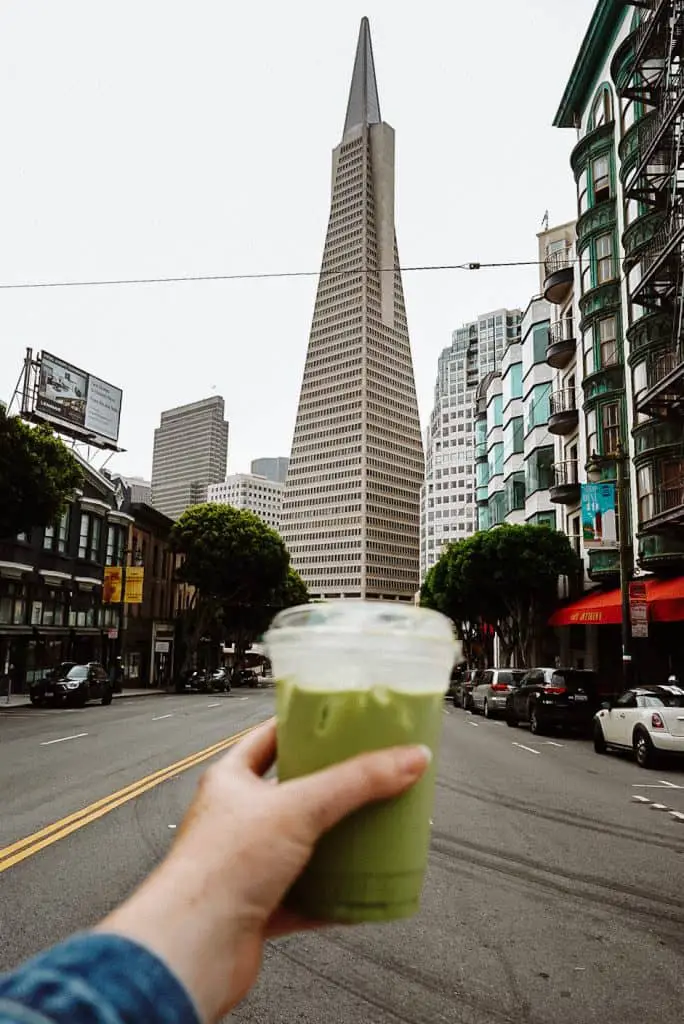
- Use props: If you’re wearing a scarf or a hat, play with it in the photo. Write in your notebook, hold your matcha mug, or burrito. Anything can be used as a prop if you’re creative enough.
How to Make Your Solo Travel Photos Pop: Editing
Editing can really take a photo from good to great. I use Adobe Lightroom (the desktop and phone versions). The desktop version is paid whereas the mobile version is free. I suggest spending some time learning how to edit with the free version on your phone BEFORE purchasing any presets.
Presets are great but they don’t work on every photo and will require edits once applied to achieve the look you’re after. I have about 100 presets, some that I’ve purchased and some that I’ve created. It’s too many and I only use about 3 of them. Keep your editing process simple and your photos will turn out amazing!
A good app for removing unwanted items in your photo is TouchRetouch. It’s helped me remove random lines and at times people – although that’s a bit more challenging. If you need to remove a lot from your photo, Photoshop is probably the best way to go, but I’m not the person to ask about that. I don’t go beyond Lightroom.
Safety Tips for Taking Solo Travel Photos
I’ve alluded to staying safe while taking photos throughout this post. But I do want to highlight a few of my top safety tips for taking photos while traveling solo. Unless there is truly no one around me, these are the practices I use to stay safe.
- Keep your valuables on you. Even if you’re handing your camera off to someone else or using a tripod for the photo keep your IDs, money, credit card, passport on you. Don’t drop your purse or backpack on the ground and walk away from it. Use it as a prop!
- Avoid popular tourist areas. I don’t have a photo of myself at Fisherman’s Wharf in San Francisco for a reason. It’s the most popular tourist area in the city and I don’t trust people to not steal my camera and tripod. If you ever see me in a Fisherman’s Wharf photo its because I had a friend take it. Tourist areas are top spots for petty thieves – don’t risk it.
- Stay close to your camera. This is why I love the wide angle lens. It allows me to stay close to my camera and still get a good shot!
Build Good Photo Karma
Now that you know how to take solo travel photos get out there and start practicing. Also, keep the good photo karma going.
- If someone asks you for a photo, take it with a smile.
- Let them know if you’re taking more than one, so that way they can get different poses in while they have you!
- If you see someone setting up a tripod and trying to get a shot, please don’t walk through their photo.
- Let them finish, or offer to help, and go about your day.
By helping other photographers, you’re paying it forward for the day when you ask “Would you mind taking a photo for me?”
Related Solo Female Travel Posts
The Ultimate Guide to Solo Female Travel
Solo Female Travel Packing List
How to choose your Hostel (or other accommodation)
How to Plan a Solo Trip in 9 Easy Steps
Travel tripod is the best option for me. I also use a selfie stick for my phone but the travel tripod is just amazing.
Selfie sticks are great too! I’ve seen some with a little tripod option too.